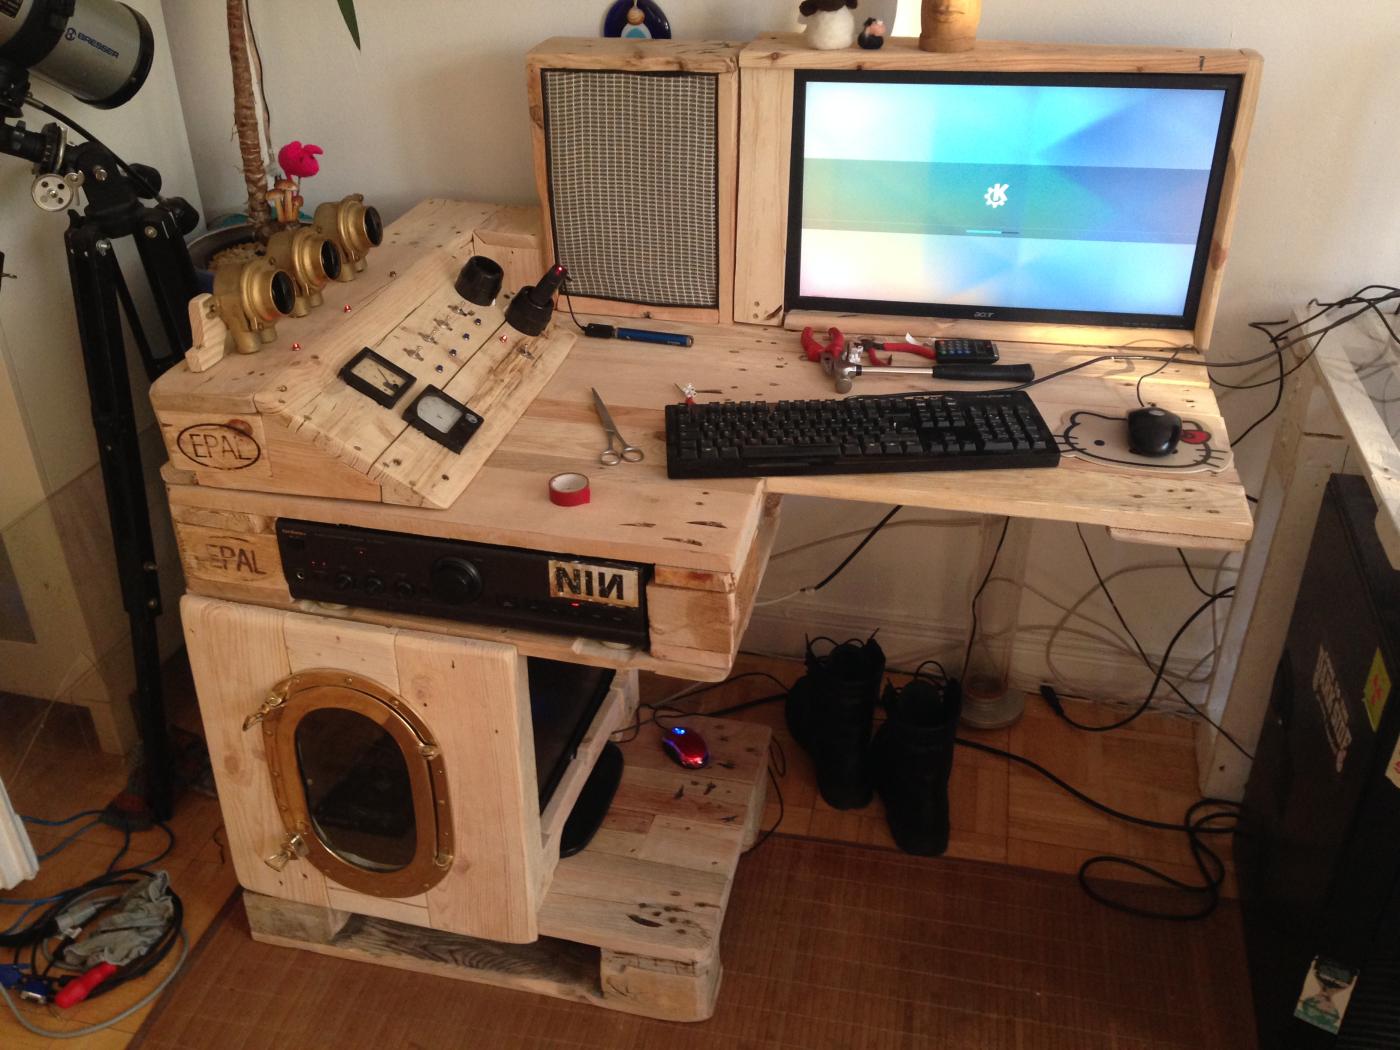
The following project is a little insane. I knew it would need more work than thought, but it was a even a bit more work than thought, and – warning – a bit expensive. The whole idea actually came up with the light switch on the dressing table: after mounting it, I was overcome the next ten minutes by the urge to simply turn on and off this button, it felt so good and right. And then the thought of something like this on my desk. Hell, a whole lot of it.
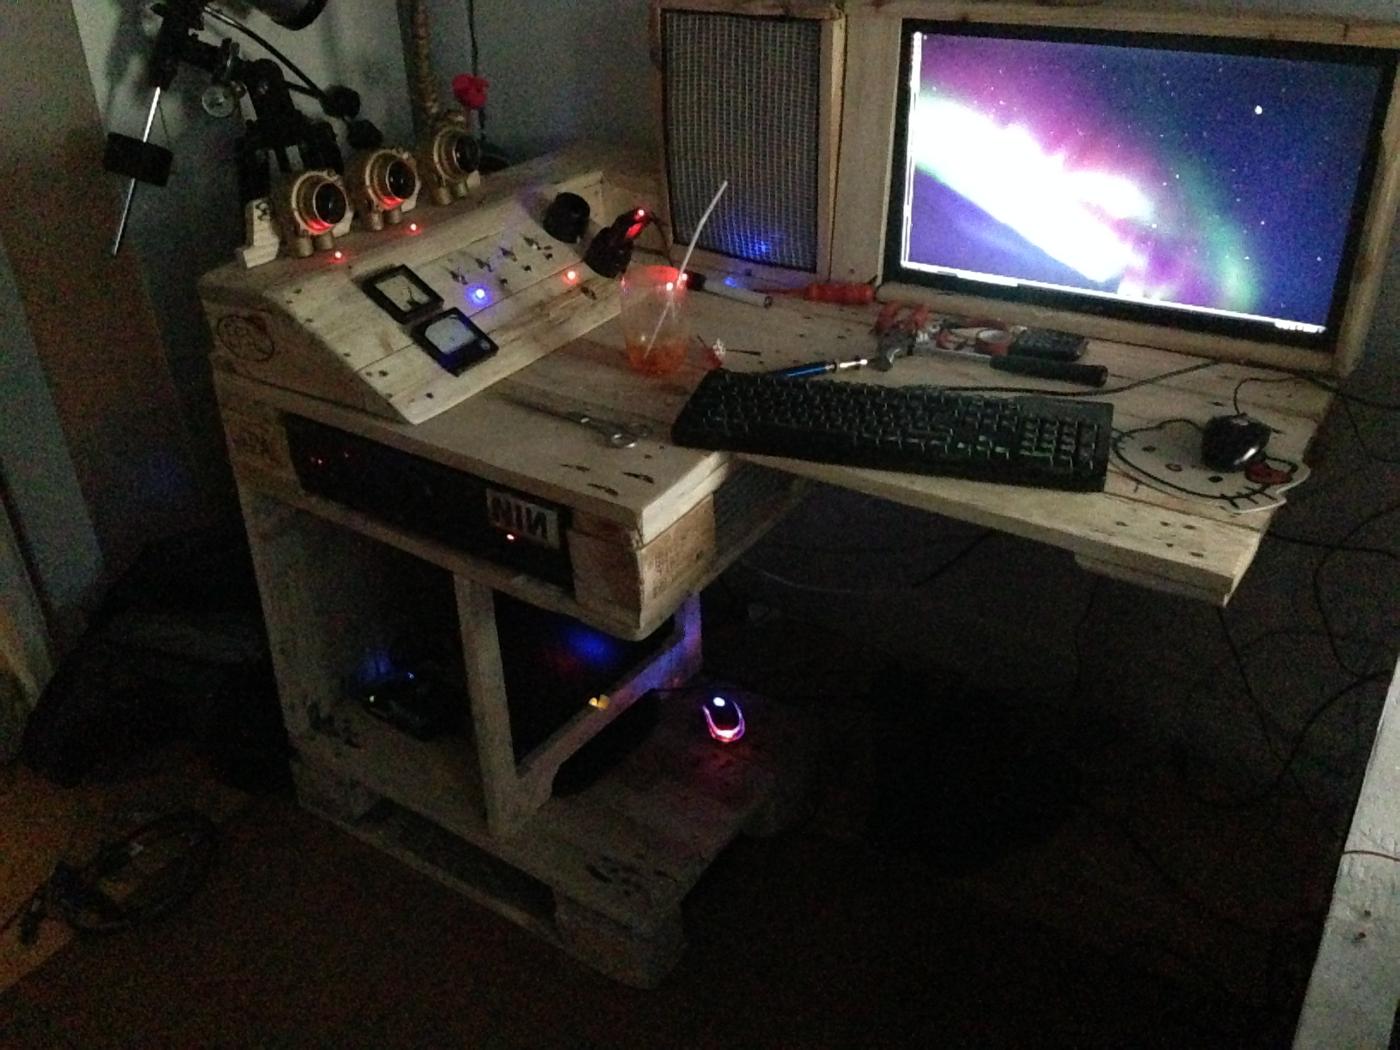
The old desk – for some time now i had the feeling that that I could do better than that now. And last not least, there was this idea to do something cool with heavy fittings, switching the computer or servers or even the lights on and off with some cool knobs and switches on a wooden control panel with meters and instruments and stuff. I already wrote “Steampunk” in the title, that was the direction to go. Something wooden with built-in computers and Blinkenlights.
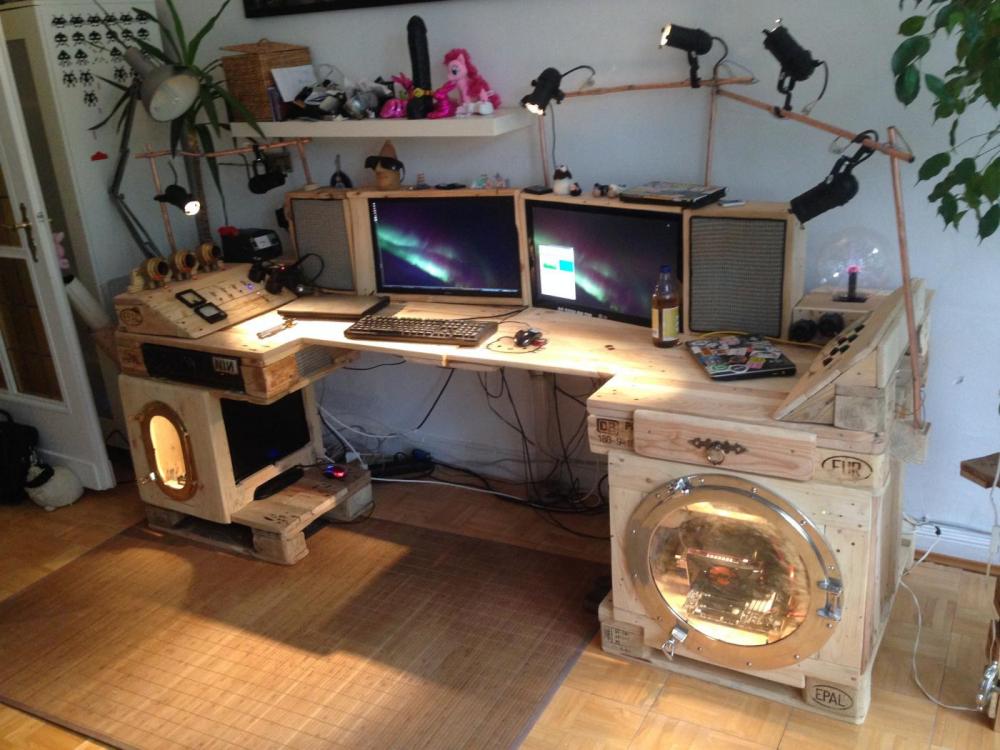
Base area: two pallets wide, protruding on both sides and with control consoles. Monitors and speakers at least somehow “disguised”, and as much control panel switchable stuff as possible. Well, lets begin.
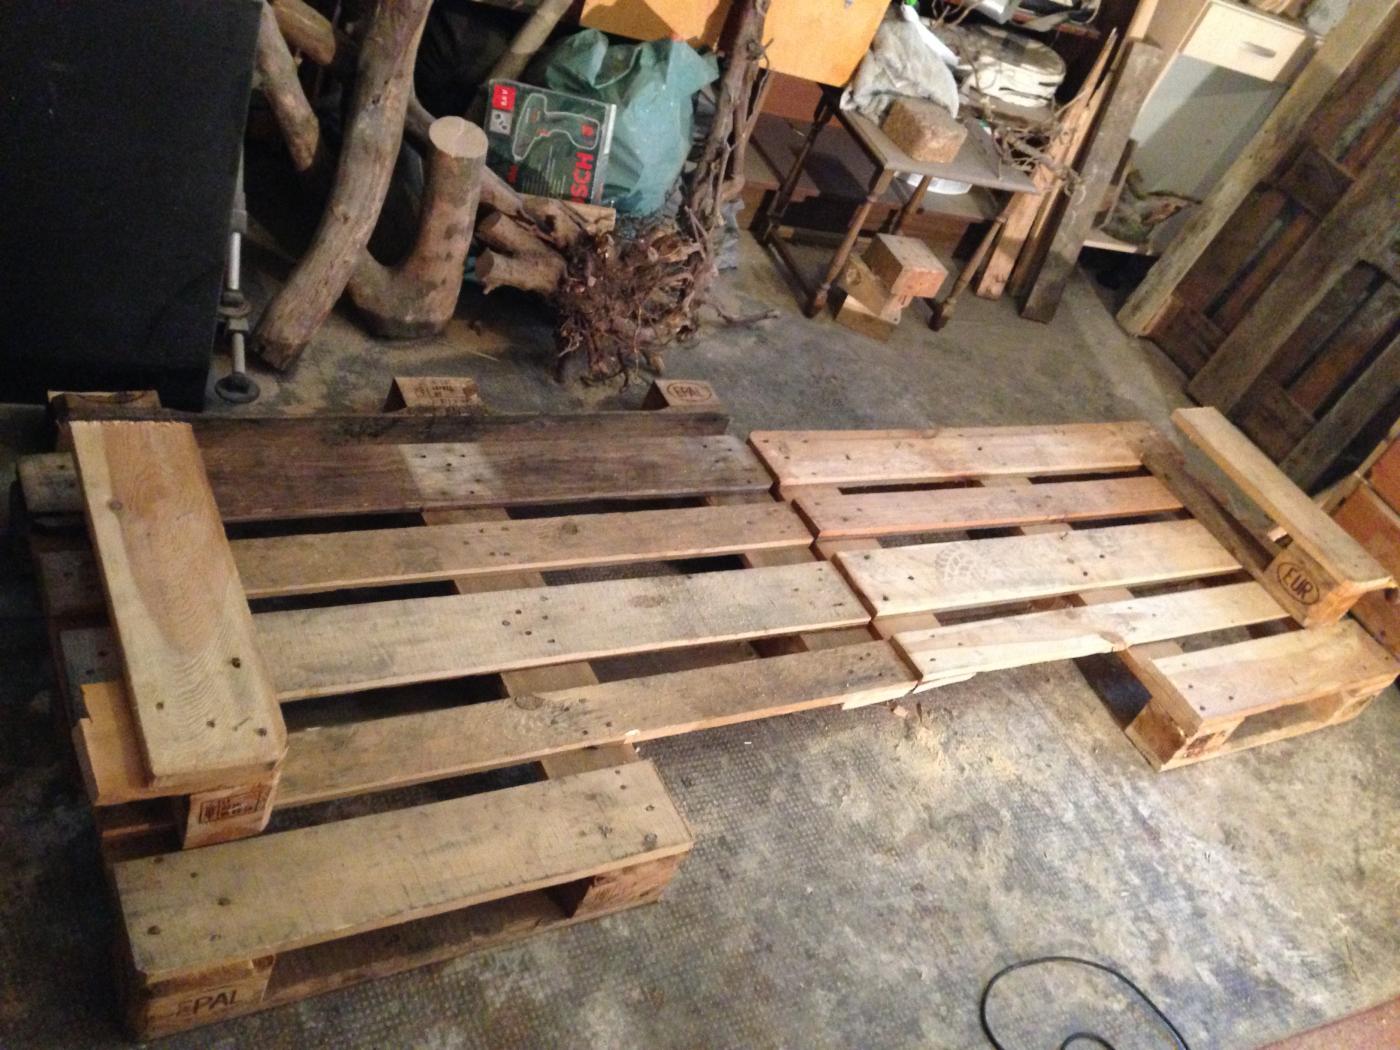
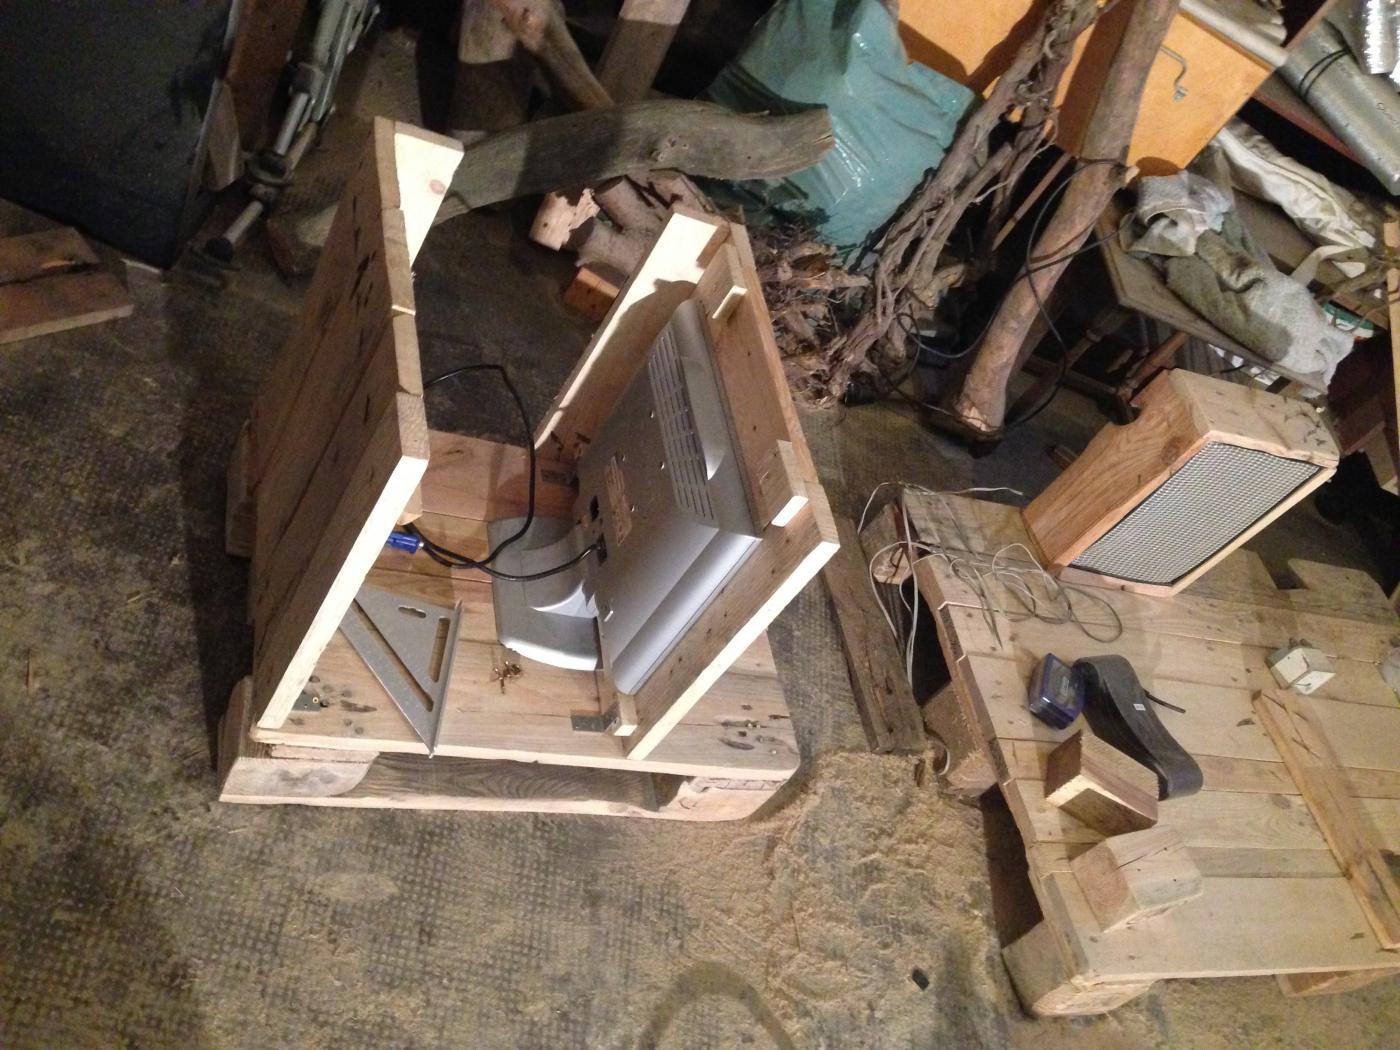
The basic shape is simple, but takes some work. The speakers are slightly ancient, but the sound is fine and they’ll be cloaked anyway. Positioning: in a way that the monitor fits slightly diagonally. The remaining space to the left will be used for a console. Here its “roughly planned” – sometimes the most difficult thing was getting a clear picture how stuff should look like and how it would fit together and be functional.
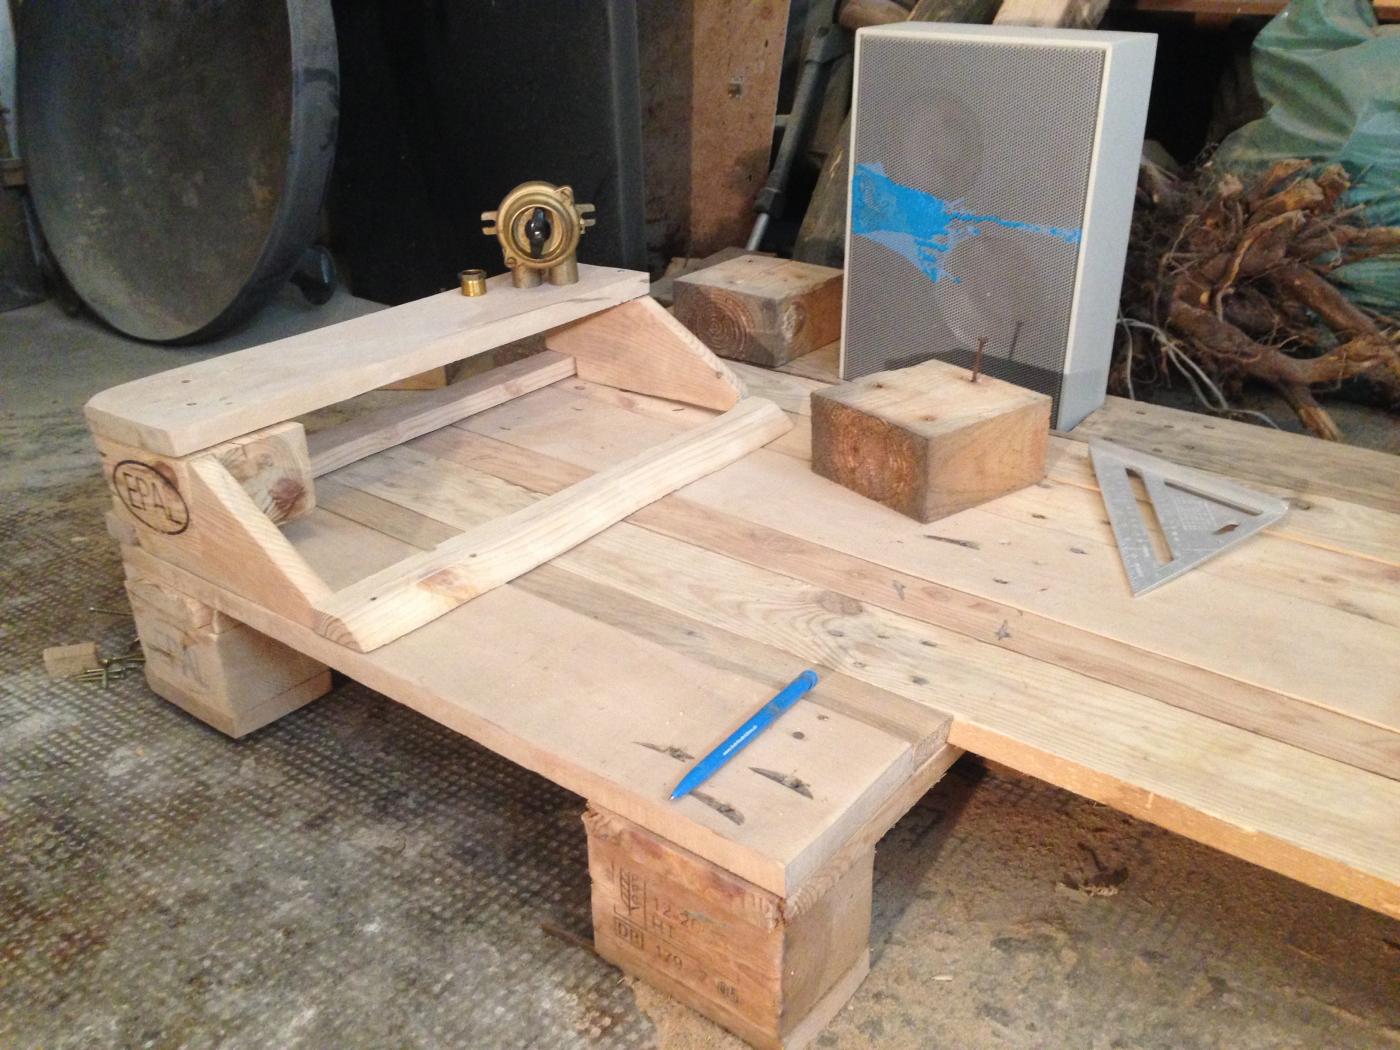
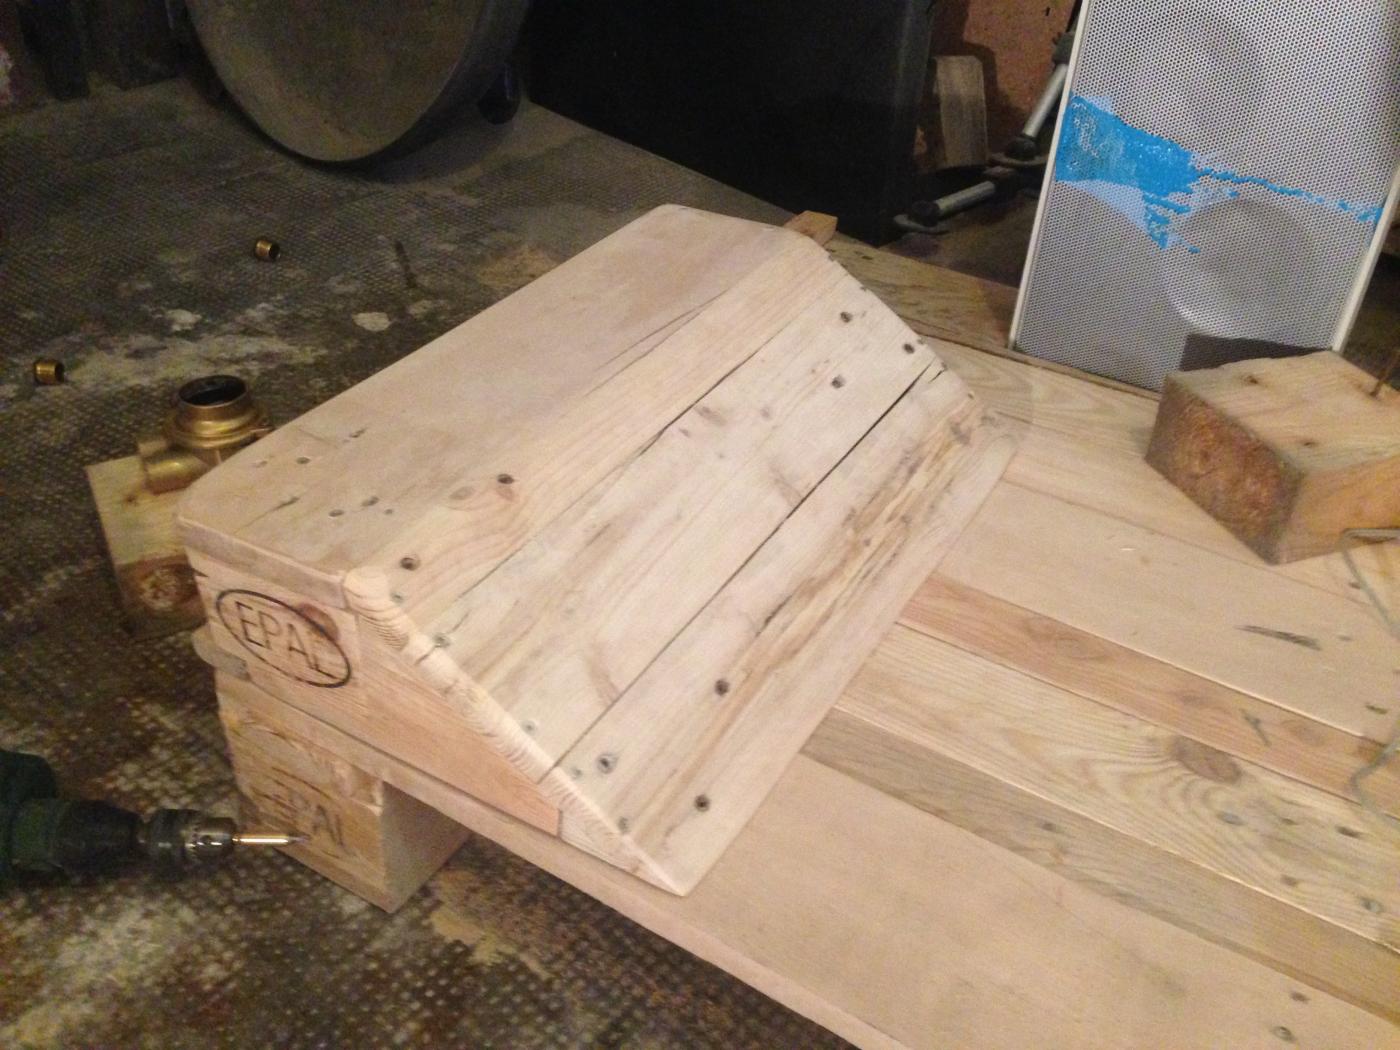
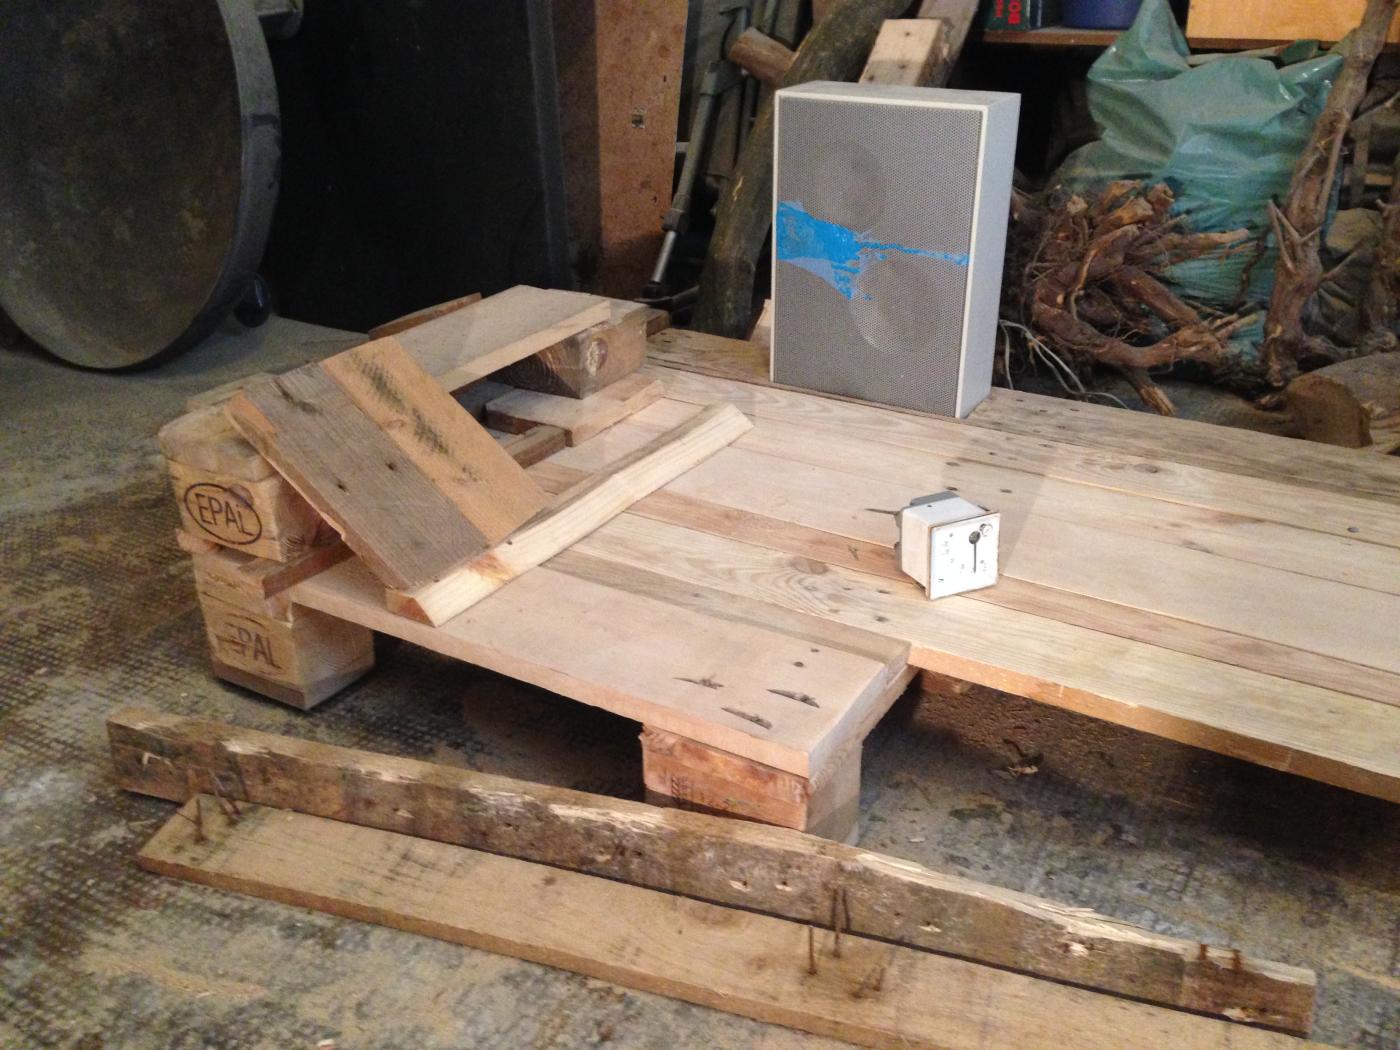
Sawing bevels! I experieced considerable shortcomings. Its not seen anymore in the finished dashboard, but i had some problems until it looked somehow ok. Just not used to this kind of stuff yet.
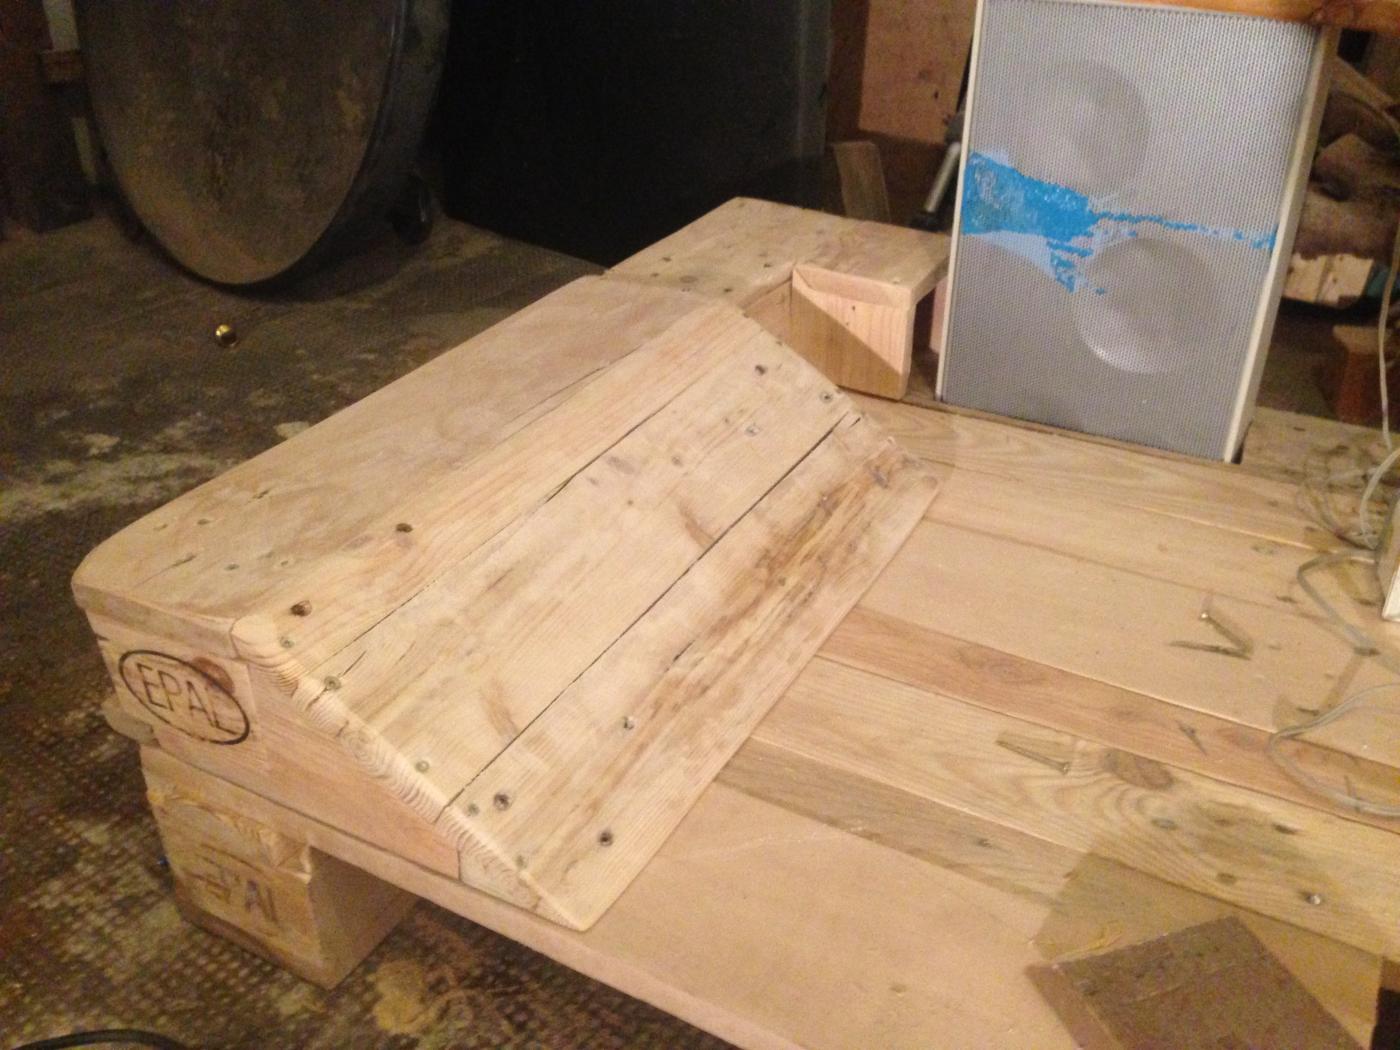
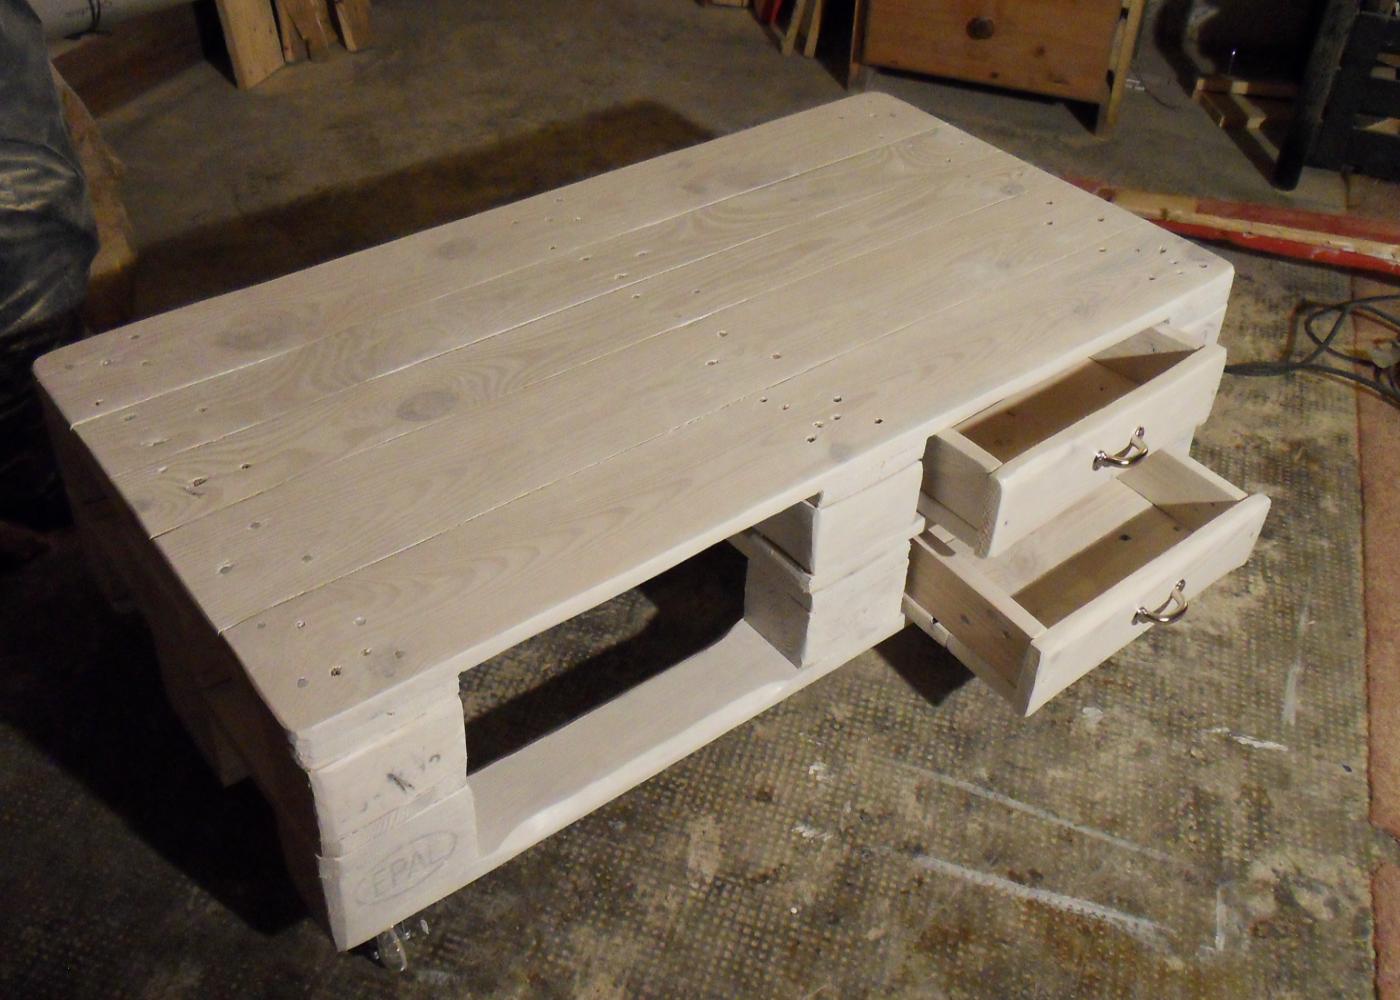
The tabletop was made quite easy compared with the dashboard, cutting the panels to size works quite well in the meantime and after some practise in earlier projects.
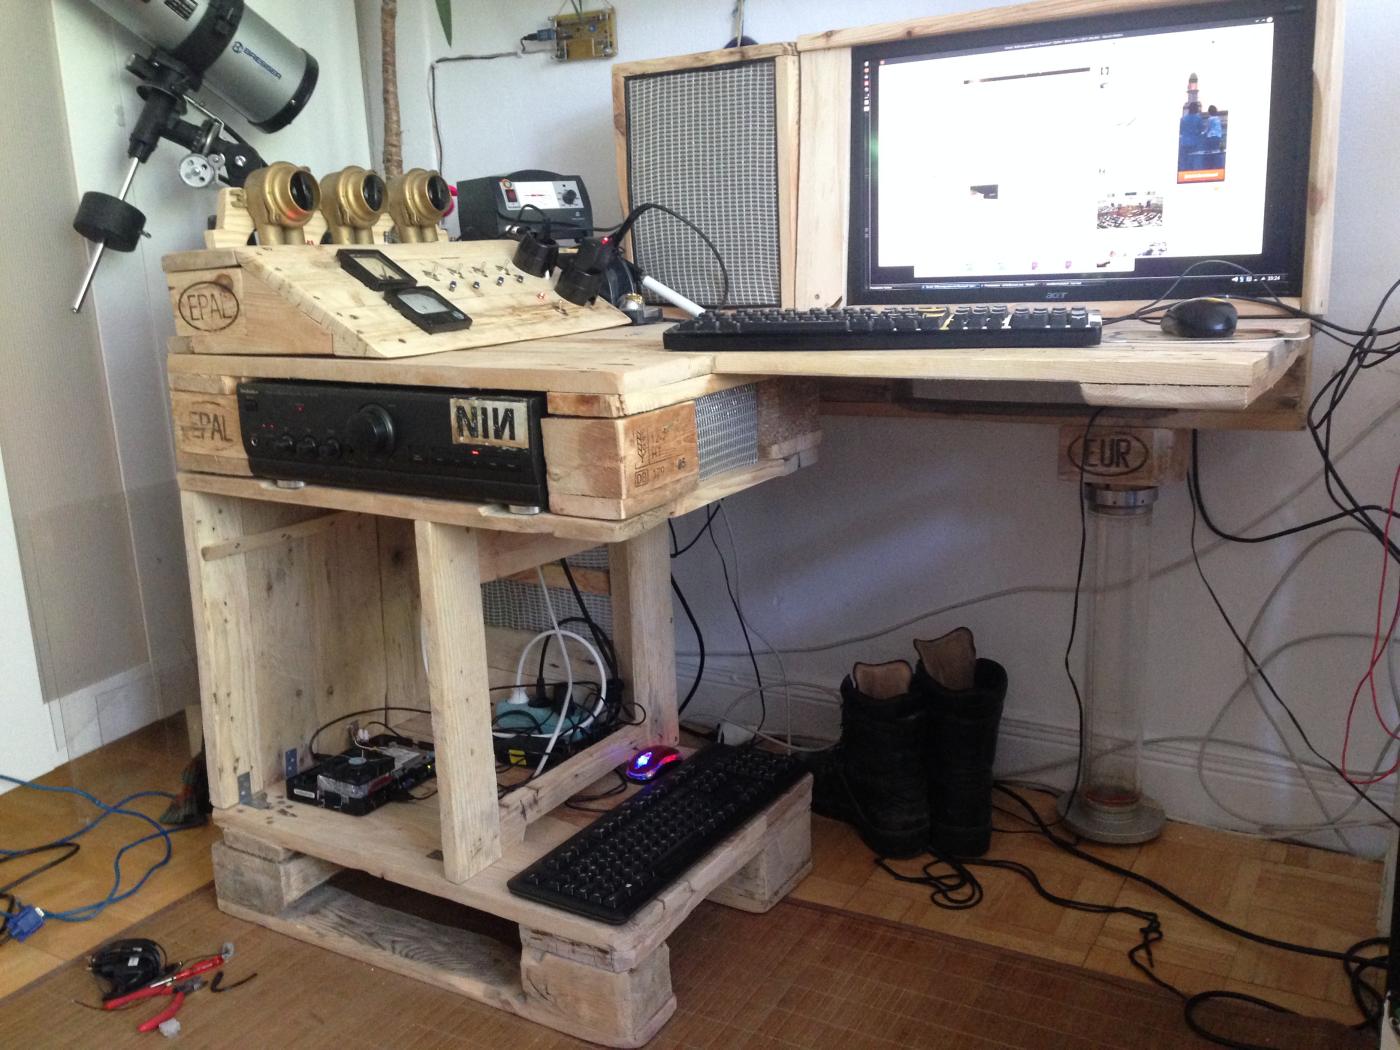
What to do with the dashboard? Insert cool switches, LEDs and instruments. In the desk panels, we’ll have about €100 worth of switches, cables and LEDs. There were some “must haves – the brass rotary switches are originally made for ships and did cost about €12 each. LEDs and switches are avaiilable at your online electronics store, old bakelite sockets and voltmeters were found partially on eBay (caution here: there are collectors items for nostalgia fans getting quite expensive) and partially from the flea market, where i found two handfuls of plugs and sockets for a fiver. For each one separately, its kind of “well, lets have it”, but it adds up.
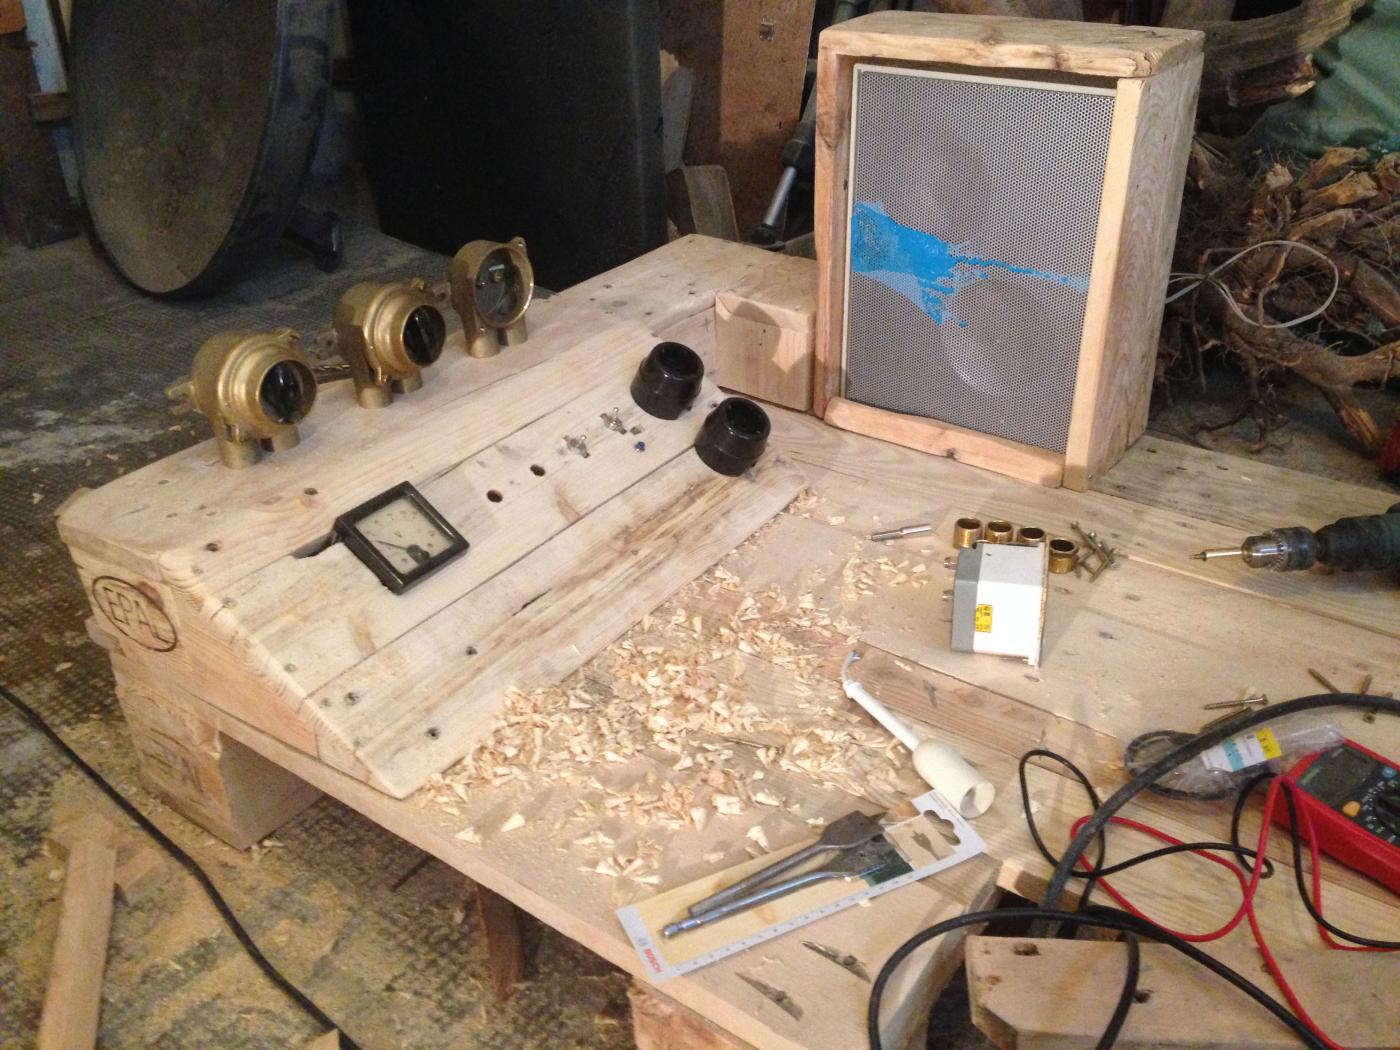
Speaker grillcloth was purchased at Tube-Town, they have many in the styles of various old amps. This is a Fender type grillcloth, “Silver Aged” for about €16 a sheet that was enough for both speakers and some back vent cloaking.
The whole must stand on something. In the foot cabinet, I wanted to place a little home server – a small Linux-TOR-server that runs only on the command line. But since I’m a coward needing a monitor for emergencies on the server, a monitor is needed in the footer cabinet, too.


This age-old 14″ did not survive the installation, however. On the first test run he produced some steampunky, crude vapor and passed away leaving considerable amounts of smoke behind. I don’t know why exactly, maybe a scorched capacitor, since it was really quite old, but I’m also suspicious regarding some preliminary cabling action – some cutted copper wire ends falling into ventilation slots or so. Whatever. I found an old 15″ and had to cut the frame to the new site, and that was it.
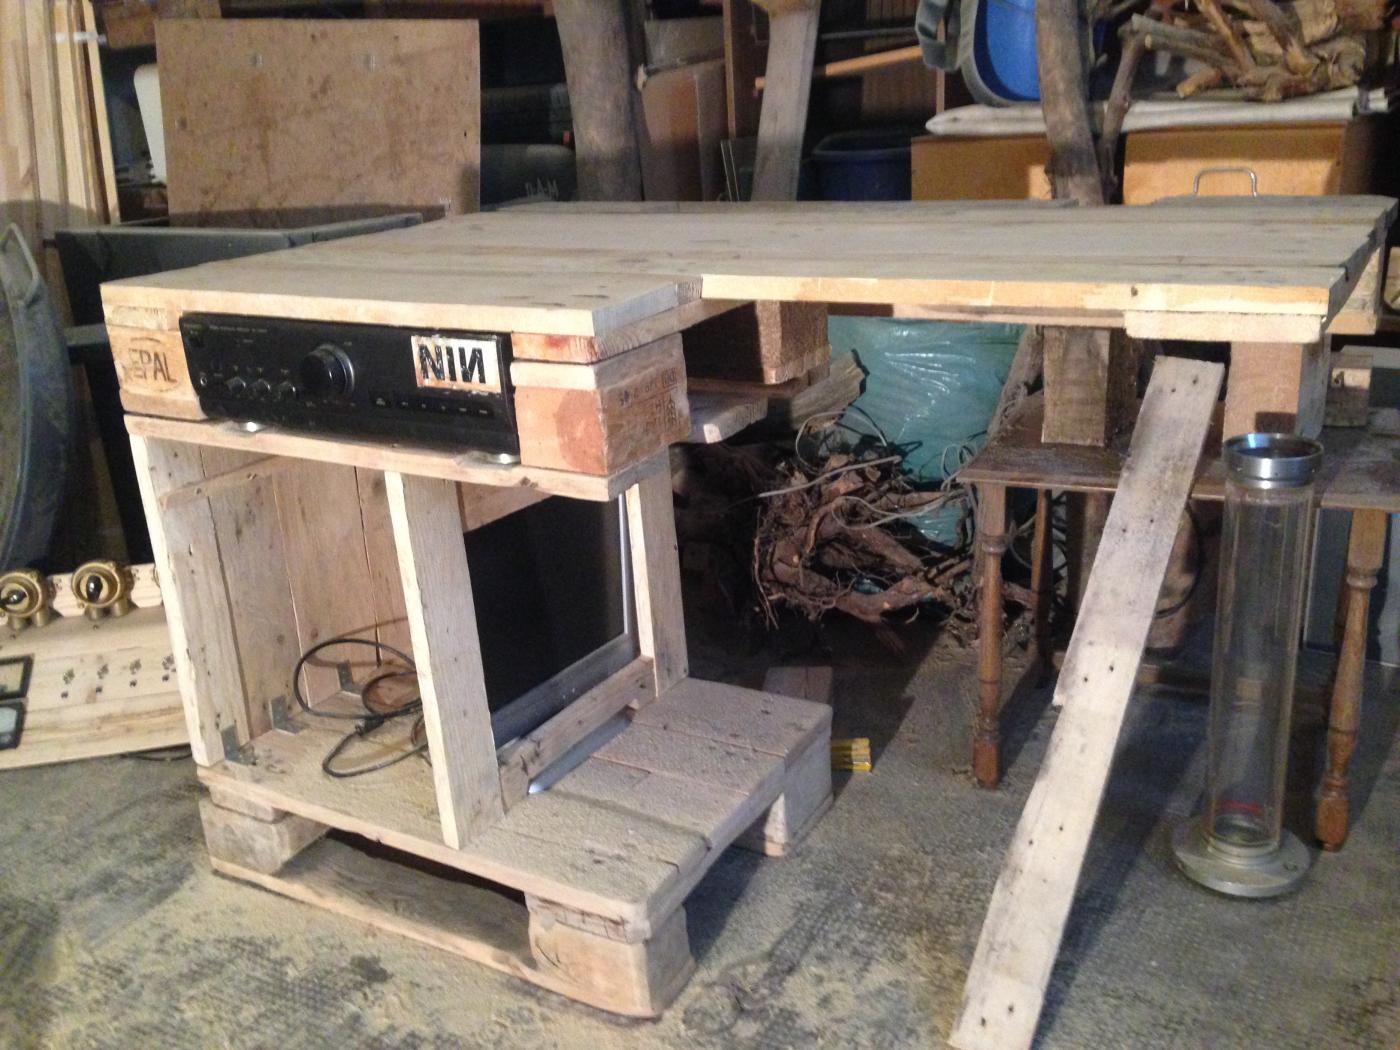
Slowly we move in the right direction. And after years of improvising, the amplifier fits in its desk cabinet.
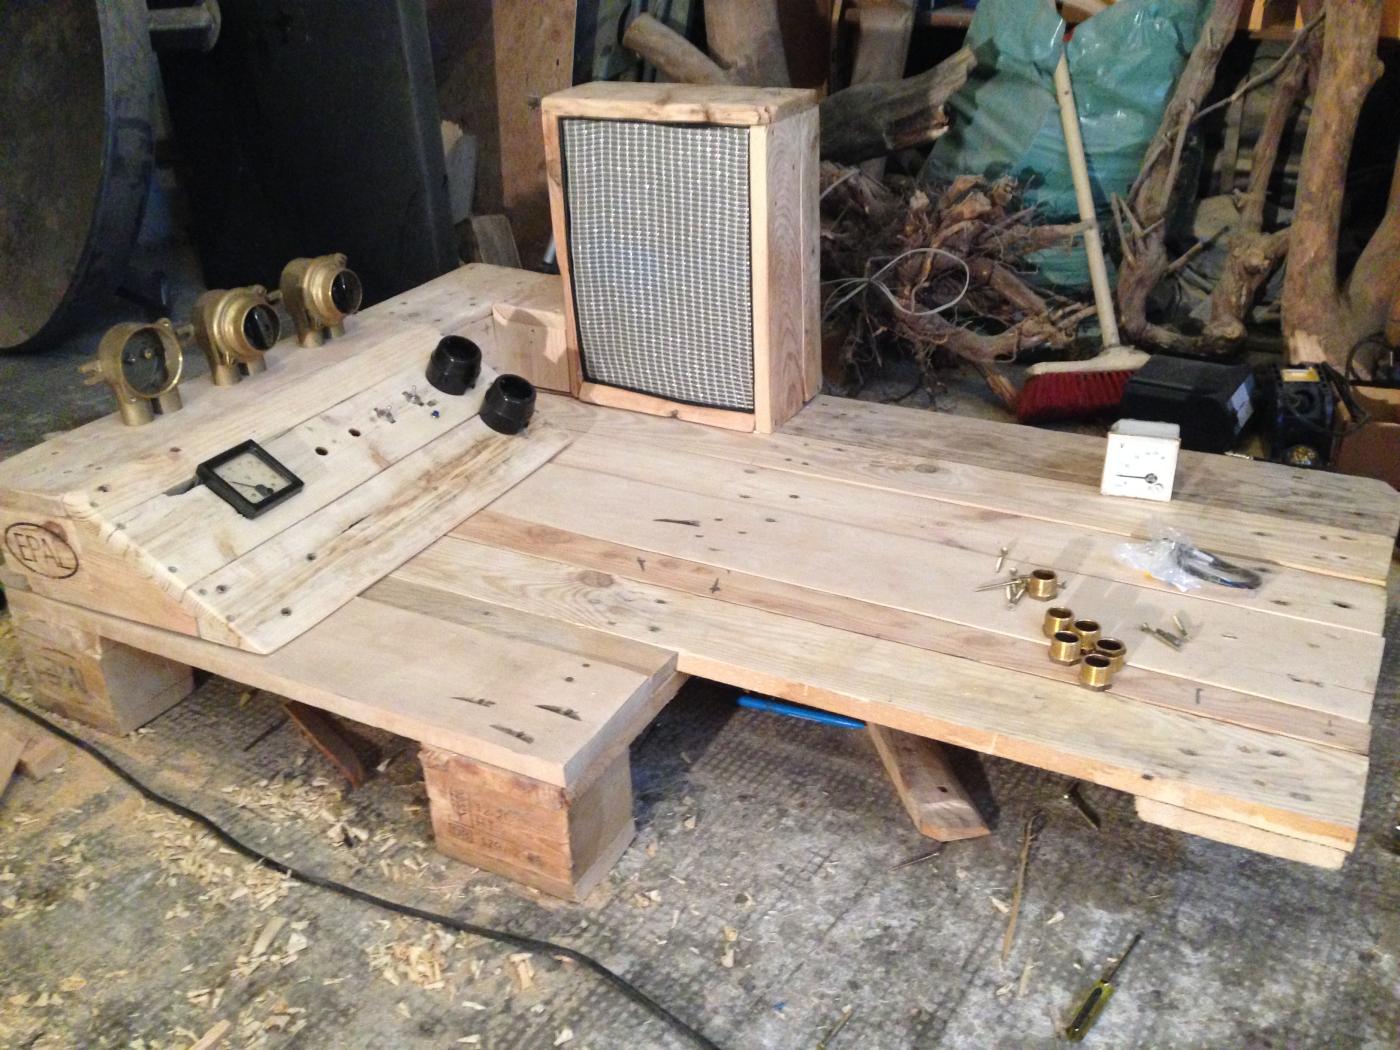
Better visible in the following picture: Tabletop and footer cabinet are connected by a plugged connection, nothing else. Two completely seperated parts, stacked. Same goes for the dashboard and the speaker and monitor canvas. On the one hand, you’ll want to get your hands on the internals from time to tinme. On the other hand: i’ll have to move the whole thing some stairs upward later 🙂
The ship fittings – the rotary switches on top – are some really solid and heavy stuff. First, i just wanted them mounted on top of the dashboard, but that would have become slightly unstable. Therefore, i made the “mounting frame” for their backs – and the compromise turned out as quite good looking. Currently, they switch from front to rear amplifier, Monitor 1 and Monitor 2. Take that, standby! Save power and have fun.

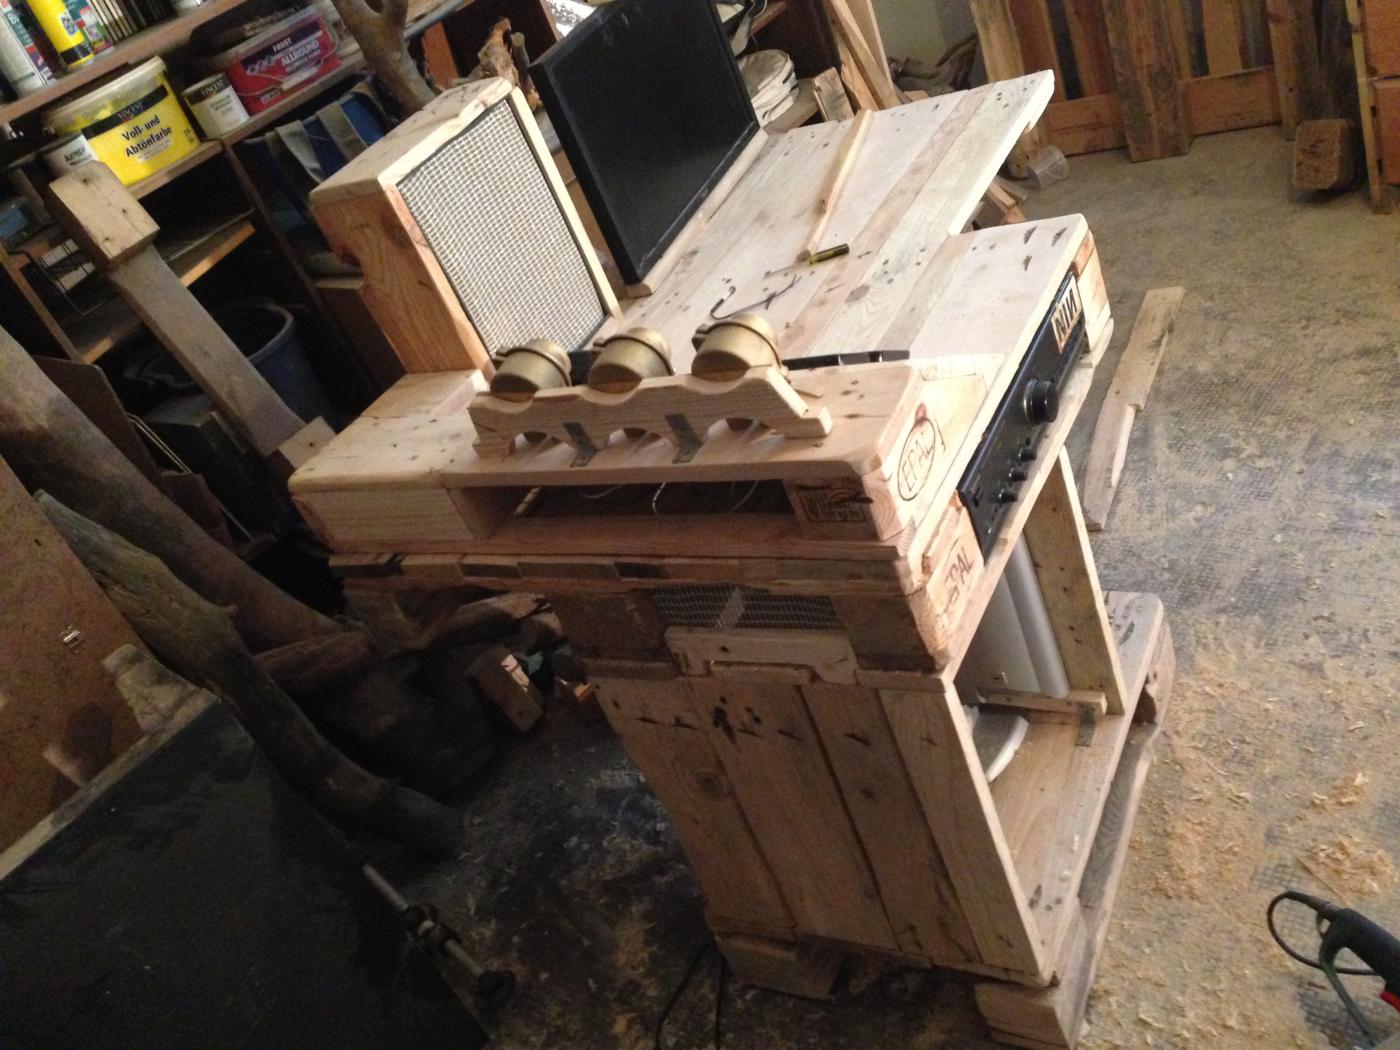
The wooden framing of the monitor and speaker: not as good as it could be made, but i wqas slighjtly tired and needed some progress. (Weeks later, i improved the monitor framing a bit and inserted two RJ45 Ethernet jacks).
Perhaps it is the wrong occation to tell stories on breaking cheap processor fans, the possibility to unmount old graphic card fans and cutting large aluminium heatsinks to size with the cut off saw in order to cool a small Atom barebone. Heck, these fans even work with old nokia phone chargers! But alas, we’re talking pallet furniture issues here, so enough of that.
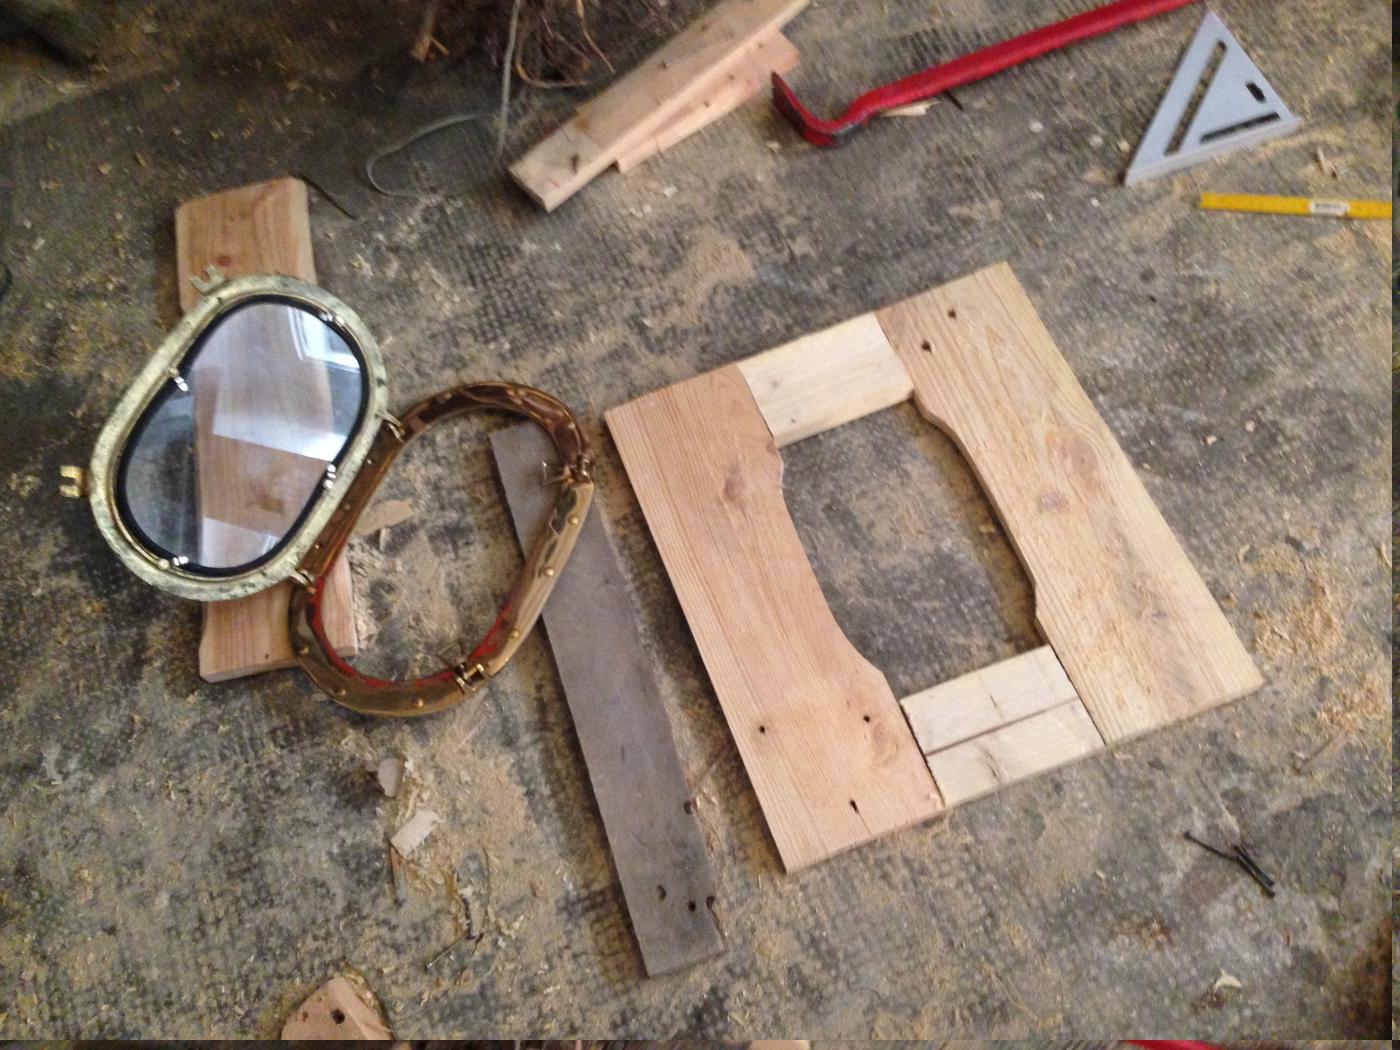
Final madness. First, I thought of “windshields” for the server cabinet front, since i have some leftover plexiglass from the old desk. Ebay was against me and showed me some ship portholes while looking for some ship switches, fittings and stuff. So, Portholes it was, then. What i saw first was just too expensive (original ship equipment) far too tiny or just, well scrappy. Still expensive, but yet reasonable and cool as hell: stuff from CaptnJimsCargo. They don’t ship to Germany, though. I asked friendly if they could make an exception. It ended with a very beautiful dialogue at work: “You’re late, traffic jam?” “No, had to pick up portholes at the customs office”. Shipping and customs included, two portholes at about €300. As I said, a slightly mad project, but why do normal stuff.
Porthole 1 small/oval: first, saw the frame to size, put wooden dowels into the front, mark the dowel tops with some wet paint, hold the front panel against them, drill on the spots.
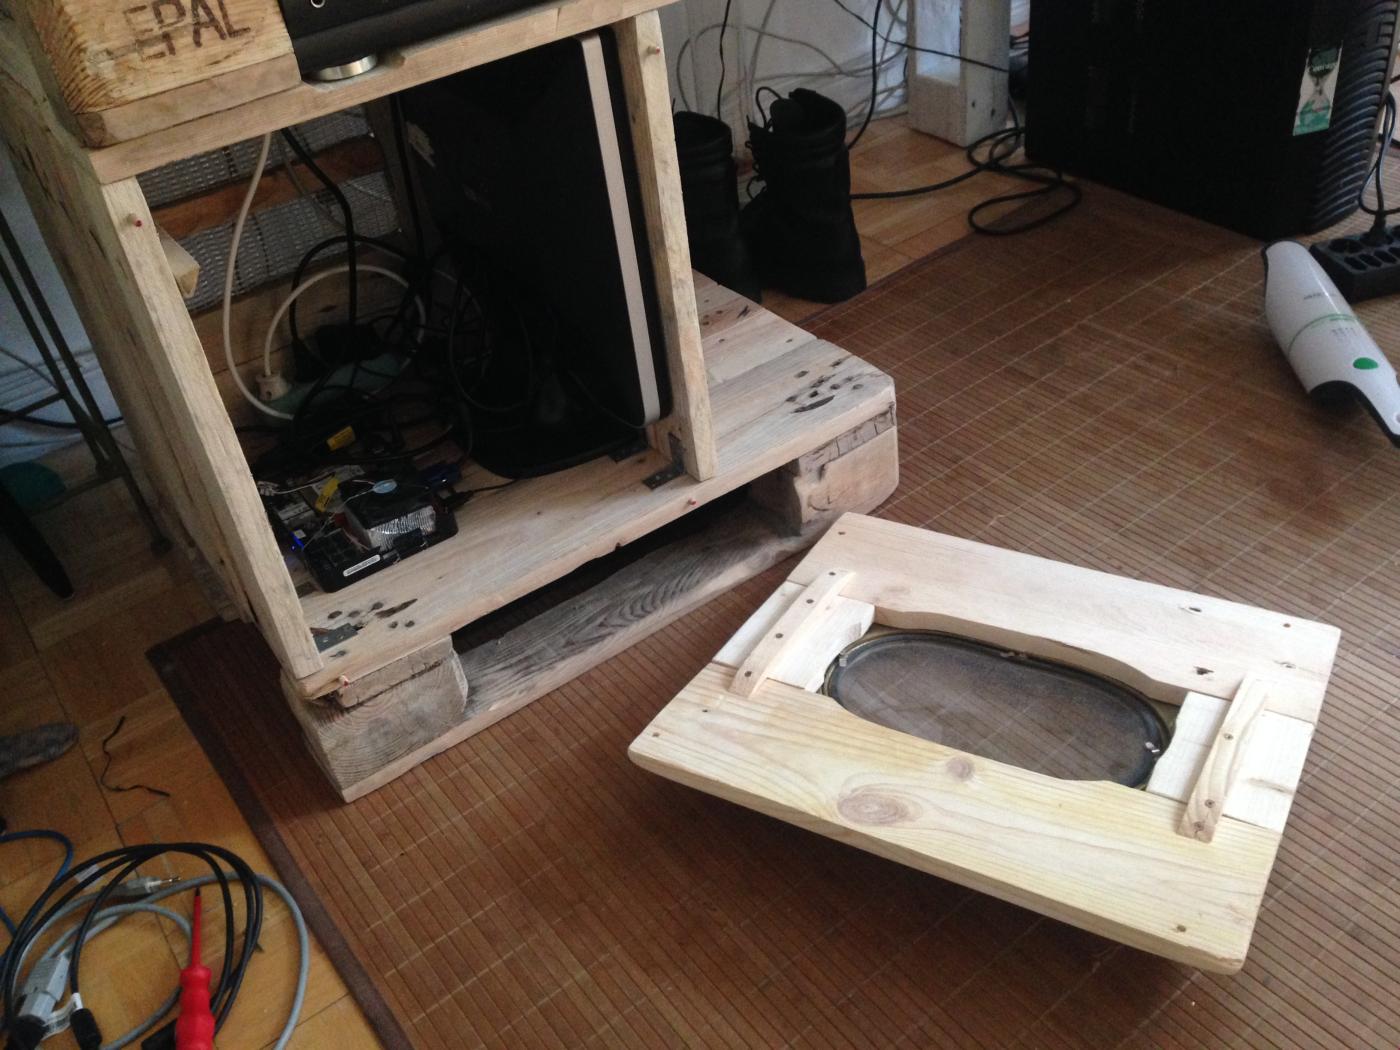
Fits fine, all right. Odds and ends: the rear is in part wooden board paneling, in part grillcloth for air vent purposes. For stability, on the back i placed one foot: also a “finding”, a… well, “transparency unit”? that I got from an old print shop and always thought hey, it looks cool, maybe i find something to build with it. Well, i did.
Part two follows in the foreseeable future, since its completed. Well, for now. here.

2 thoughts on “Steampunk pallet desk (with server) part 1”