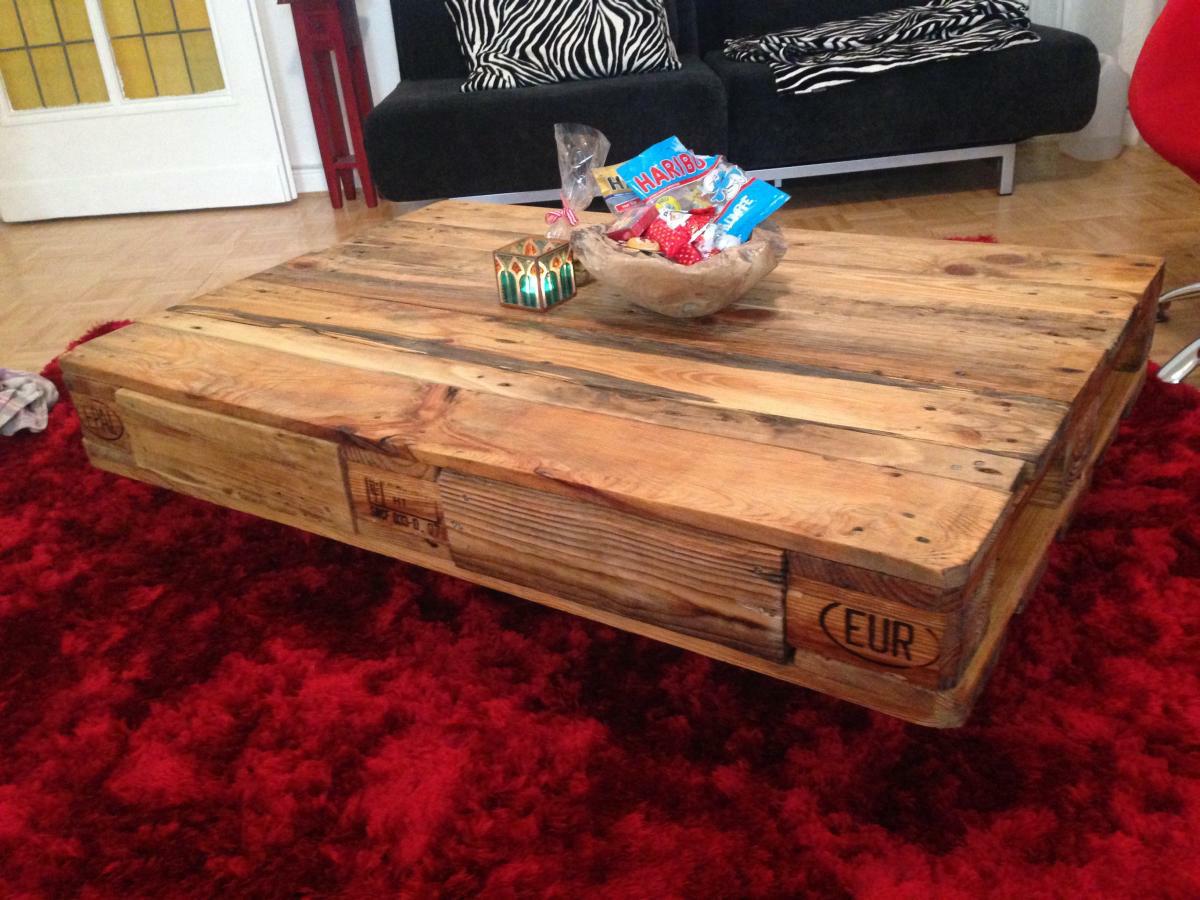
The Ikea side table was not what i really wanted for some pen&paper role-playing by the fireplace, something bigger and more appropriate was needed, and I was inspired by a “floating pallet coffee table” i saw somewhere on the net and thought, the dfirection is right.
A wrong direction would have been these “pallet, glass plate atop, rollers underneath” stuff which is seen often. I’d like something “pallet only” For that. Next: I want drawers! Therefore, again a warning: the result may look nice, but you don’t actually see all the work invested. Drawers are a real pain in the ass. Without drawers, its definitely easier to build, but hey, it’s cool and a challenge.
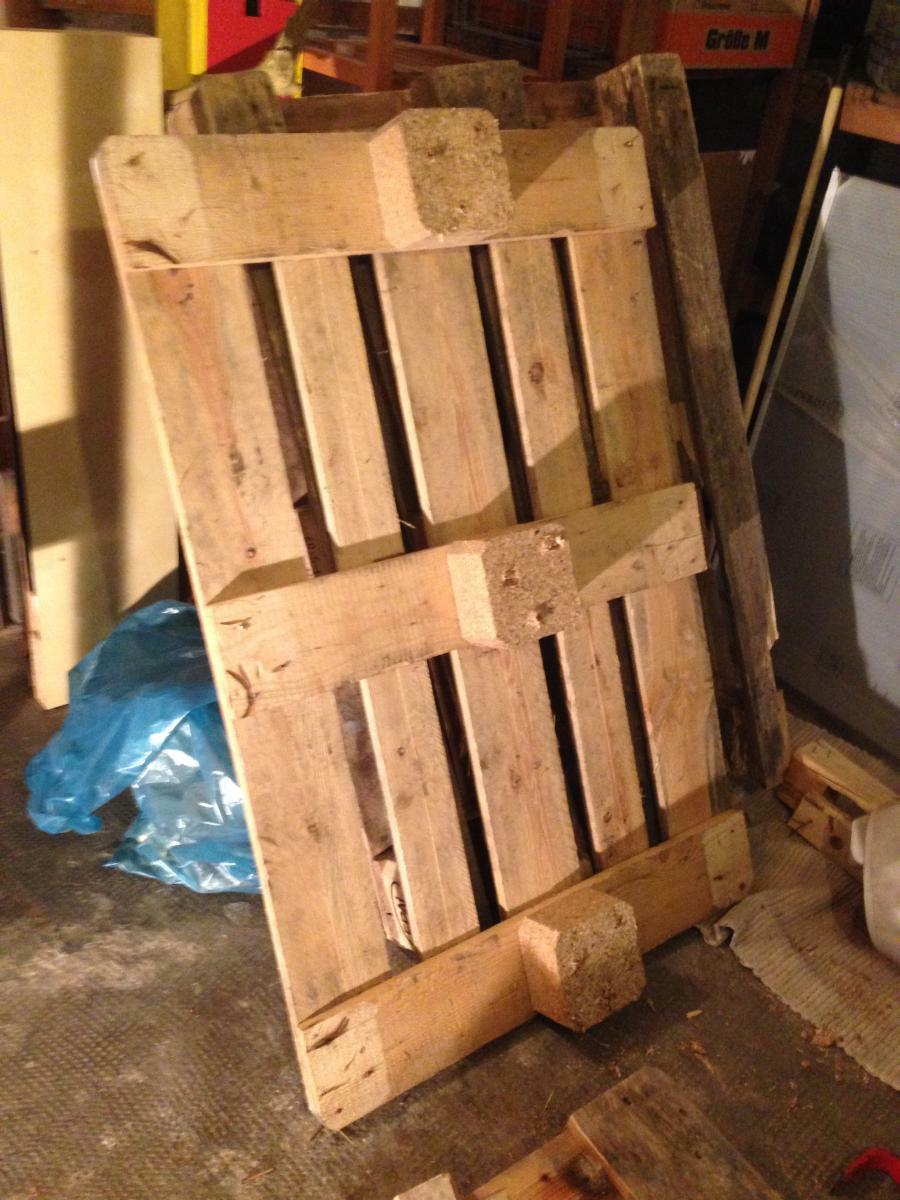
Requirements: three euro pallets, one of which is totally dissected throughout the process (mostly for drawers). One as the tabletop, one (partially) as base element. Next: I wanted the table only “one pallet height” high, otherwise it seemed “too thick” and the drawers would have been difficult to build and most likely look quite clumsy.
The tabletop
Here we go.
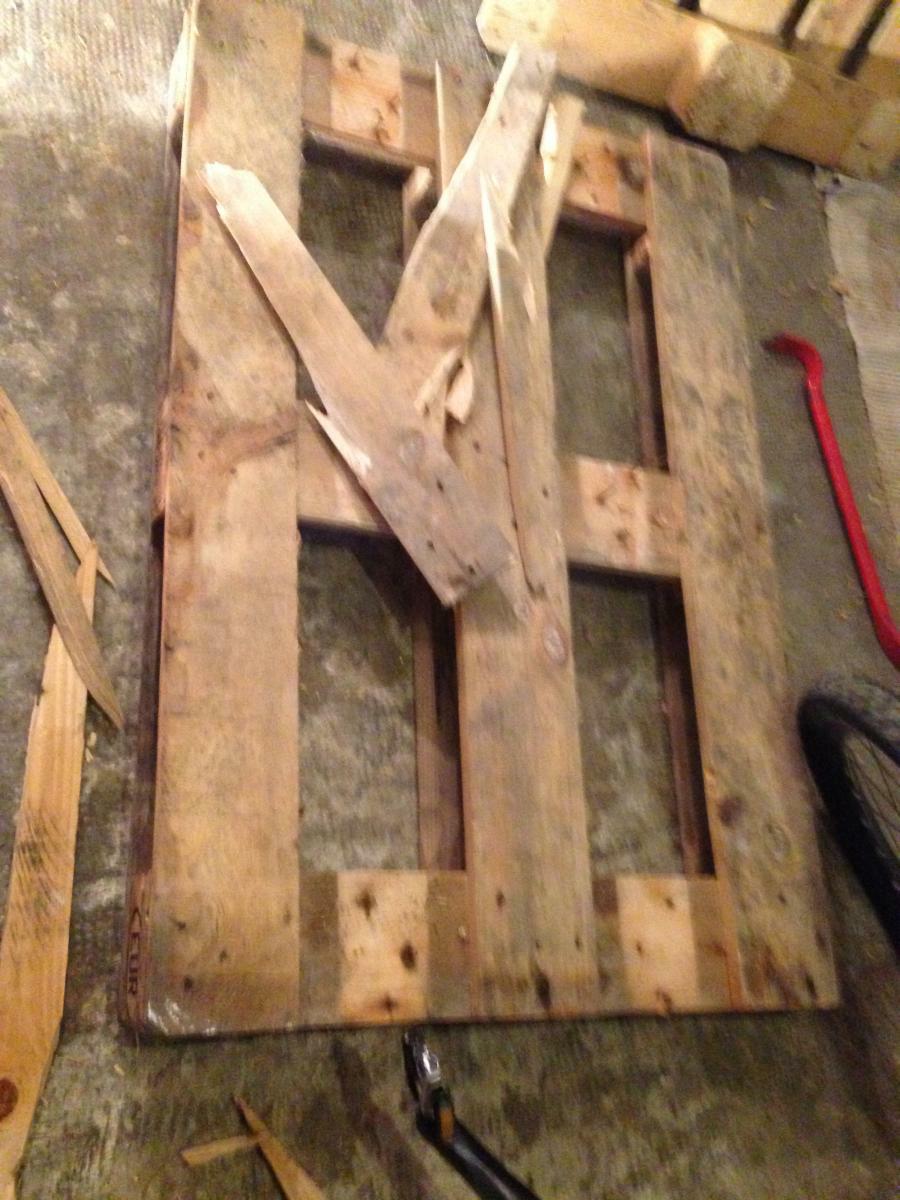

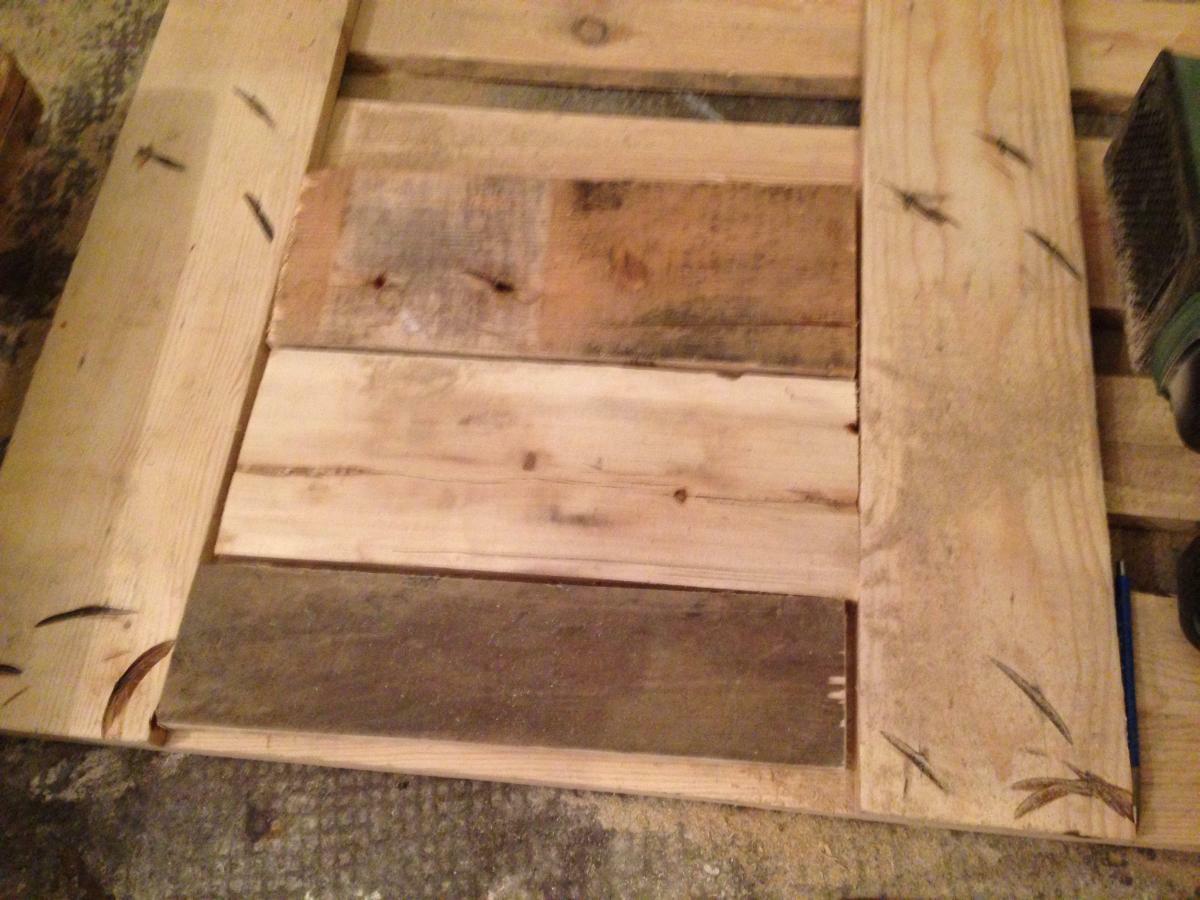
I want the table top without gaps. The boards on the spacers were heavily nailed, i couldn’t dissect them without major damage. So i took out the two “intermediade boards” and closed the first major gap with these. Well. With the “footboards” of the bottom pallet the rest will be ok, those were easier to dissect. Recommended: avoid damaged boards while disassembling, you’re glad about any good piece of wood later for the drawers.
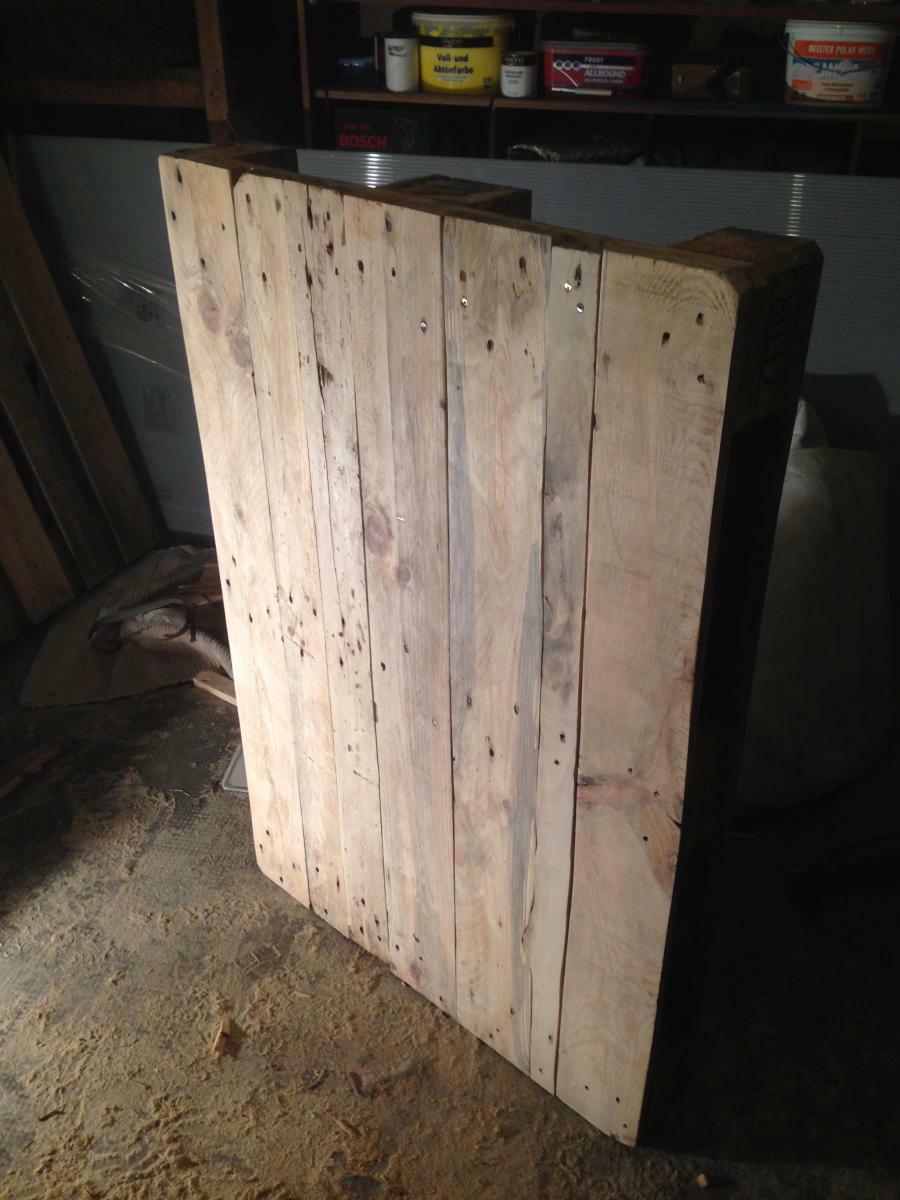
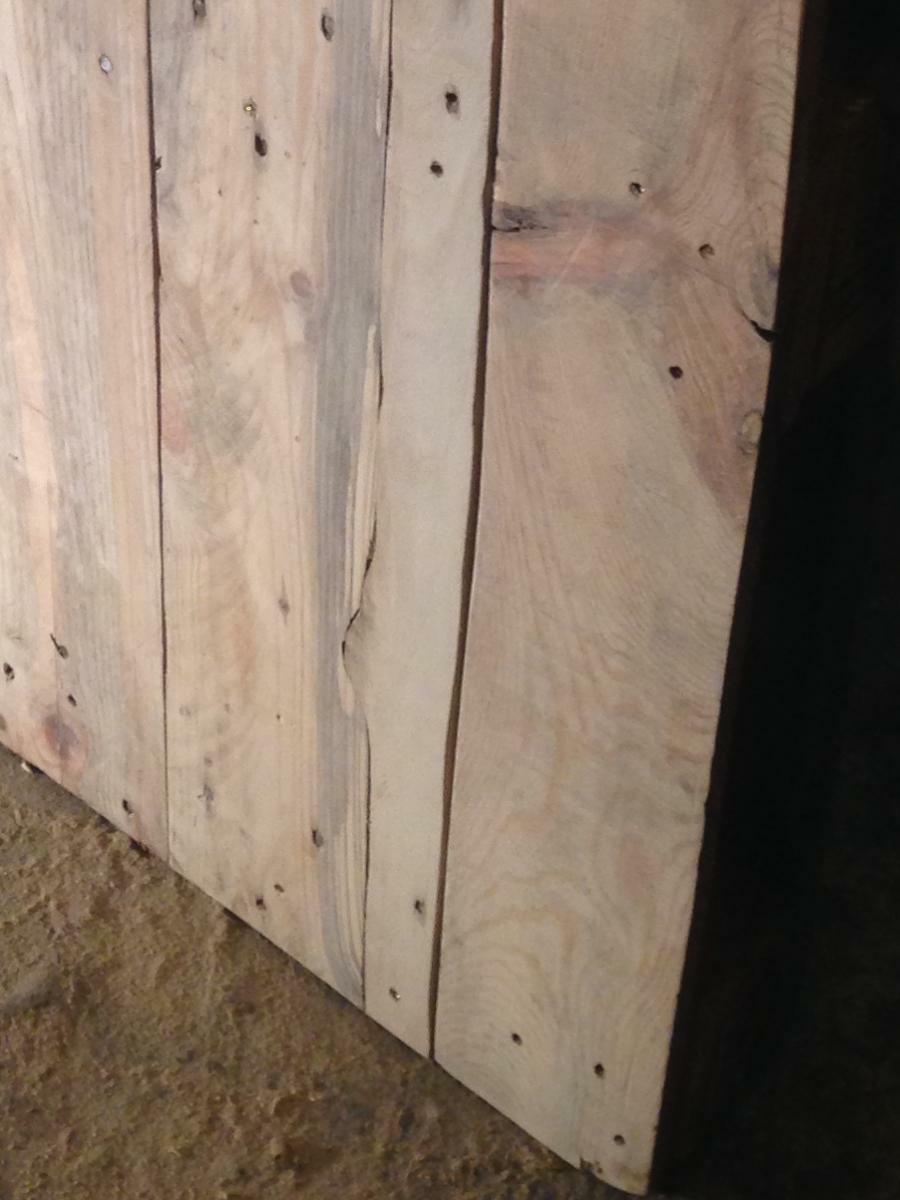
Sand everything, fill up the two gaps. The first board is easy, the second needs to be sawn to fit, and at the second gap, I had some artistic cutting because of a knothole.
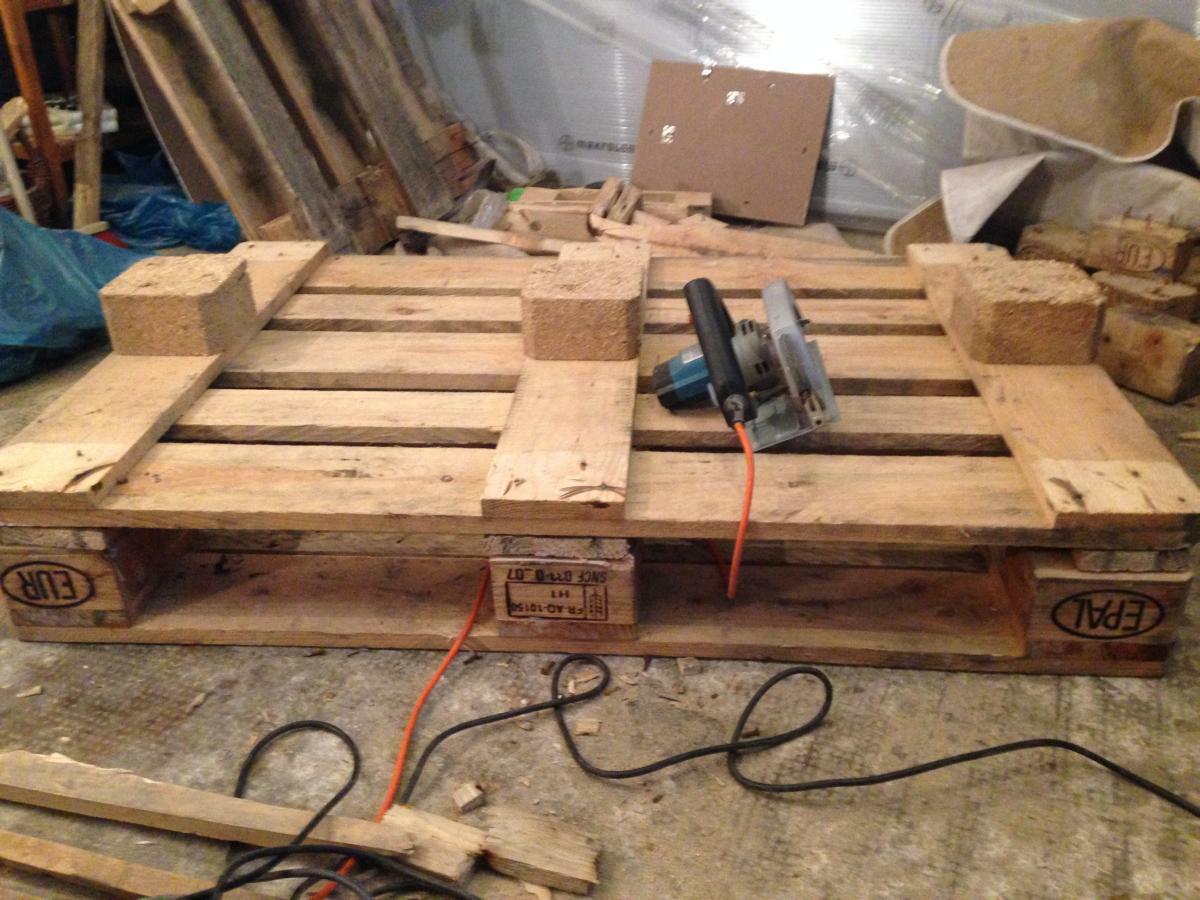
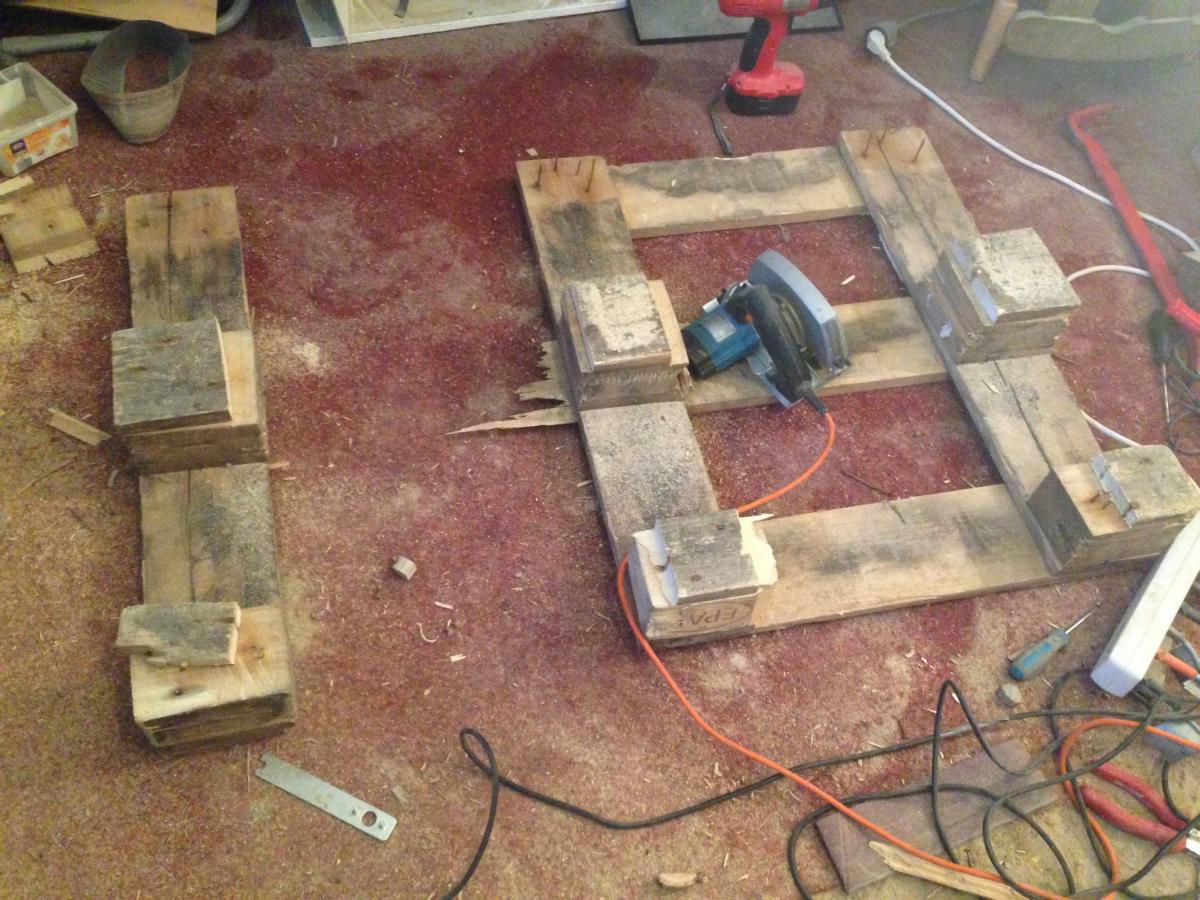
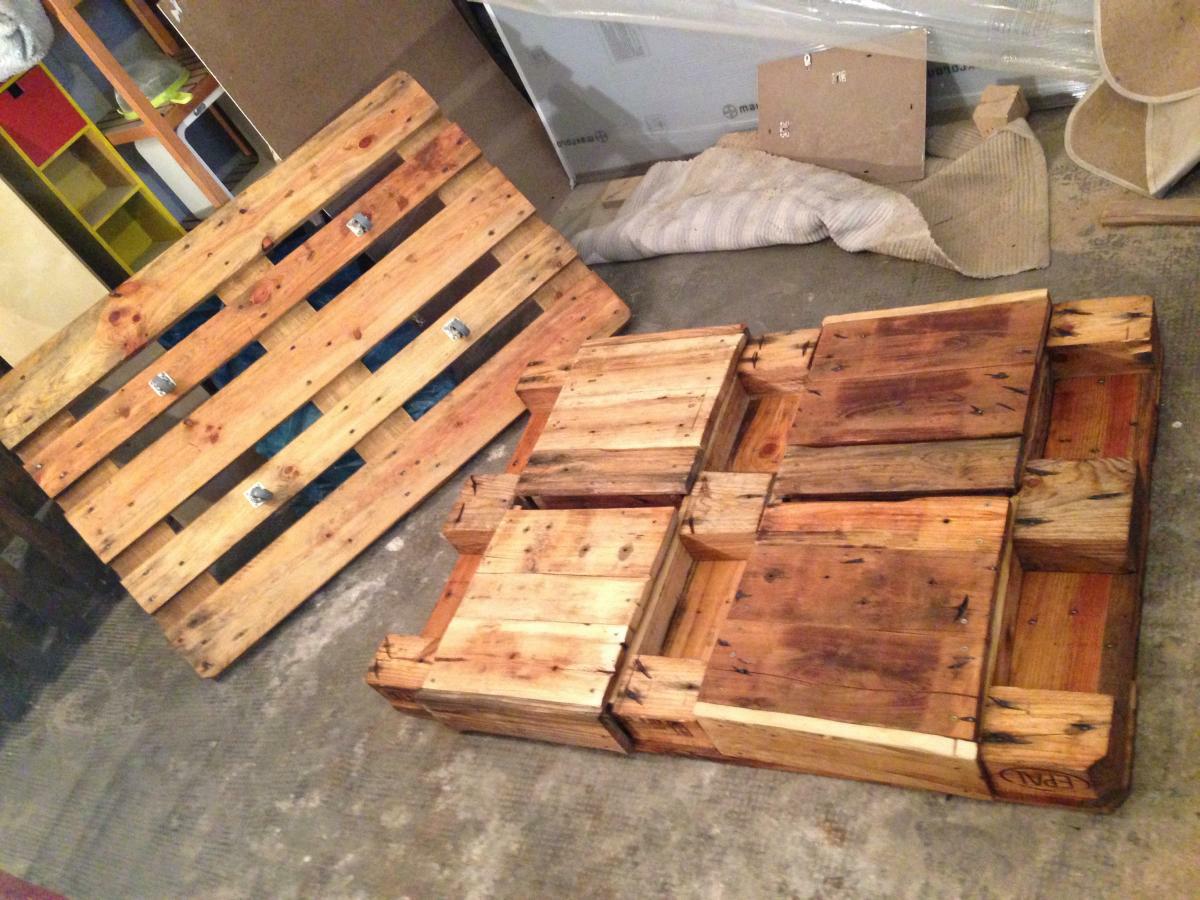
Turn over the tabletop pallet. Here (and later) i needed the circular saw. Background: the footboards were massively nailed/fixed to the pallet, i wasn’t able to loosen them without breakage, but I need (shorter, but unbroken) boards for drawers (especially their fronts) with a little more length than the gaps between the spacers.
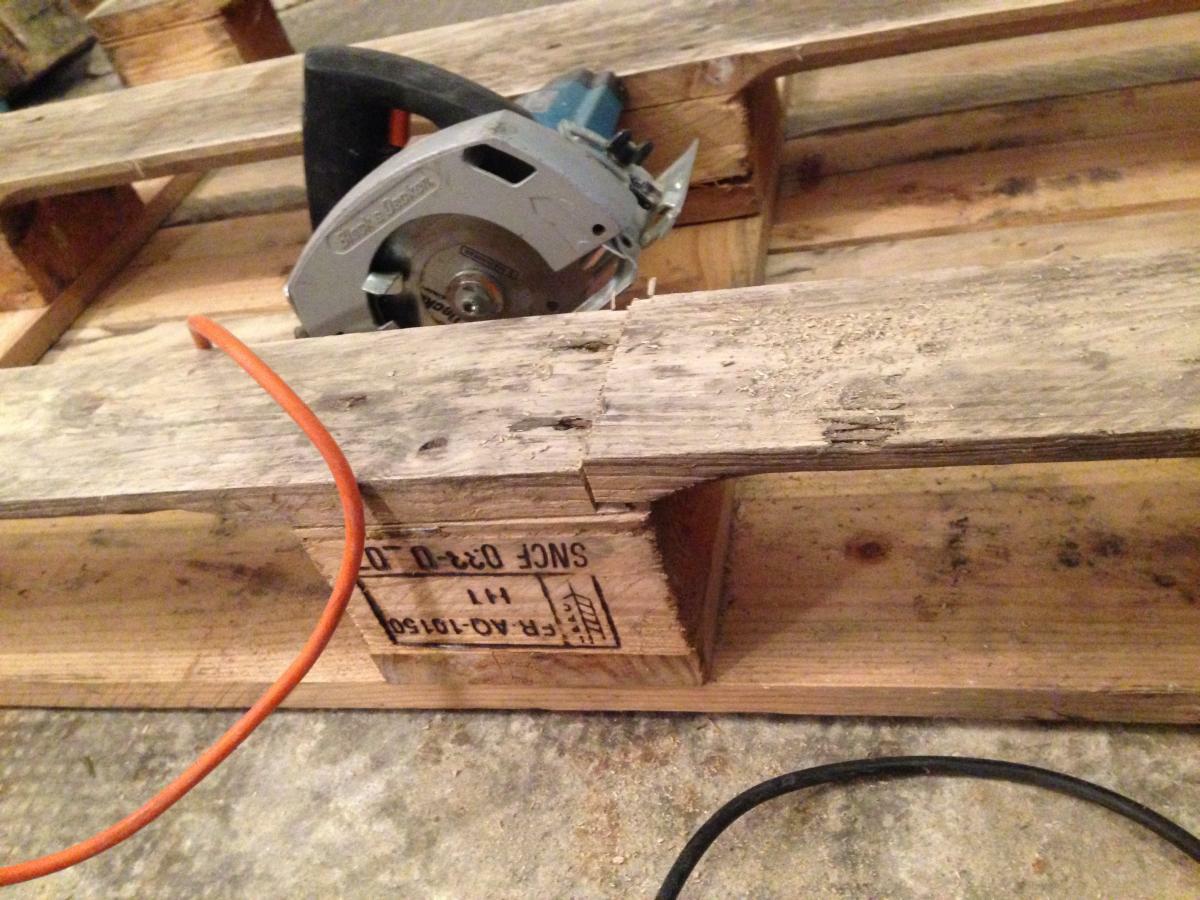
Therefore i saw the boards with the circular saw, right cut depth just reaching the spacers, and ideally cutted right next to the first nail (you remove the wood remnants easier then, moreover you get longer boards, which are more flexible in latter use). You’ll need good “drawer material” later and here it is. Wood remnants are easily removed with the crowbar, nails via cutoff-saw. Afterwards. i put the bottom pallet atop the spacers for testing the look and proportions: fine. Remove the leftover center spacers. Combine, this time the upper part up.
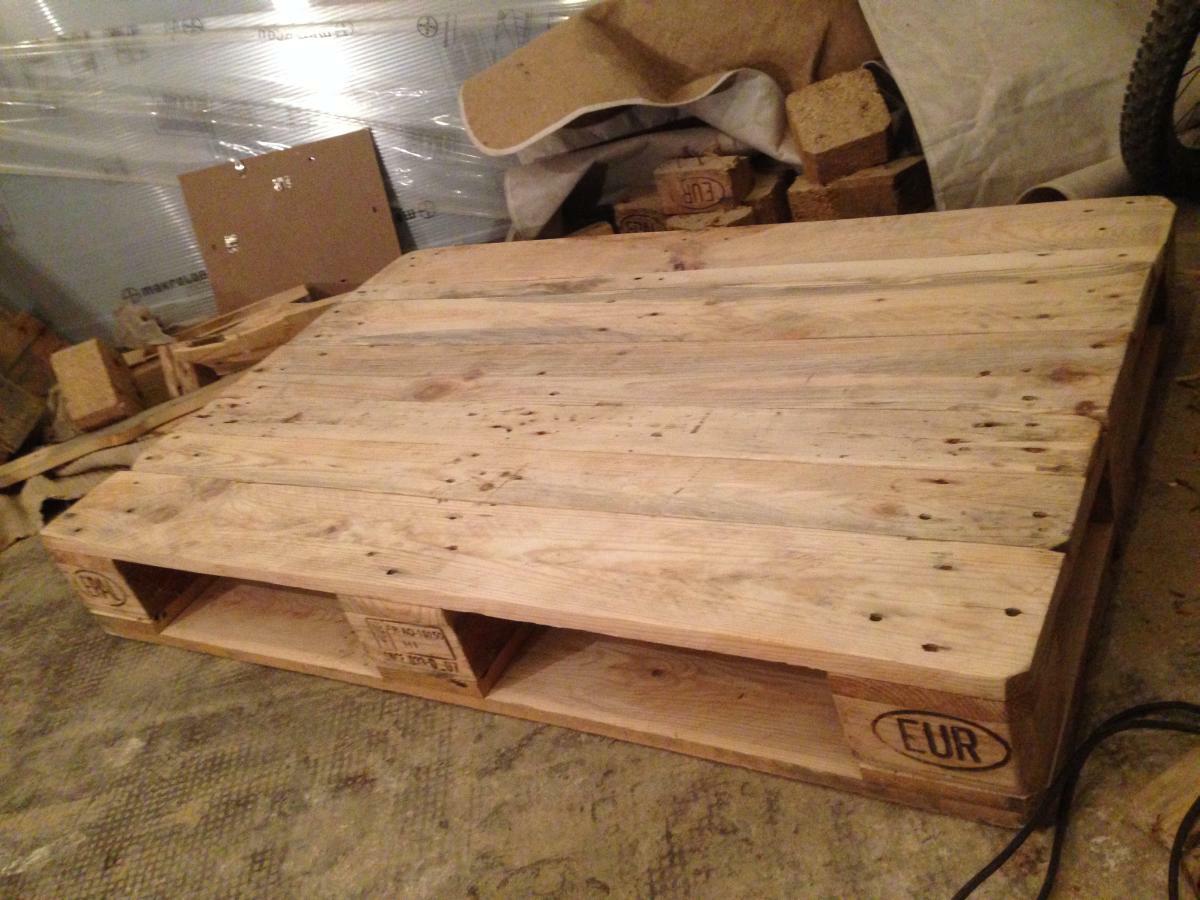
Note: the spacers are fixed at the “table top pallet”, the lower pallet consists only of the boards, without any pallet feet/spacers anymore.
The drawer slides
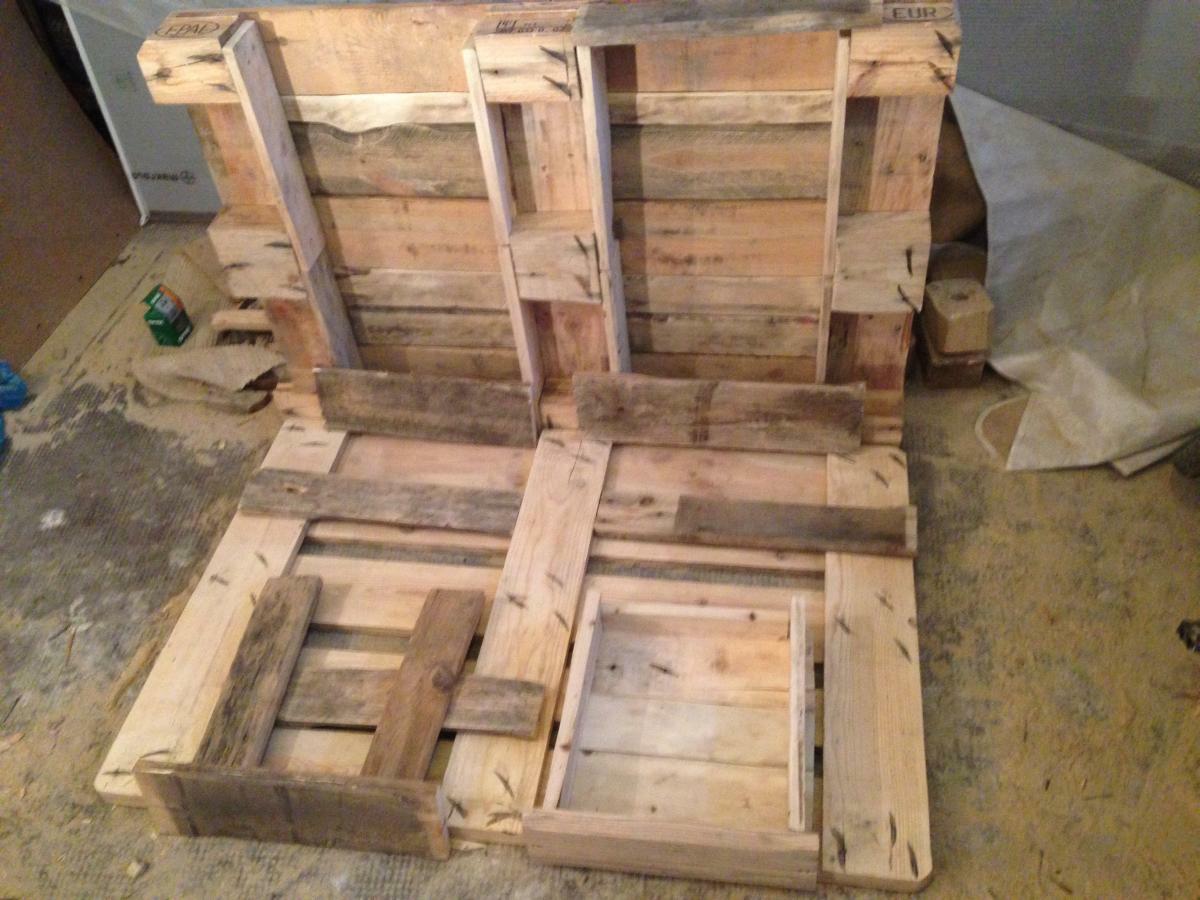
The plan: make the drawer floor almost as wide as the gaps between the planks connecting the boards of the lower pallet. The drawers themselves are again significantly more narrow than the gaps between the spacers. The supernatant drawer bottom acts as a “guide rail”, above which are “guide boards”. I build This slightly too high in the first attempt – make the drawer sides a centimetre lower than the space to the tabletop and avoid additional corrections afterwards. Generally – leave a bit more space then you think you need. At least i did it this way here and with every drawer later (i built quite some) and its a lot of work without correcting afterwards, too.
First “guidance board” mounted on the left, some more (with some recycled broken panels) right.
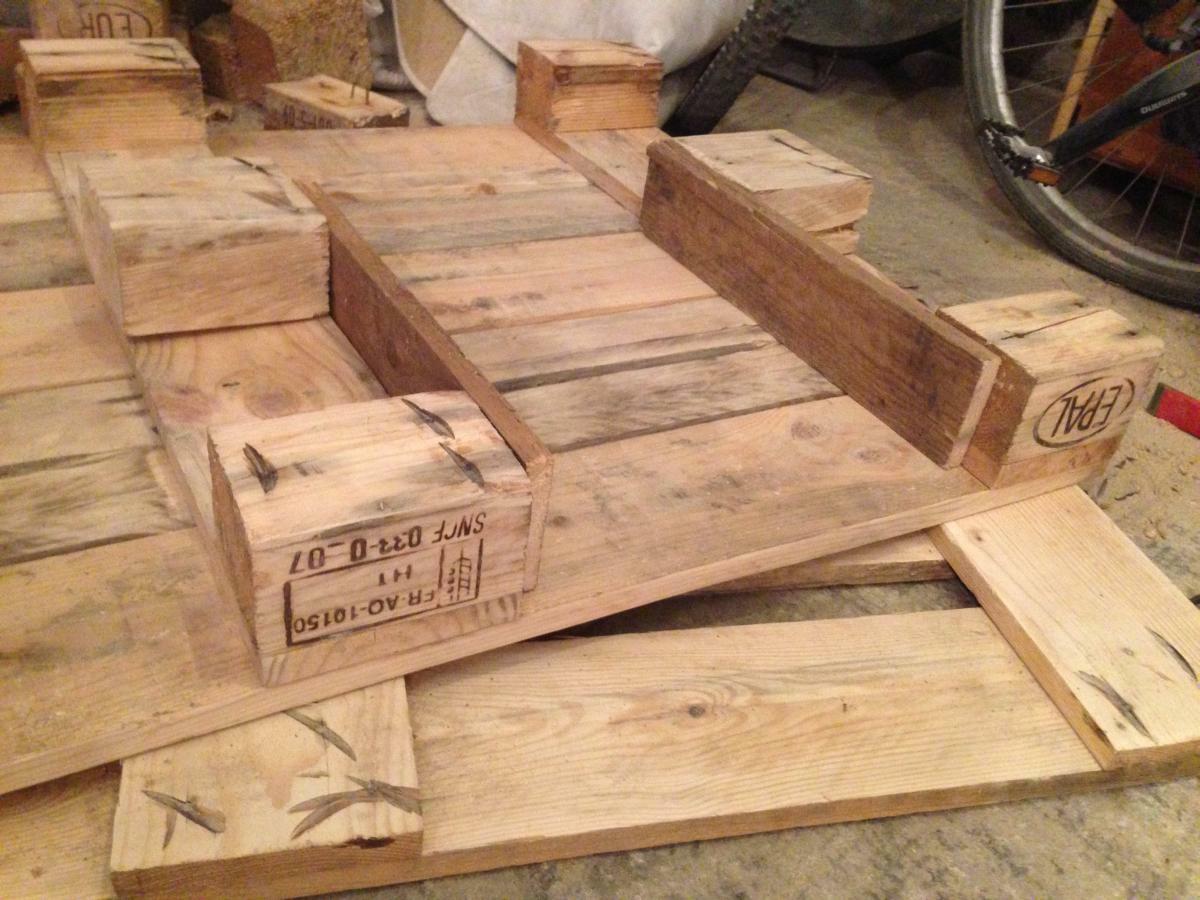
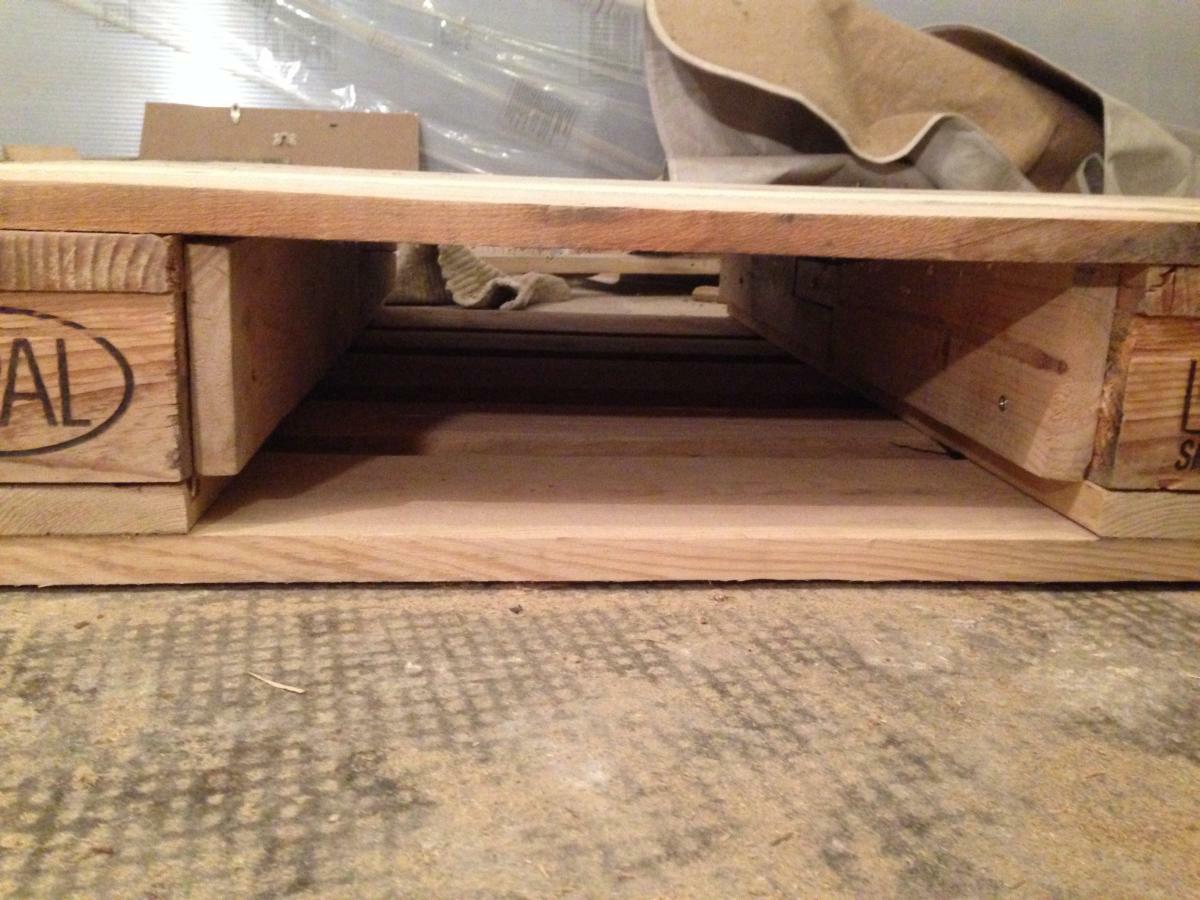
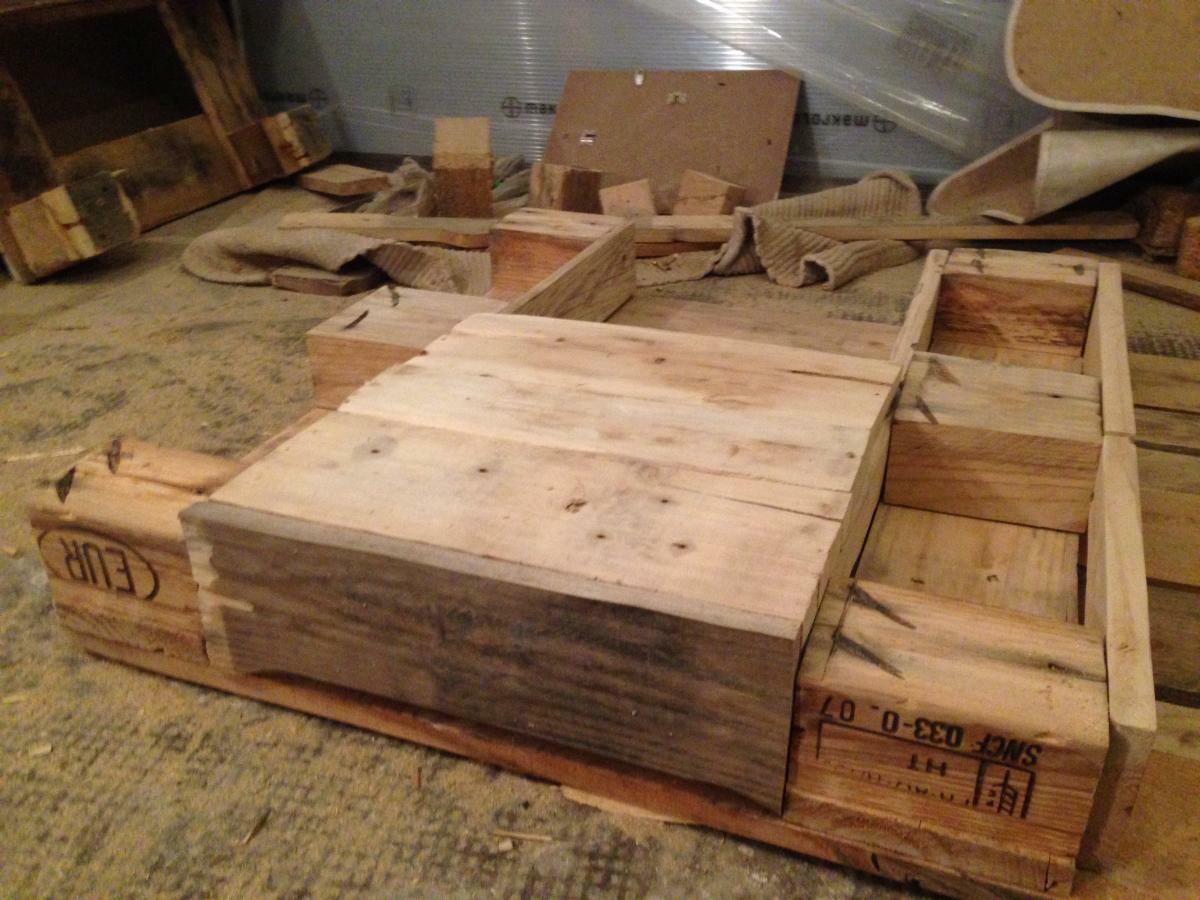
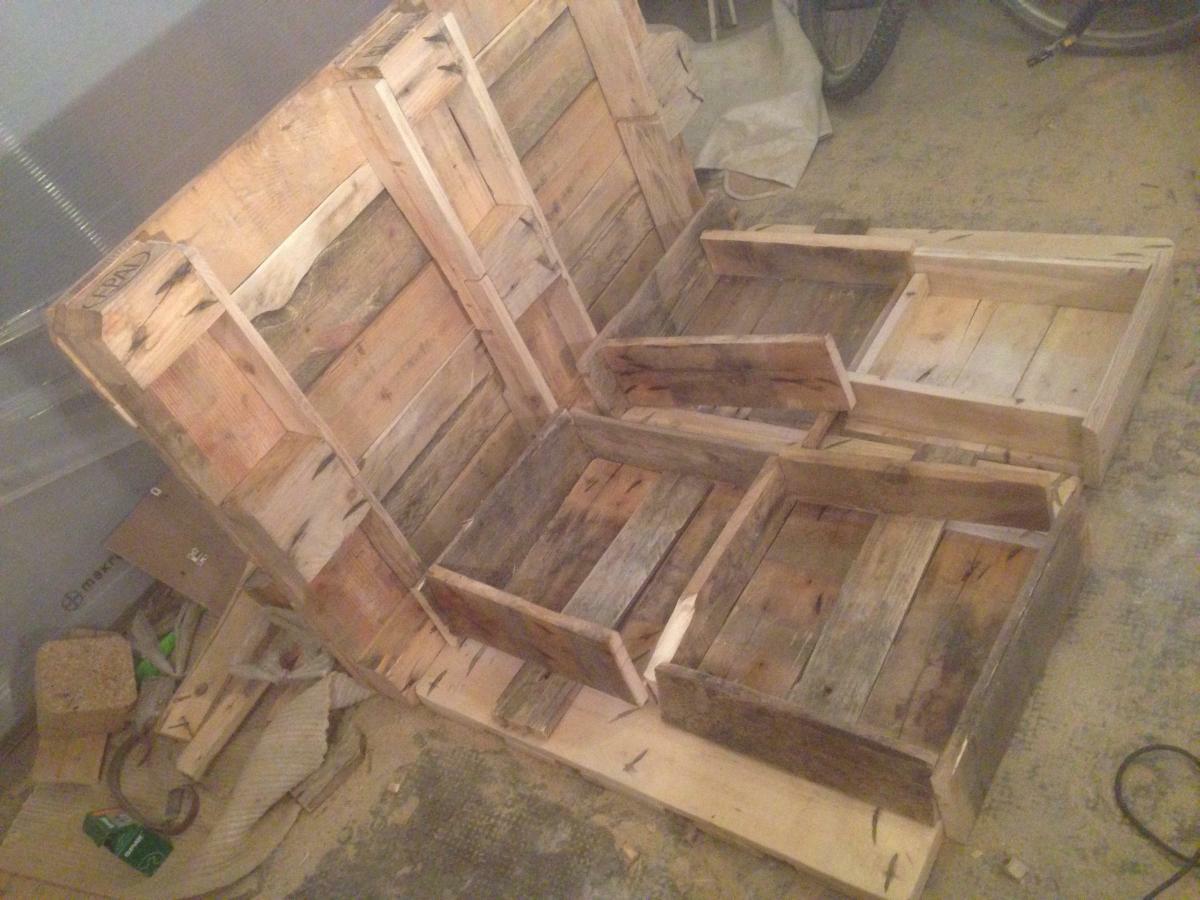
This is the beginning of a lot of sawing and sanding. Saw all “guide boards” into fit (as told, have them a little less high than I have them here), sand, assemble. In the frontal view onto the “folded-shut” table you can see where we’re heading. I had the vague hope that the emerging “small side niches” would also look nice, but in the end you don’t see the rear walls at the finished object.

Drawers
Floor: as available, i used two of the “broader” pallet boards and one of the narrow kind. For side and rear panels you’ll have to take whats there, the more broad pieces you can use for floors, the betterr 8and the less construction efforts). The front gets important again: I liked best the “sawn out footboard parts” because of their carvings on the edges. Moreover, they were quite likely to come out as very beautiful wood, once sanded and oiled.
The first drawer. Cut the Floorboards to a width leaving a centimeter space at both sides to the “bottom pallet guidances”. Sand, assemble the sideboards (I made this in the later drawer hole with guidance boards as an assembly help for easier work, see the picture below). Also cut/grind/attach the front board.
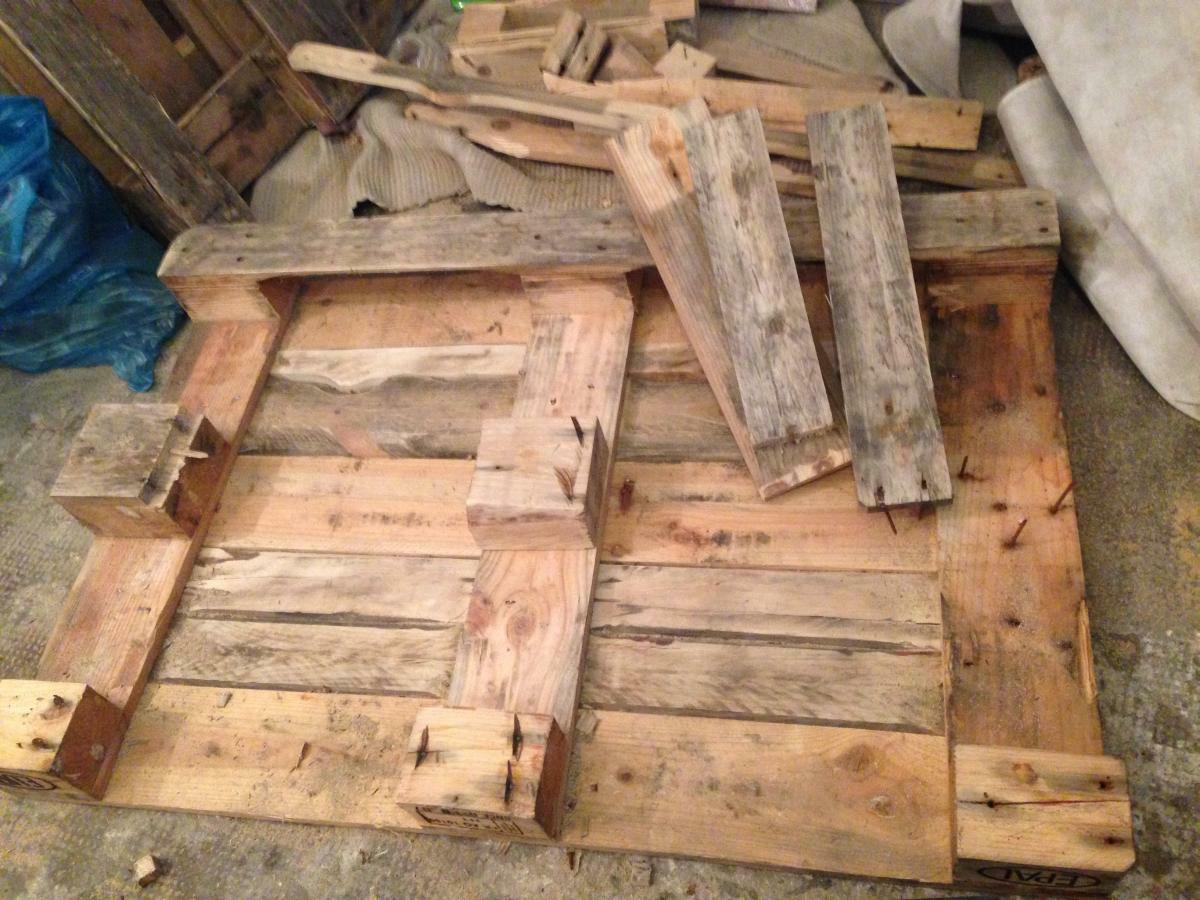
Then i inserted the first finished drawer and noticed how laborious the following three additional drawers will become. Took a deep breath and noticed that i’d run out of wood in any case. That was the moment I completely dissected another pallet.

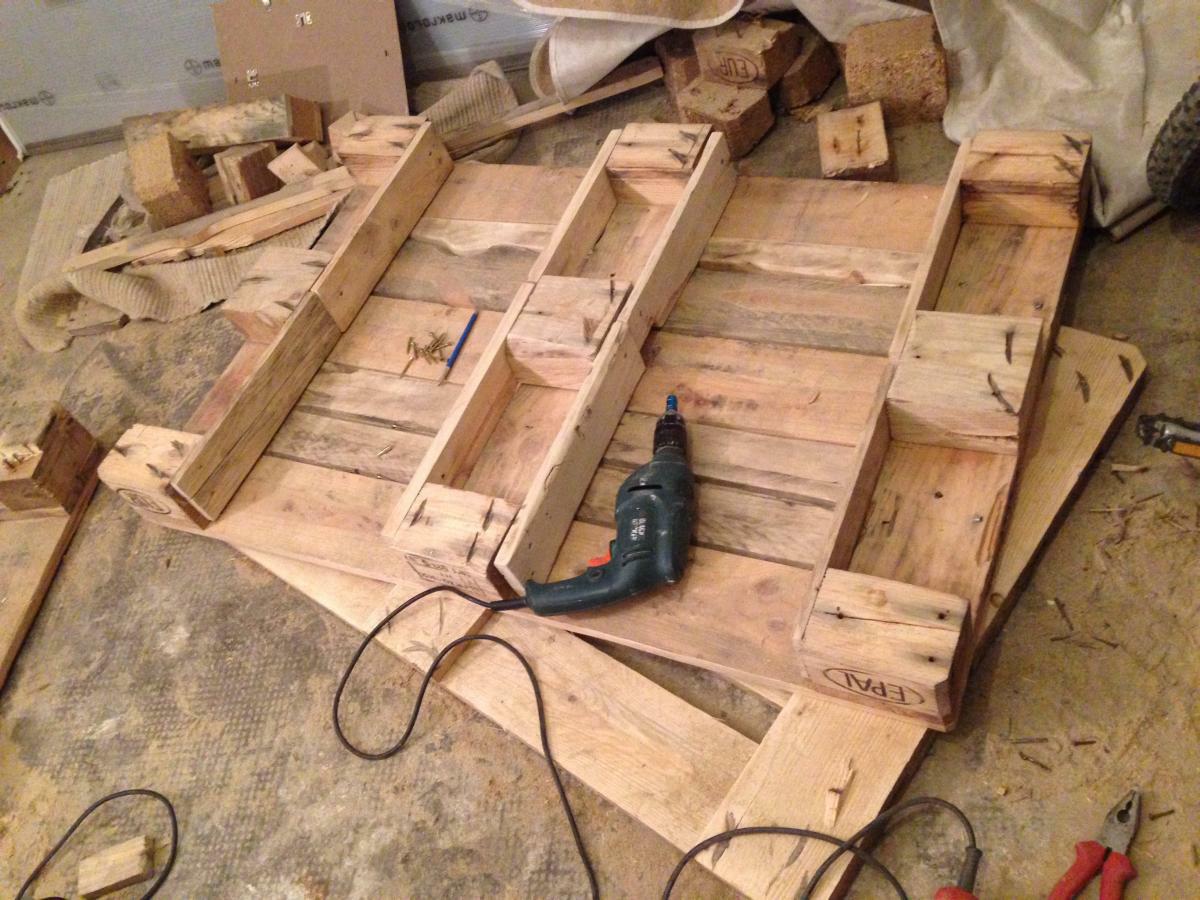
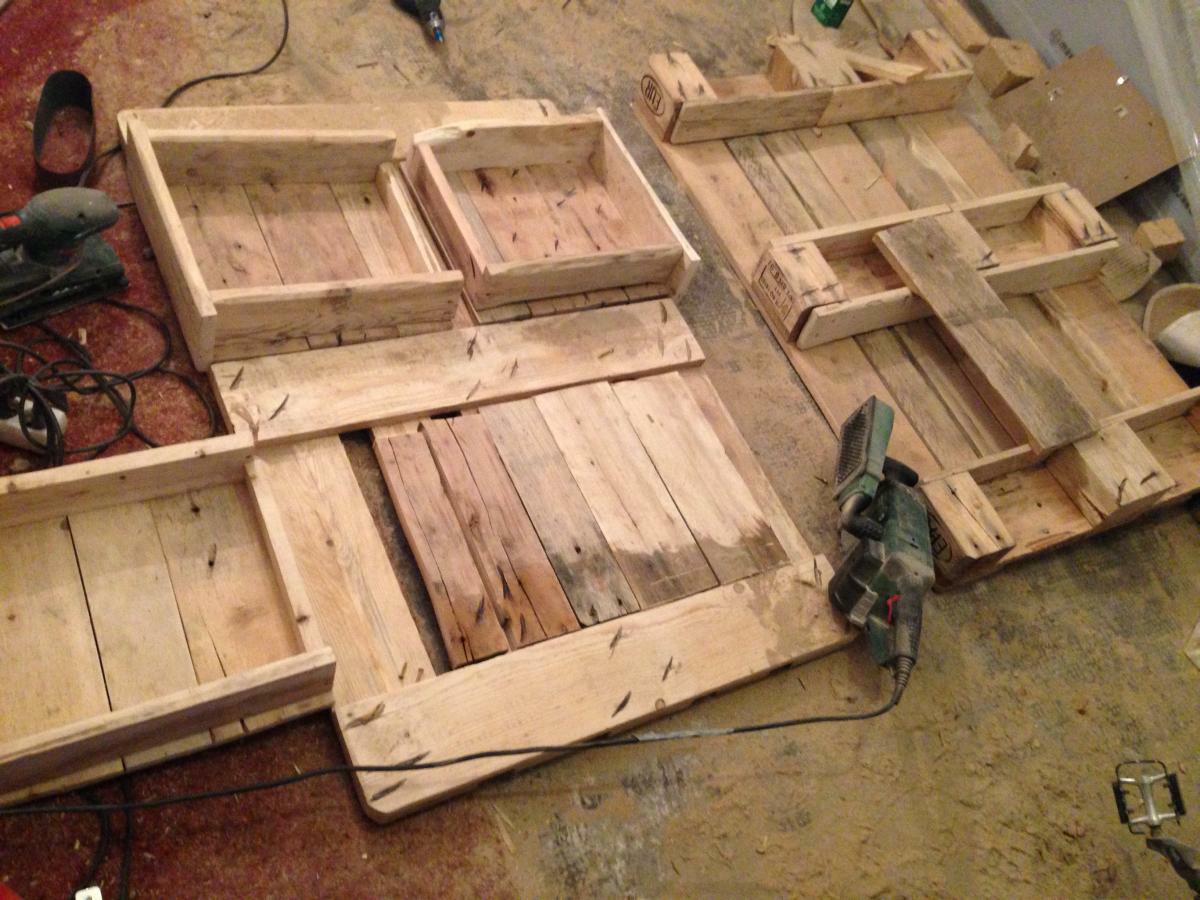
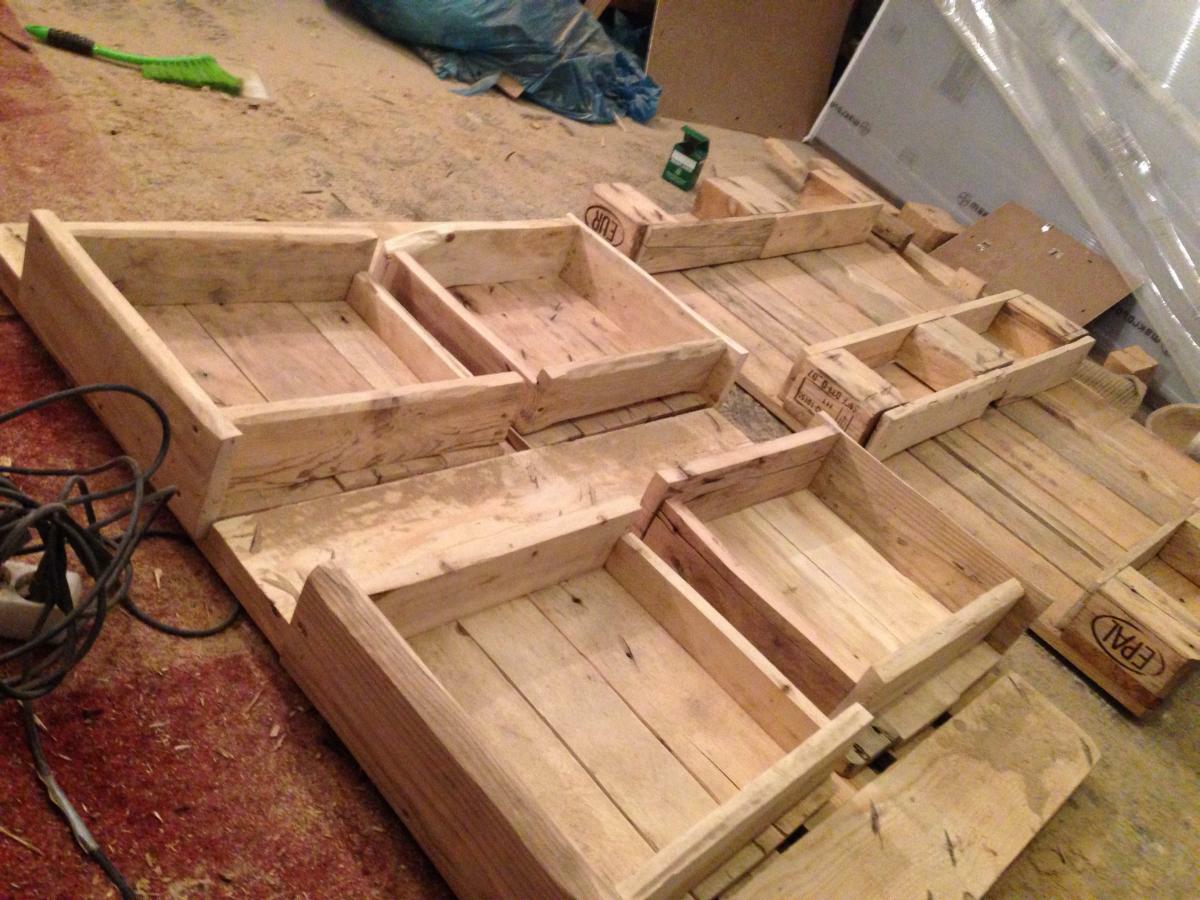
Some of the “beautiful boards” of the disassembled pallet were quite a feat. A tip to avoid broken boards – besides cautious levering with the crowbar don’t rermove the boards from the spacers, but the spacers from the boards. I nmanaged to get even heavily nailed stuff loose without broken wood. A perceived kilos nails sawn off with the cut-off-saw, prepared correctly sized panels, and arranged them in the “drawer-scheme”. Seems we have enough material now.
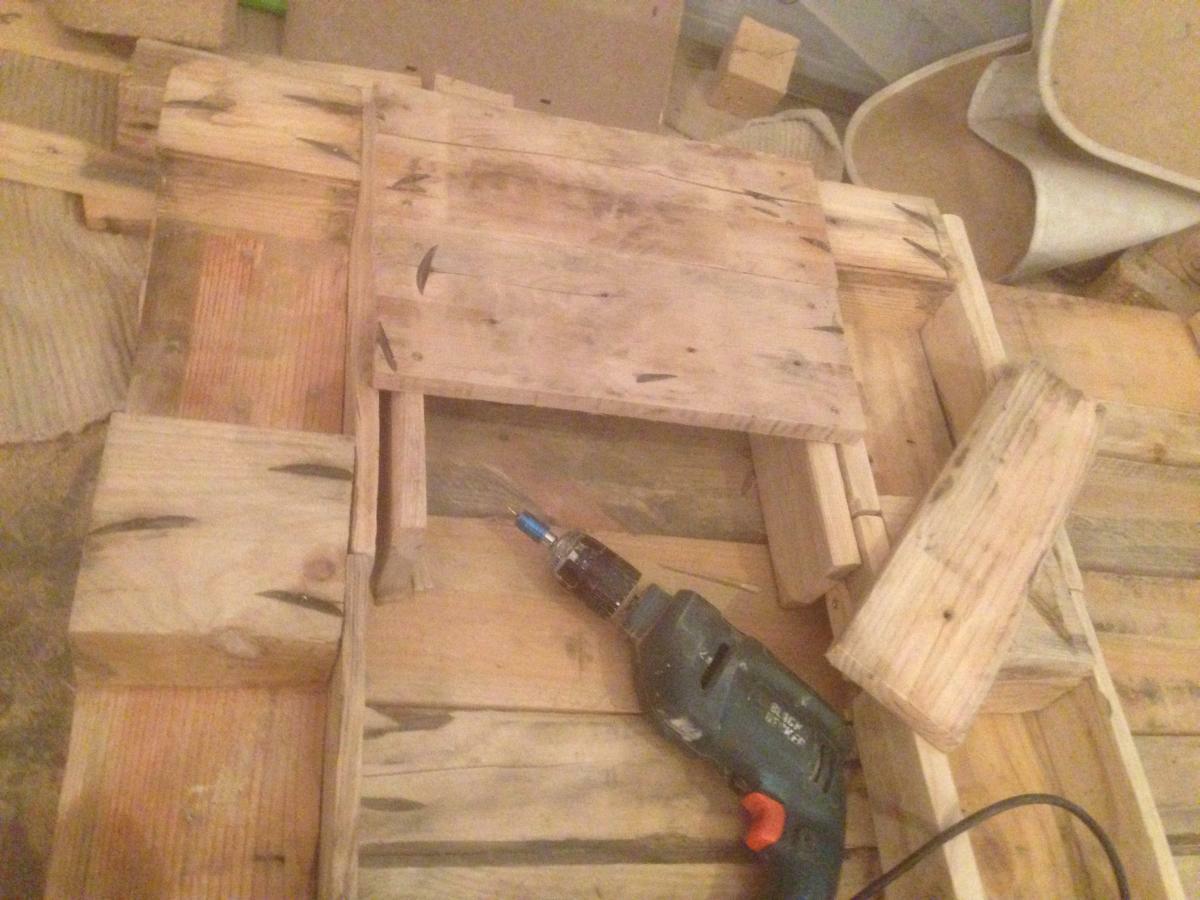
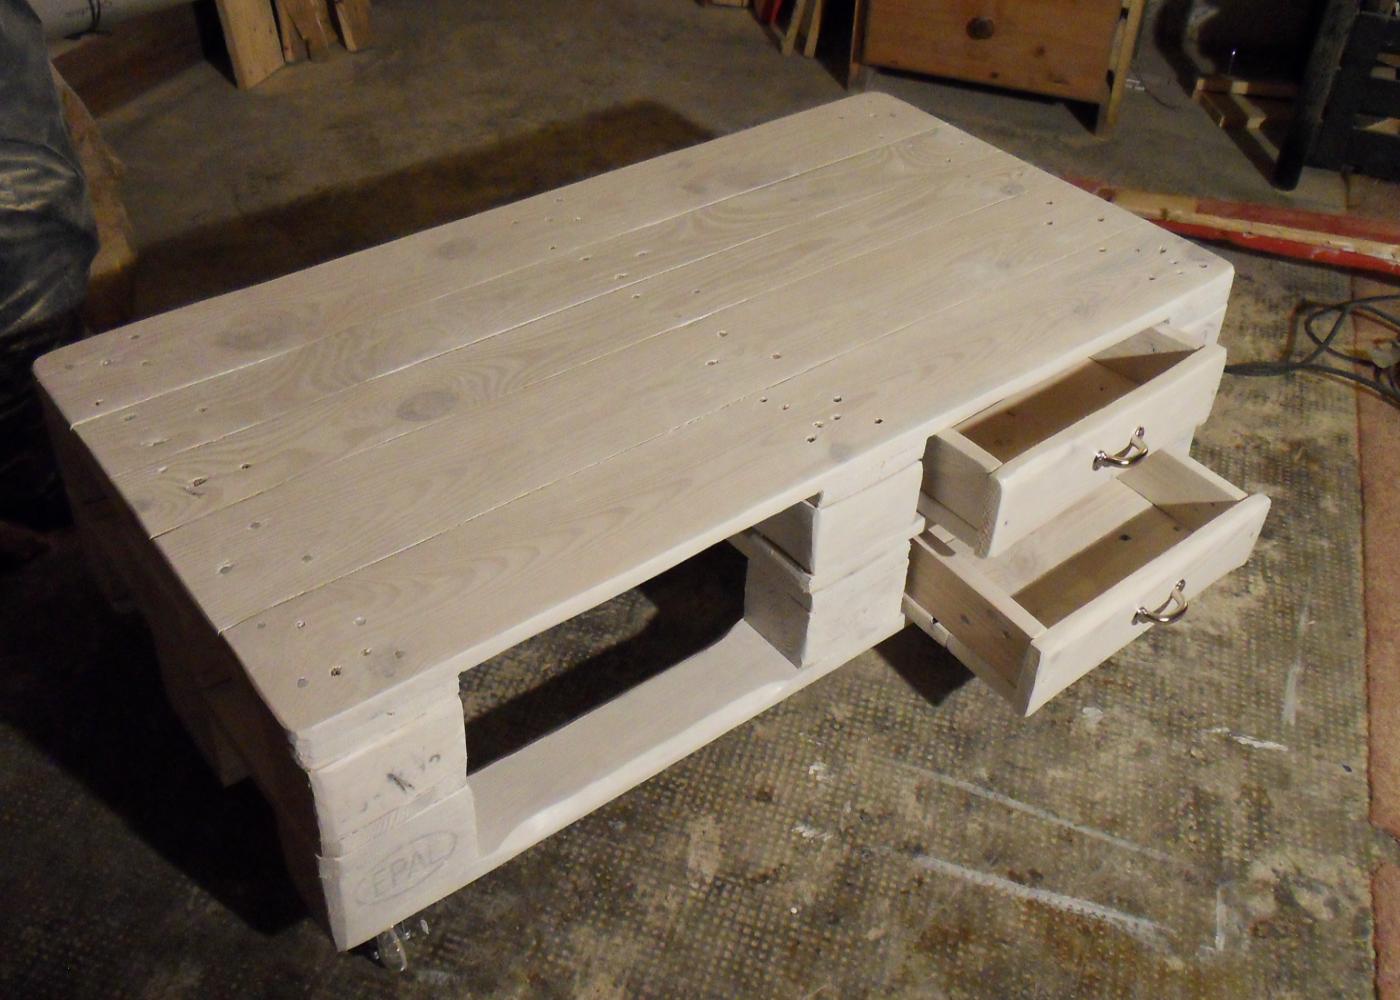
Here you see the “installation aid” with the drawer slide. Put the sidewalls in, lay the floorboards on top, fix them with screws, turn around, cut back- and front-panels to size, sand, attach. I eventually switched to a “multiple panel sanding” strategy of a bunch of pre-cut boards, inserted into the pallet boards for fixation and being a bit quicker than otherwise.

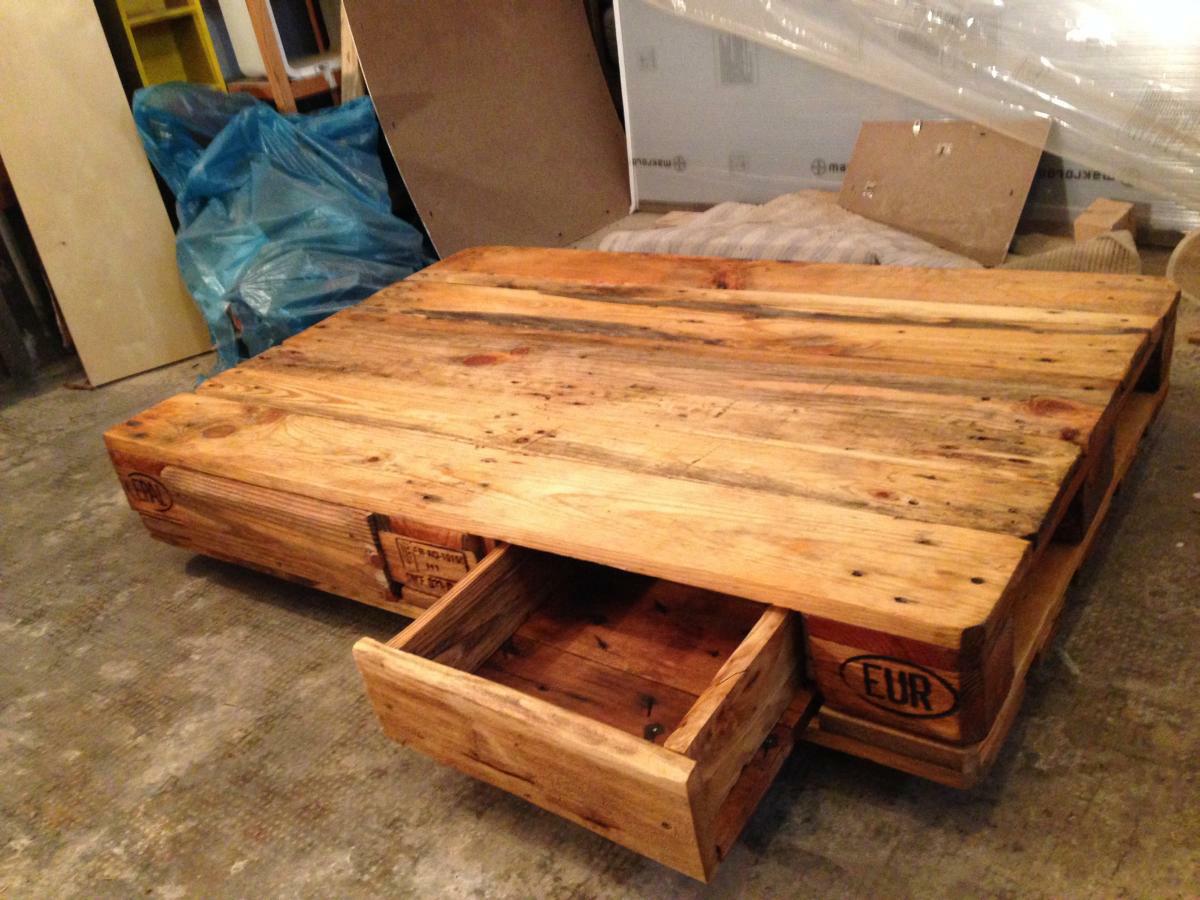
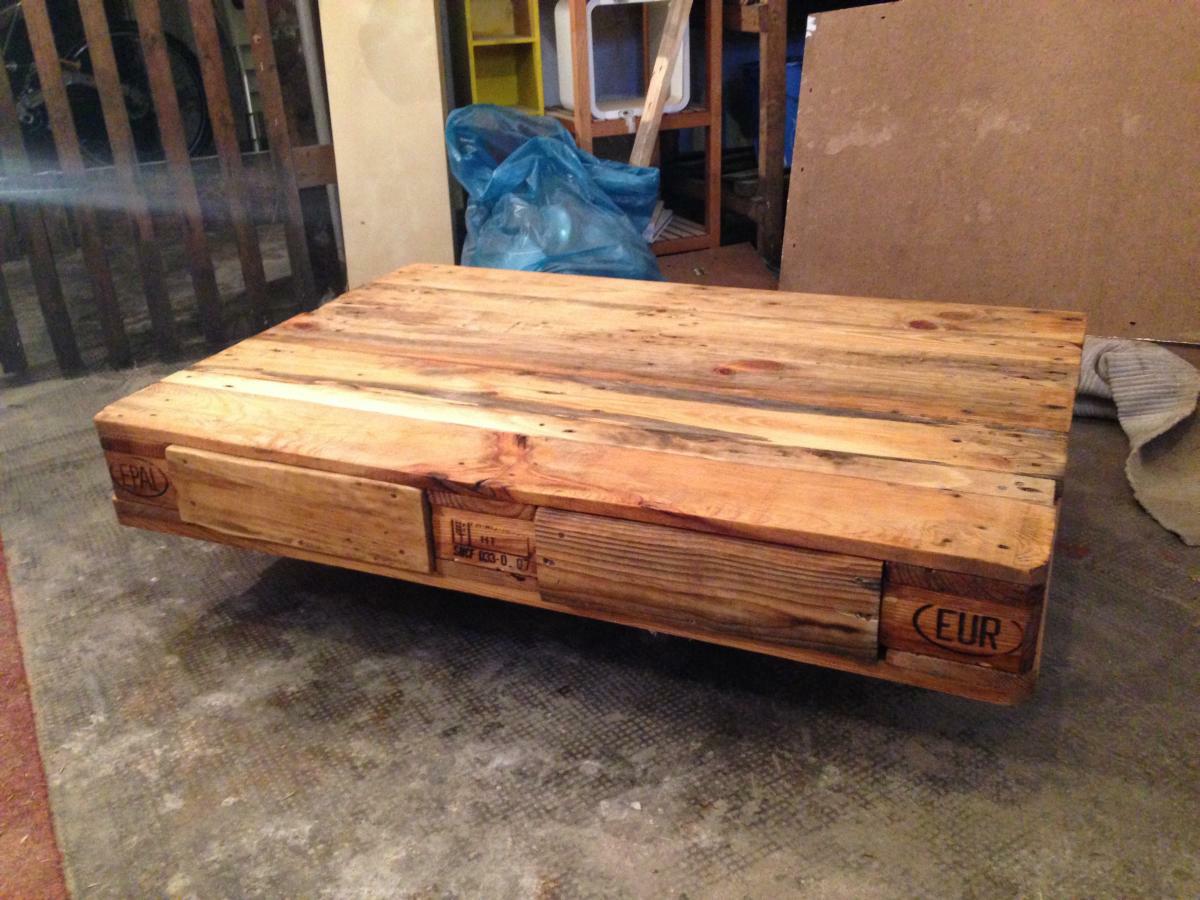
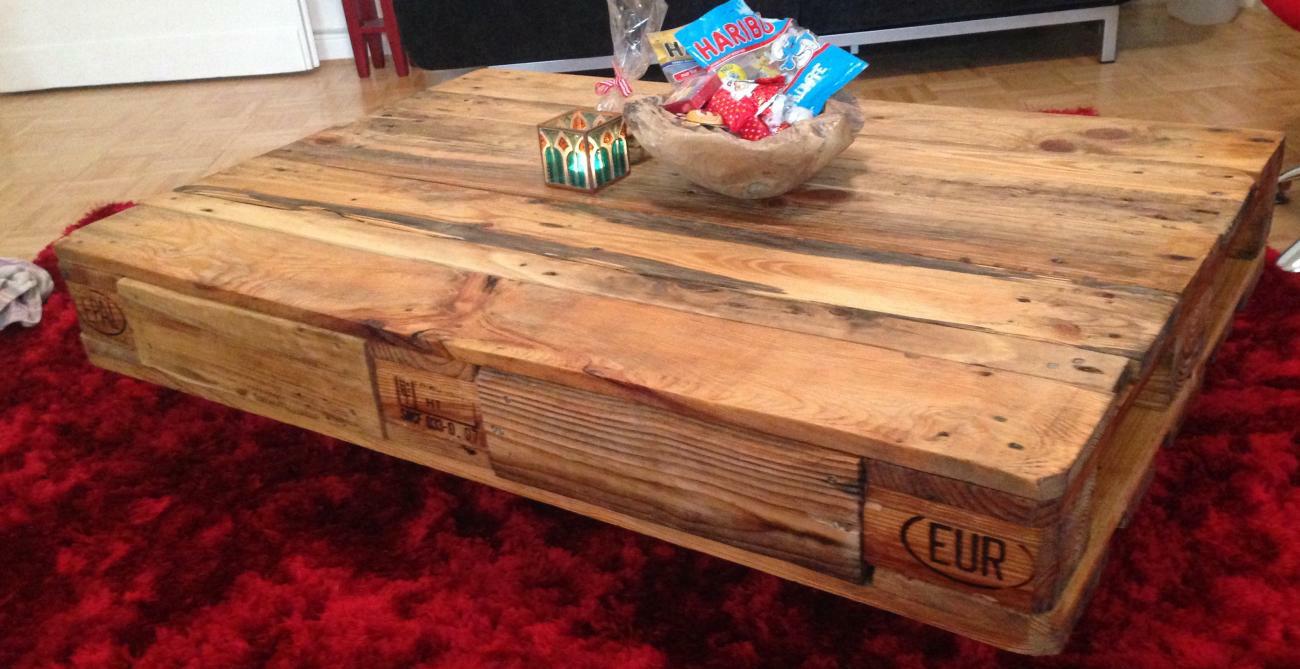
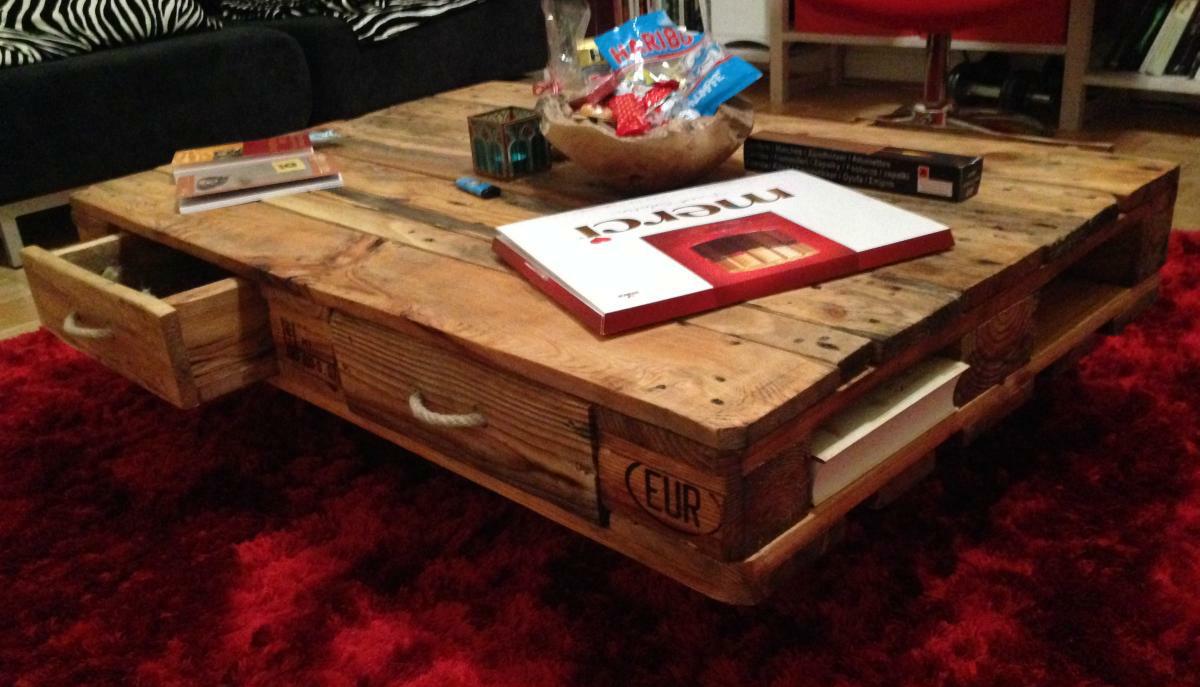
The end result, once open, once closed shut. Recommended: mark every drawer and its indivuidual position at top and bottom table part. Whats mounted in the “docking bay” front-right won’t possibly fit as well left-front.

With the pallet lanterns/windlights I switched to linseed oil finish, here alike. As usual, the wood changes its character completely during the varnishing. Once you see the tabletop varnished/unvarnished, then the complete tabletop varnished. Note: i grinded with about 80, max. 120 grain sand paper, better use a finer grain for finishing of the sanding part – 180 makes a huge difference in the varnished result which you won’t notice really before varnishing.
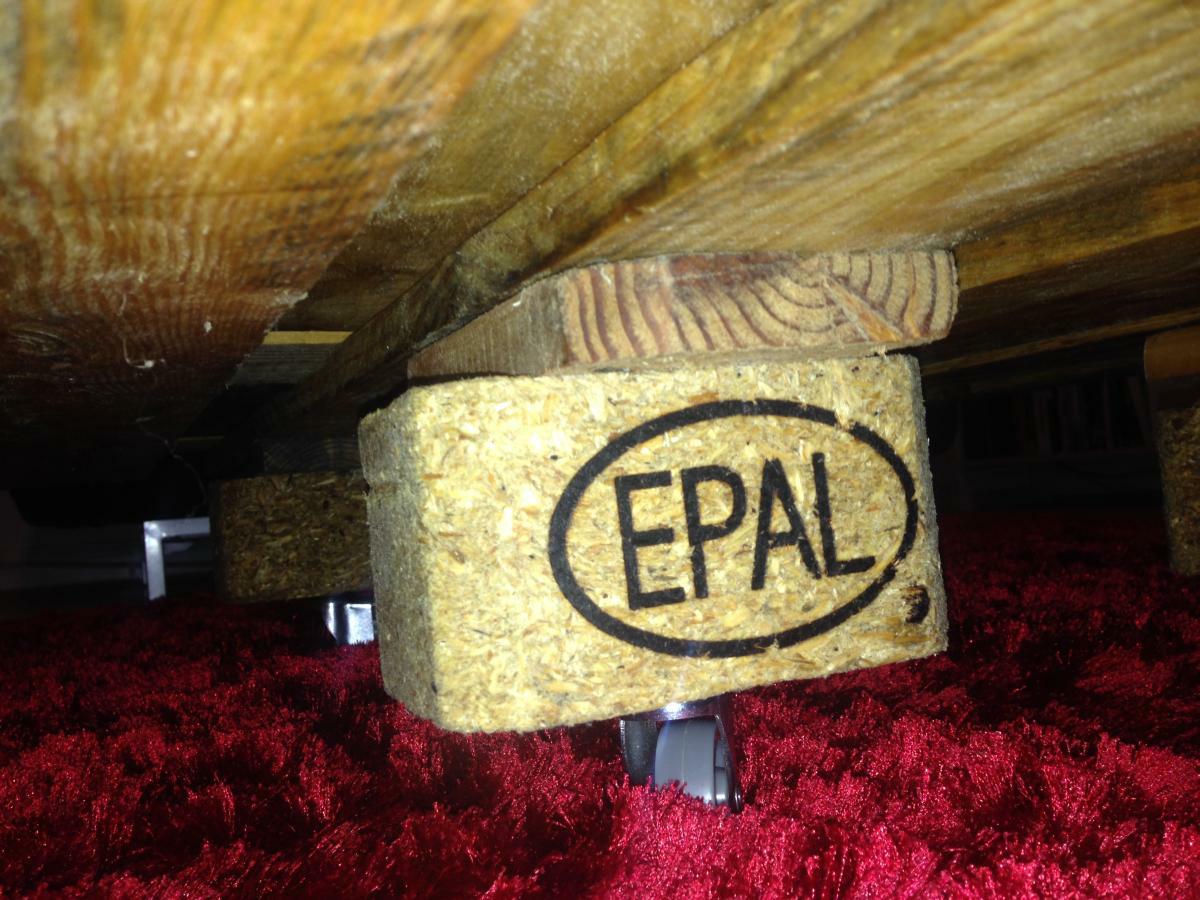
Another “i should have known better”-moment: I brought four small furniture wheels from the hardware store, mounted them before glazing and after finally assembling the whole thing, the result was too low.
Since I did not want to dismantle the entire table again, I improvised with four spacers I attached to protruding wood pieces, attached the wheels to the spacers and again the spacers through the protruding wood parts below the bottom part of the table. This is obviously suboptimal – it would have been nicer to disassemble the table again, attach the spacers with screws from the inside through the board and attach the wheels afterwards. On the other hand, you can’t actually see this improvisation unless you lie down on the floor. So, everything’s fine.
… Except that the result, despite all the sawing and grinding is nearly two pallets heavy – even without the drawers – and needs to be dragged out of the cellar now. But the result is quite conciliatory.
Conclusion
Fine, I like it. Heavy and solid, but still easy to roll. Time needed: about three working days, I think – what is quite much and you don’t actually see it in the finished piece, since drawers and their guide boards are the most elaborate parts and the details are simply not visible. You should definitely have a good belt sander for this, otherwise you’ll go mad. For a first pallet project its oversized. But if you are looking for a smaller challenge – here you go.
Last todos: We were undecided whether we use normal handles on the drawers or perhaps simply drill two holes and make a loop of thick hemp rope. The latter was the style of choice.
Used a 14mm drill on the drawers. Two holes in the drawers, end of the rope from the front in, pull through a fair bit and make a knot. Same with the other end, make the loop tight. With some security overhead, cut the rope and knot the other end on the drawer inside. Repeat x3.
I repeat myself, but it looks fine to me. One can still elaborate with metal mounts round the rope holes, but I doubt that it would be cool, and on the linseed oil-treated wood pure rope looks fine and fixations won’t hold with glue. But do as you like 🙂

2 thoughts on “Pallet table: Coffee/Couch table from euro pallets DIY”