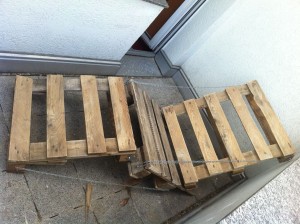
What took shape in the first part of the Pallet Canvas Chair DIY Howto is now finished. After the lounge chair was grinded, mounted and glazed, the provisional wiring/chaining had to be put in a sustaineable form, and at last, there was a critical lack of cushioning 🙂

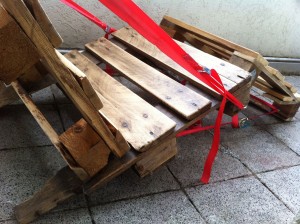
Addendum regarding the varnish: I went with a transparent glaze, criteria were suitability for outdoor use/weather resistance and lowest possible toxilogical risk. The adjacent properties (“sweat and saliva resistant”) and ecological safety convinced me. Available at the hardware store. Results: nice surface effect here – slightly glossy wood grain and weatherproof. I have used up half the can, though – reach was labeled as about 8 to 10 sqwuaere meters and i really used qwuite a lot niow, but better to use it up than have a dried up one-third of a can of glaze later. And an untreated pallet wood absorbs quite a lot of glaze, believe me.
Next step: useable/reliable “wiring”. I got in total three tension belts, two simple ones for the backrest adjustment, a slightly stronger one with a ratchet for the footer/general ankle/adjustment. The latter takes quite some tension, once you’re seated, while the backrest tension belts carry a more easy load.
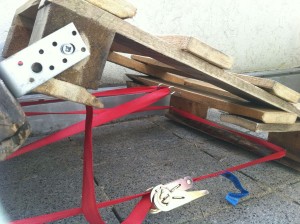
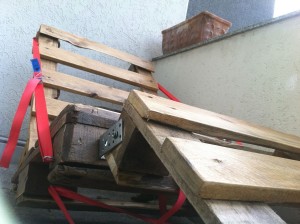
The foot part “wired” with a ratchet tension belt. I used most of the quite lengthy belt, a shorter one will do, too, but this way, i have some “pulley effect” – easier adjustment. Ring screws/wall hooks are simply drilled into the wood, mostly by hand, added two final turns with the pliers. Does the job.
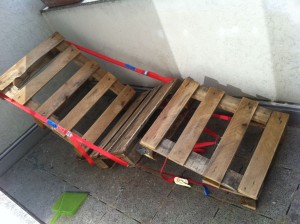
For comparison, the tension belt solution vs. the the first test with chains. Chains are generally unsuitable for this purpose, I’ve also changed the positions of the hooks/fixation points – both belts of the backrest are now sideways instead of on the front – easier adjustment and no friction points at wood edges.
The footer/main tension belt, however, was completely moved to the inner sides of the attached pallet parts. I wanted to avoid to stumble over it and also desired an “straight” force on the mounting points. Once adjusted, i also rarely change the angles here, so no need to have it perfectly reachable.
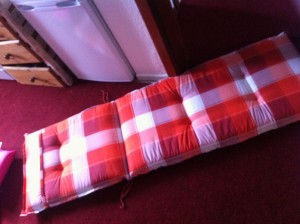
What can you do with a boring deck chair cushion from the supermarket, when the format is ok, the cushioning thick and – technically – wonderful, but its looks are just plain awful? You dress it with some t-shirts. The sleeves can be used to fix the cushion as a whole at the chair.
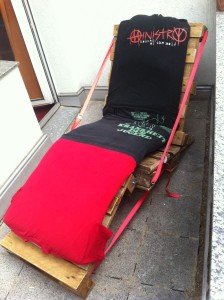 |
 |
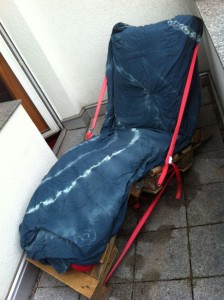 |
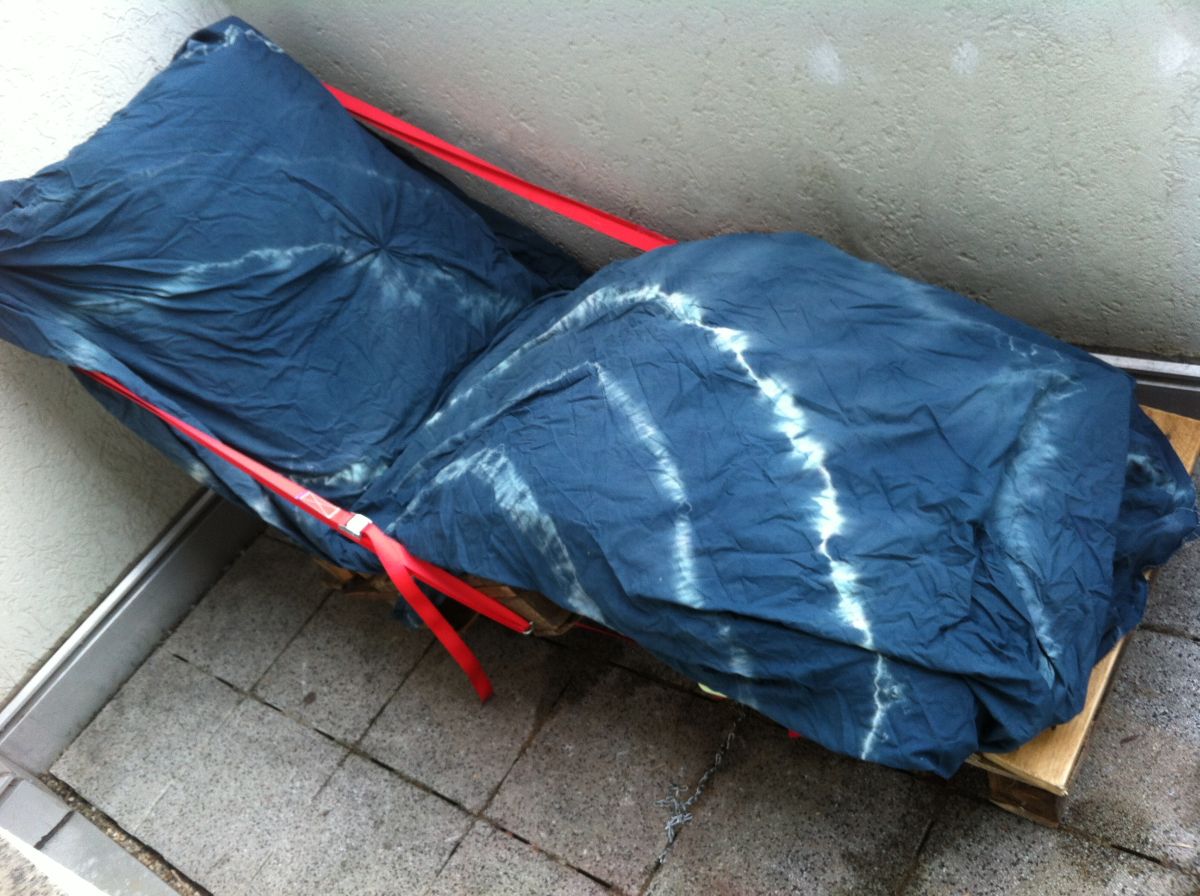
If it still looks too improvised, of course you can simply throw a blanket over it.
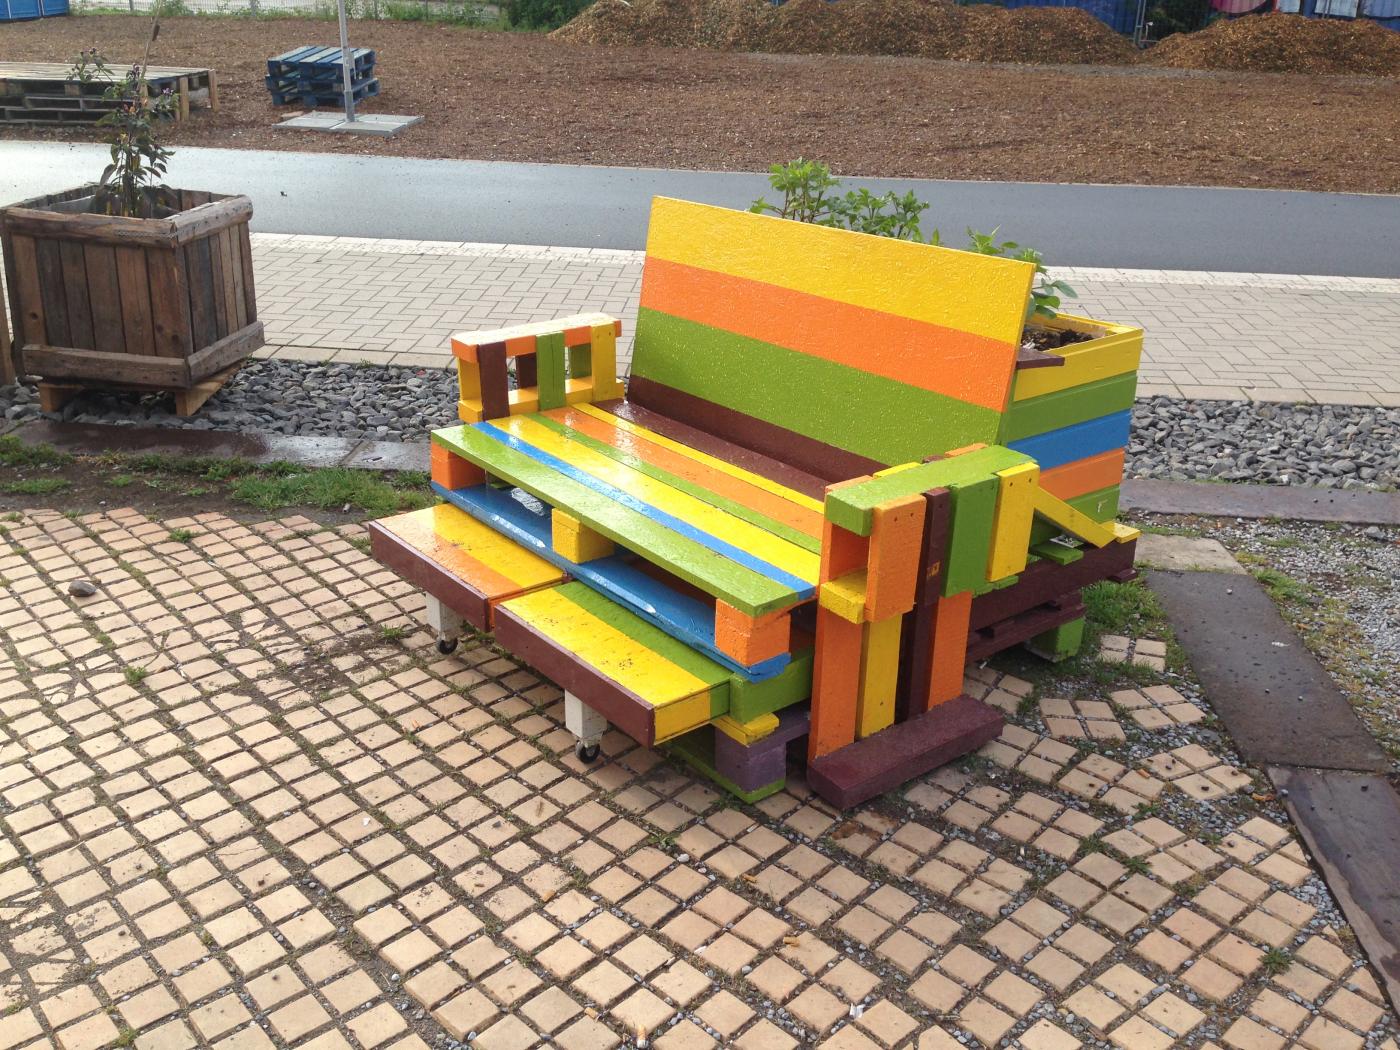
Task completed. Well, to be honest, i consider putting some rollers under the footer part for easier adjustment and movement, but thats fairly optional. Experiences: very comfy reading chair, definitely waterproof and one of my favourite places now. I can recommend it.


4 thoughts on “Pallet canvas chair, DIY completed”