Part one – i hadn’t all needed materials to have this canvas chair completed in one afternoon. Nevertheless, it should be a feasable task for *one* afternoon if you have all needed stuff at hand.
Garden furniture made of pallets seems a Good Thing(tm) to do: robust material, the looks match to garden/outdoor usage and if you place your furniture once and leave it (means: not take it into the garage every evening), the weight of the pallet stuff is indeed an advantage, for its quite wind- and weather resistant, what doesn’t apply on most of the cheap plastic stuff. However. Here i build a single sun chair for my balcony. Something to relax on and read a book, or even have a nap, thats the plan.
Used material: two pallets. One euro pallet, one disposeable pallet. The euro pallet was kind of a coincidence, as always, I prefer disposable pallets, they’re just easier to work with, but this one was just lying there around the corner, so get it when its available. Goal: headboard and footboard should be adjustable. Its ok when everything gets a bit more heavy/bulky, since I actually want to keep the garden chair there in wind and weather. In the winter, maybe i’ll put it in the attic, or even just put some plastic cover on it.
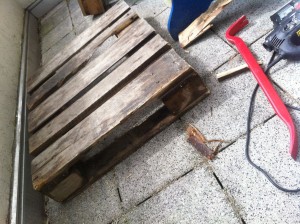
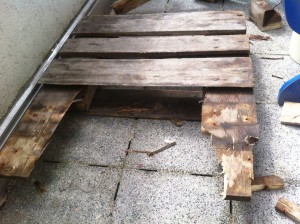
First step: Preparation of the middle section/the seat part. This is half a pallet used partly as seat, partly as chair legs. I used the euro pallet here, for the central section is totally ok to be a bit more heavy. Foot and head parts are going to be adjustable in angle, so they are made with the less heavy disposeable pallet for easier movement. Furthermore, the Euro pallet was simply in bad condition and i need only the half of it. So cut off one half along the middle segment. Then: Crowbar Action! Tear off planks and substructure on one side of the half pallet as seen here. When your main pallet boards are better preserved than those here: Congratulations! But those are sufficient for the planned useage, too.
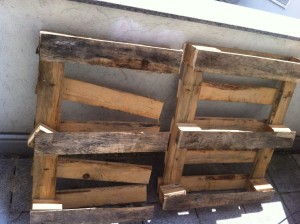
Second step: head/backrest part and foot rest. Again, cut the palllet in half as seen here: middle section remains complete with one of the resulting parts. The part with the center bar becomes the head/backrest part and is already ready for useage. The part with the loose board ends becomes the foot rest and needs some more assembly, obviously.
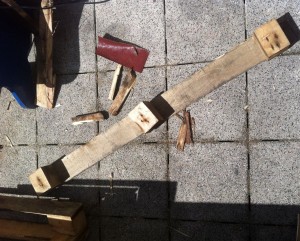
Take a foot segment from the unused remains of the pallet used for the seat part. Have two spacer parts removed, at least one should remain undamaged. Fix it on the loose board ends of the incomplete foot rest part as seen. Use screws for fixation, again, as seen on the images. Cut off the protruding end of the foot segment.
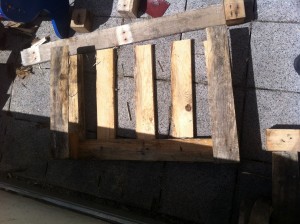
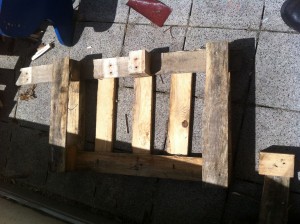
Also remove any protruding nails (if they can’t be pulled out, use the cutoff saw). The foot rest segment looks finished, though it will turn out that it is too long. I’ll come back to that later.
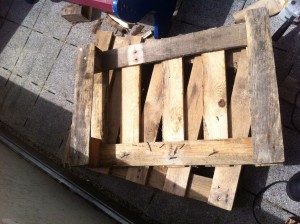
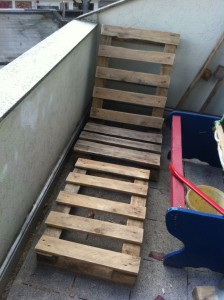
Maybe you haven’t done it already: clean and grind the pallet parts now. Later, you’ll have stuff assembled already and won’t reach all parts as easy as you do now.
Putting everything in place gives the first impression of the finished pallet sun chair.
First assembly: Back rest and seat. I attached them with screwed, simple hinges on the protruding (chair leg) ends of the seat pallet part. You don’t need really heavy hinges here, i had those lying around and used them, there won’t be too much weight/tension on those, so they don’t need to be ultra heavy/solid. But watch out that way they “flip”, so you don’t have any lever effect on the hinge fixations and both hinge halves are( and stay) flat on the wood in all possible angles your backrest will be.
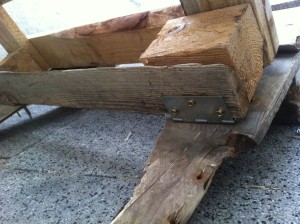
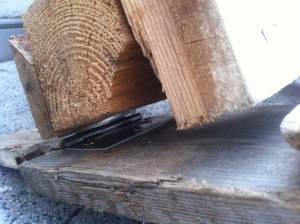
The foot rest part is a bit more complicated. Here I used quite solid metal brackets fixed with four screws on the “fix” end and with one single, but quite thick/long wood screw (about 6×120 mm) and washers in front and behind the bracket hole. Again, here is no really big weight/tension on the hinge-joint, nevertheless, definitely more than on the backrest hinge, so use some solid stuff here. I guess, bolt and nut would be really optimal here, but you’ll need quite long stuff and drill through the whole spacer segment. Do as you like, this variant shown here definitely works, too 🙂
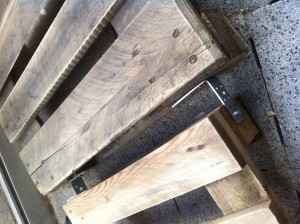
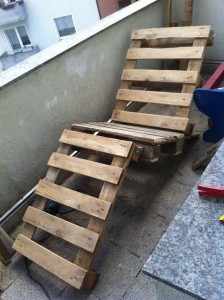
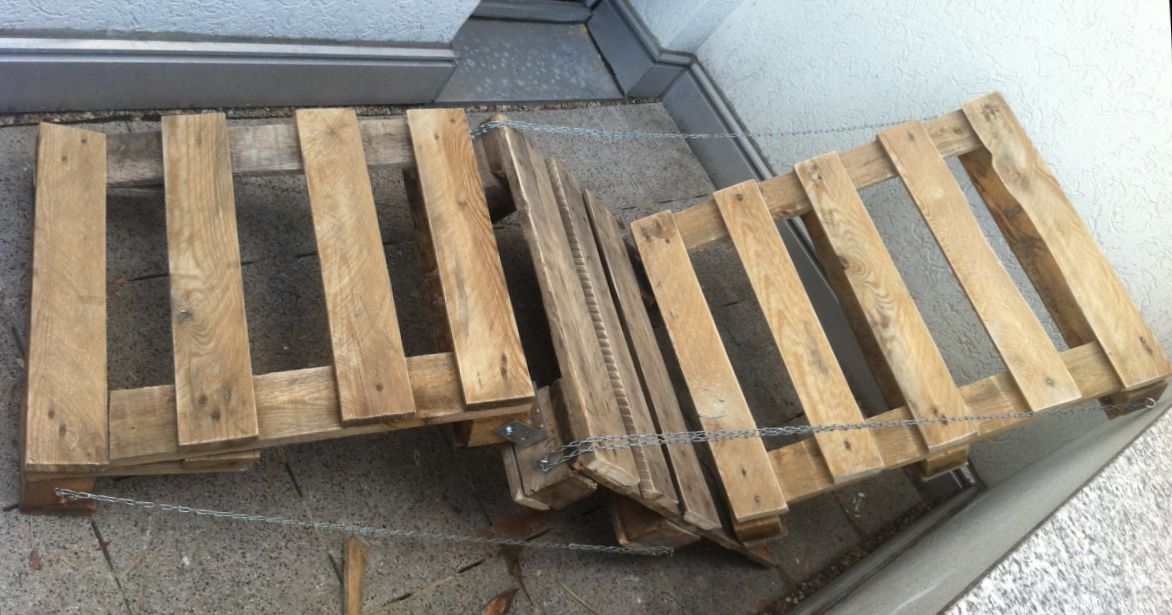
Tentatively, the garden chair unfolds. In this stage of creation, it stands by itself, but you can’t yet sit on it. The backrest as well as the seat- and food parts need do be braced/wired somehow. Next picture: backrest “chained” with flexible length for flexible angles (useable), seat/footrest also wired with chain, but in an unuseable angle. Here, some experiments of mine are recorded, the final wiring (as seen later: Pallet garden canvas chair howto, Pt.2) will do the job, all methods shown here have major drawbacks (starting with the material: chains. Those were intended as an provisory from the beginning, i did not yet buy the needed and finally used tension belts.
At this stage, I sawed off a piece of the foot part just before the third crossbar and screwed the loosened part slightly skewed below the remaining foot rest part. Now the length seems appropriate. Here you can see again the badly made first try of wiring up footrest/seat part. The tension is just too strong and the “lever” of the strain/wiring too bad.
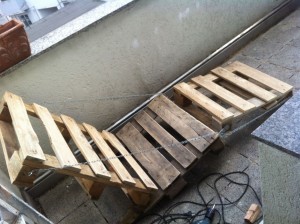
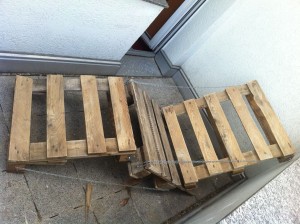
The second solution: much better, nevertheless, the fixation points are badly chosen. Again: the chains are really just a proof of concept. I think I’ll change to camping straps or a different, more flexible and robust solution tension belts as used for car packaging or camping, see Part 2.
What’s to follow, besides a solid wiring? Painting/waterproofing. Tomorrow I’ll check out the hardware store for some transparent, weather-resistant and non-toxic glaze for outdoor useage. I always prefer water based stuff for indoor use, just because its safer and usually harmless stuff, but the pallet chair is intended to last for a while and to resist some wind and weather.
And finally of course, a beautiful and comfortable cover/upholstering. You can of course simply throw some garden furniture cushions on it, cover it with some blankets, but when i build a palette lounge chair by hand, i won’t use some floral pattern seat cushion from the supermarket (in a visible way). We will cee, I continued/finished the canvas chair here 🙂
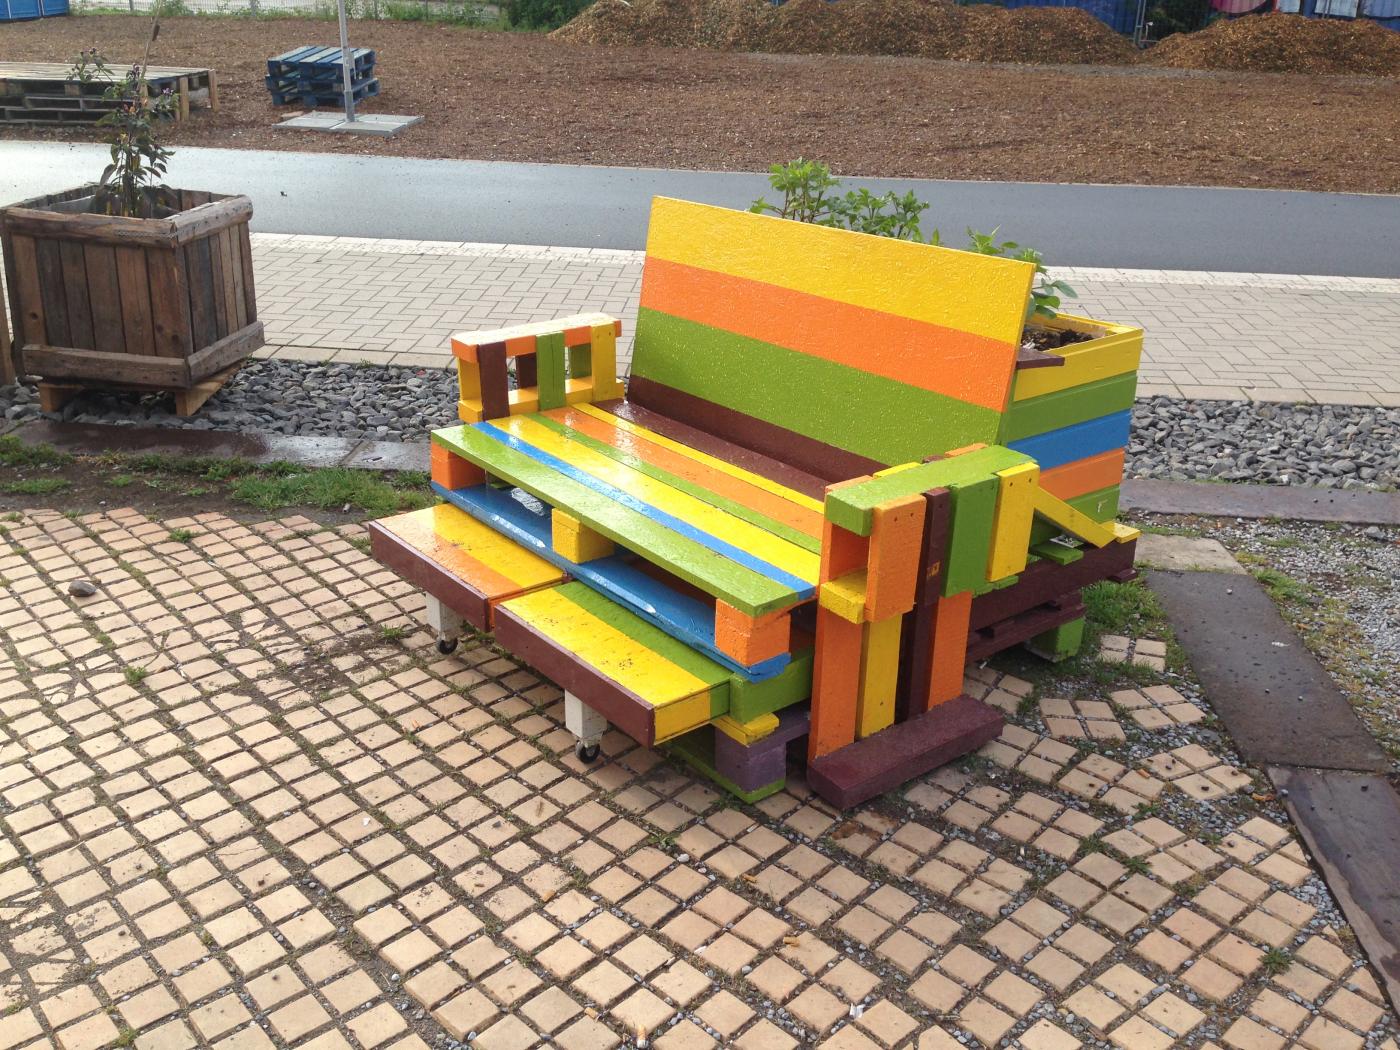


What an admirable work, you did great job, these DIY canvas chair is looking very nice, thanks for sharing.