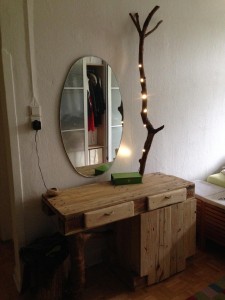
Slightly bigger project, with a background story. And some “non-pallet-material”. It all started with my dearest wanting to make some rustic forest work pictures. More precisely, we wanted some cool looking wood for tealight holders. Looking around in the forest, we found a great-looking, bark-beetle gnawed small tree. Beetles/larvae all gone, so we sawed our parts off. And there, we remembered that we would need a dresser for the bedroom and some elvish/wooden looks would be nice. One thing led to another.
Why not take such a gnawed tree branches as a table leg, or somehow as “table structure” for attached lights, we had some rough considerations of that kind, and so the wood excursionbecame the prequel to the dressing table as the next project. In any case, an entirely new form of procurement of materials, beyond the usual “where to get pallets”.
We brought some beautiful pieces of bark-beetle grawes wood, I cut some as a test for its looks, had it sanded a bit to see how the aisles and the wood would look like, and it looked fine. Fine.
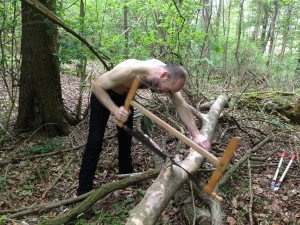
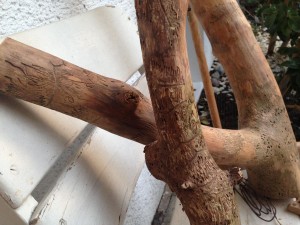
Regarding bark beetles, we checked Wikipedia and I had to laugh a lot, since they point out the economical problems of bark beetles; gnawed wood results in a significant loss in value. Of course its a grave issue if you have this kind of vermin in a forest, but we were absolutely thrilled by the great textured wood and thios information was quite in contrast to our excitement. Nevertheless: they go for living wood, our branches weren’t inhabited any more. I checked regularly also after varnishing/building, looks we’re perefectly safe. Note here: i don’t know the different wood vermins and can’t give general advice here. We found the branches in a quite well worked forest, so i strongly assume if they were still infectuous/inhabited, the wood workers wouldn’t have them kept lying around in the forest after cutting the stuff down.
Back to the classic raw material. Some of the readers will be familiar with some of my standard procedures, so I will be brief here, on issues like build a “closed table surface”, for example.
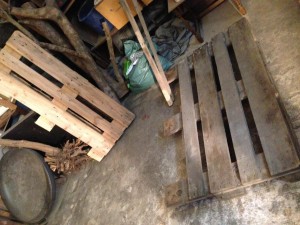
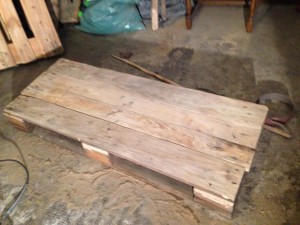
Material requirements: two pallets minimum You need quite some wood/boards for he drawers, and if you don’t use branches as table legs, you’ll need material for that, too. The plan was to build drawers (like the pallet coffee table) and a narrow cabinet (similar to the bathroom-cabinet). The “Second leg”, the rest of the substructure? Here I thought about the thick log part of the tree we brought. Hm, yes, that’s it.
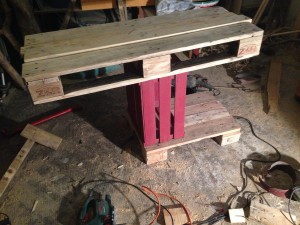
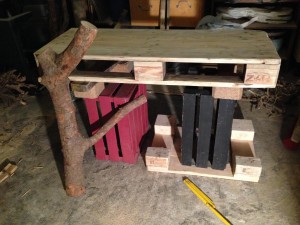
Therefore, we start with the “cabinet part”. In the same height, we’ll cut the log later and use it as a table leg.
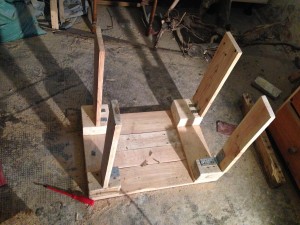
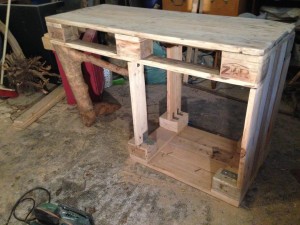
Since we’re at it, you might as well make the guide rails for the drawers.
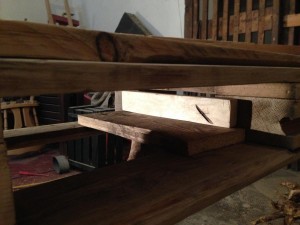
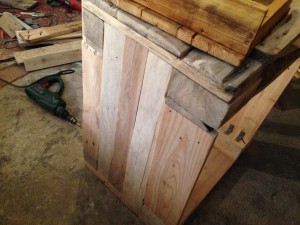
At the side wall, i had once again the “pallet effect”: it’s not an exact science, I sawed everything straight, but well, something always comes out warped. I cutted a narrow wedge for the gap i had after assembling the boards. First, I fixed the side walls with metal fittings, but then I liked a “plain wooden” solution better with employed counterparts down and up at the top and bottom pallet element better. You see it below in “…and pallet drawer number 2” on the footboard / inside the cabinet.
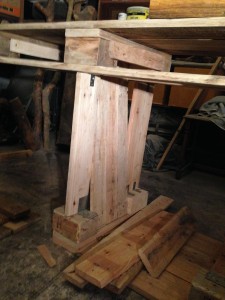
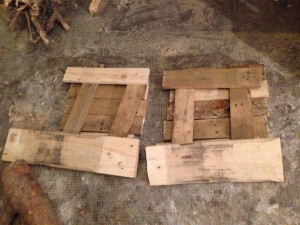
Building drawers is terrible. An eternal sanding and sawing, and you have the feeling you don’t make progress at all. I made the second cabinet wall first, but then it had to be drawers. First one, then the other. This time I had sanded everything much finer than the coffee table, but if you really want to avoid any scratches from sanding, you have probably at least use sandpaper with 180-grit to finish (I had used 120 max.) Annoying: some woods you just don’t get smooth, and at some one thinks that it is smooth now, and you see scratches again as soon as you varnish. My luck, that i actually like the slicghtly rocked/shabby looks.
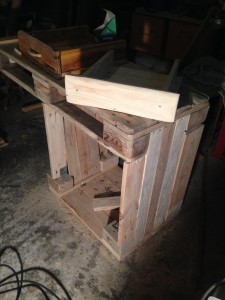
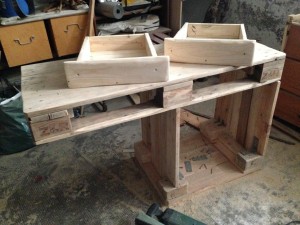
Note to number one: I had taken one of the coffee table drawers as a pattern. It was pretty blown away how drastic the effect of linseed oil vs. untreated/sanded is.
Now things become exciting. I wanted to use one of the thinner branch pieces as a “superstructure” next to the wall mirror above the table. I drilled a 40mm hole in the table, and then sharpened the branch end fit. At first I thought I need fixture from below, but it will not budge simply plugged into (and this way, it can be carried separately).
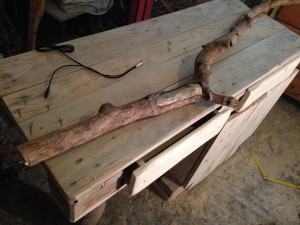
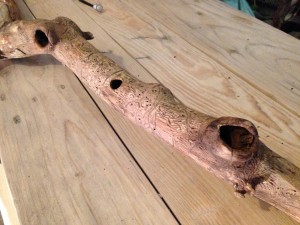
The holes I drilled with 16mm, I had ordered a set of 10 LEDs with 15mm mounting diameter in advance, 10 × 0,07W warm white. Amazon reviews say that they are OK, on other platforms i saw a few disgruntled customers with negative “PSU broken” comments and promptly got a set with a broken power supply. No electricity for you, kid.
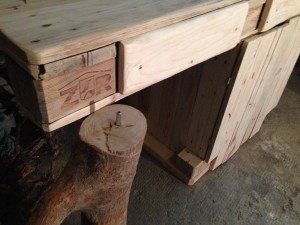
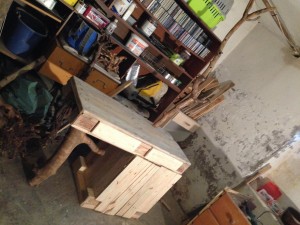
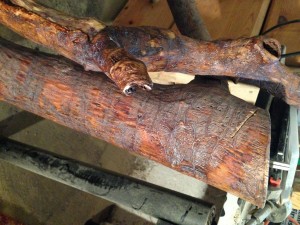
Short thought if i should be annoyed, but before, i just constructed everything related to drilling. A remaining connection pin of a doorknob became a dowel. Then the whole bark beetle branch was sanded again, cleaned (a dry paint brush comes in handy) and finally, the entire project was treated with liquid beeswax.
Guarantee/Service departments sure do love me. I cutted the plug of an old unused 12V power supply (i have some PSU lying around). held the wires to one of the LED’s contacts, which lit up. Well, use warranty and have to wait anothjer week? Rhetorical question.
Of course i used the old PSU i had around and cutted all the plugs from the LEDs. They wouldn’t have fit through the drilled holes anyway, or you would have to drill quite large holes. I drilled 16mm where the LED was to be placed, deep enough to fit the LED in. From the othjer side i drilled with 8mm to the back or the side of the “LED-Hole”, to connect the wires through. Stick the Cable into the LED hole, pull it through/out the cable hole untilö the LED is fixed. Pulling through with some wire helps.
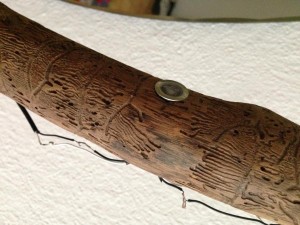
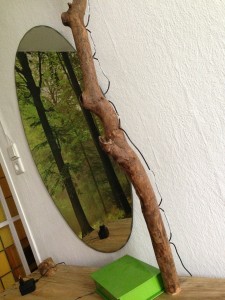
Power: I had simply soldered everything open and uninsulated. These are 0.03W LEDs, there is no noteworthy power on the wire. You can of course also consider a nice insulation and some installation on/into the wood, myself, i like the looks of wiring. And solder joints, yeah.
Odds and ends: alikethe coffee table, i used hemp rope as handles for the drawers. Have everything polished a bit. Carry all parts out of the basement (and therefore: don’t fix anything that does not need to be fixed, keep to plugged connections of tabletop, cabinet and table legs.
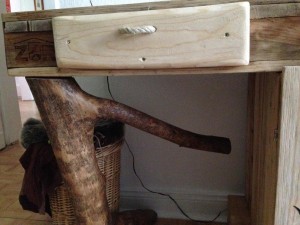
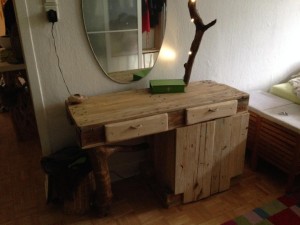
Expenses … about two working days to be net, but it went qwuicker than i thought, just because i made some of the stuff here earlier in other projects and had some routine. And you need a solid belt sander. Seriously, without a) a good belt sander and b) a smaller sander for rounder/finer issues you shouldn’t start something like this, otherwise its a drudgery.
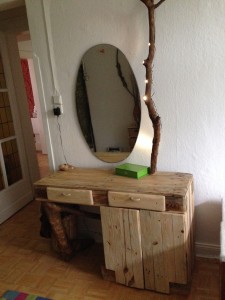
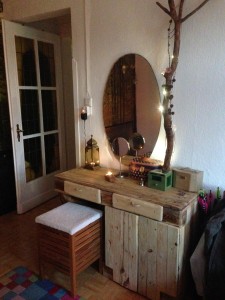
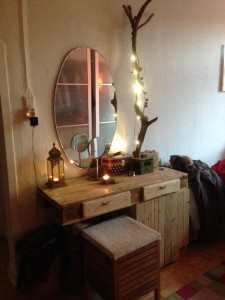
Optional updates: The table could be even prettier with a second branch on the other side of the mirror also provided with some LEDs, to get the two-trees effect of the gate to the Mines of Moria. You should add an additional shelf into the cabinet. Magnets to the cabinet door, for a solid closing. A big red button for light on/off. (what i actually did, later – well, with a green button, but hey.)


3 thoughts on “Euro Pallet dresser with bark beetle branches and LEDs”