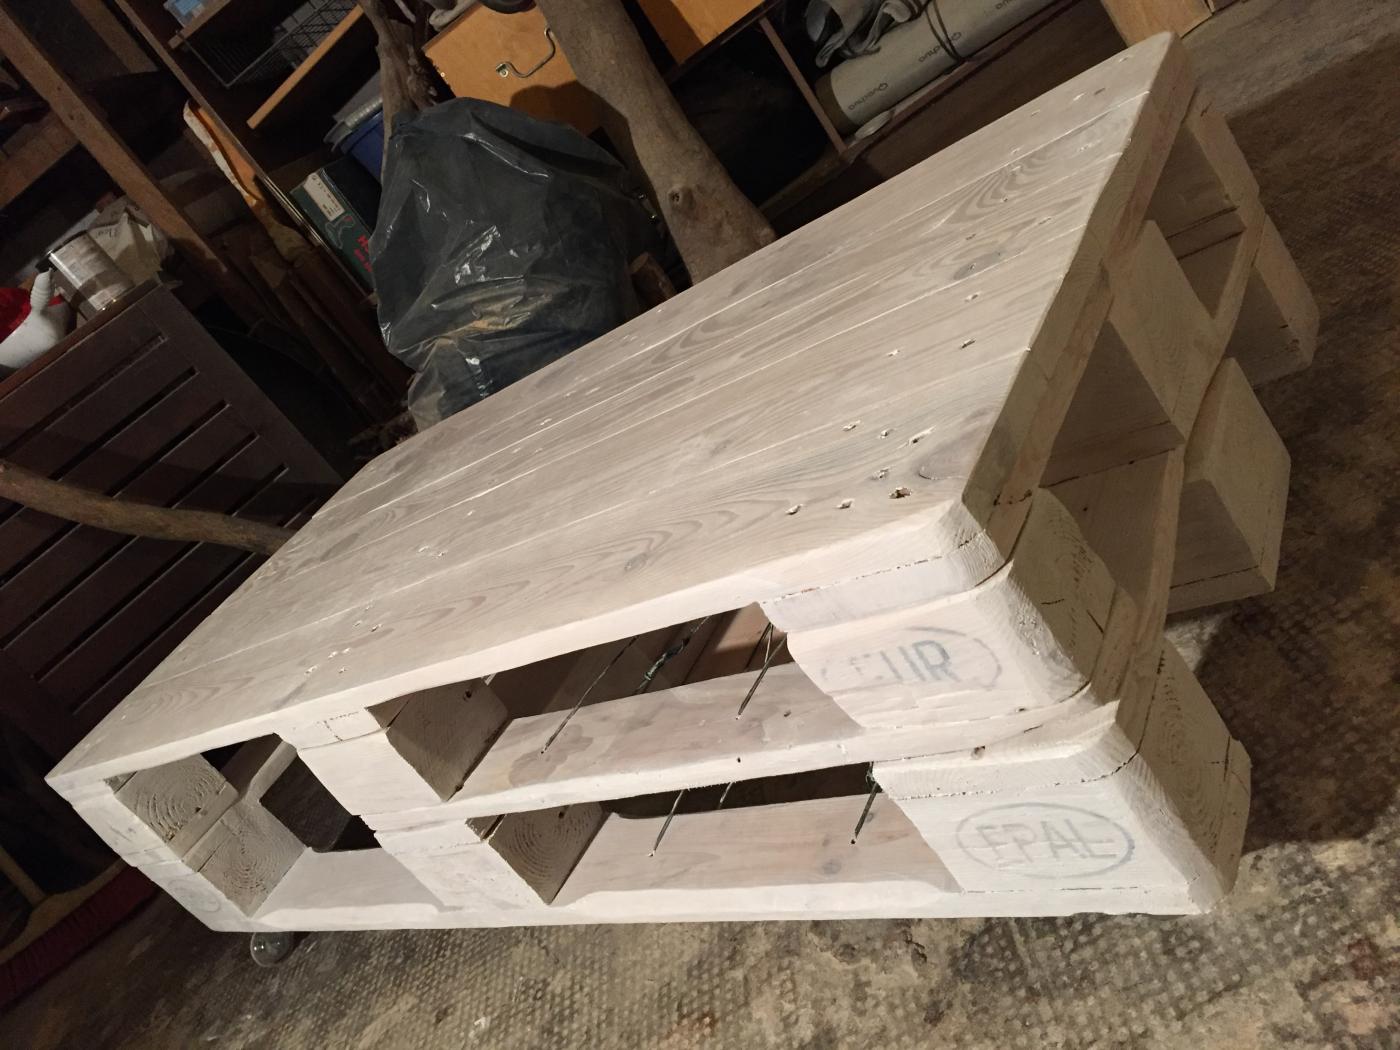
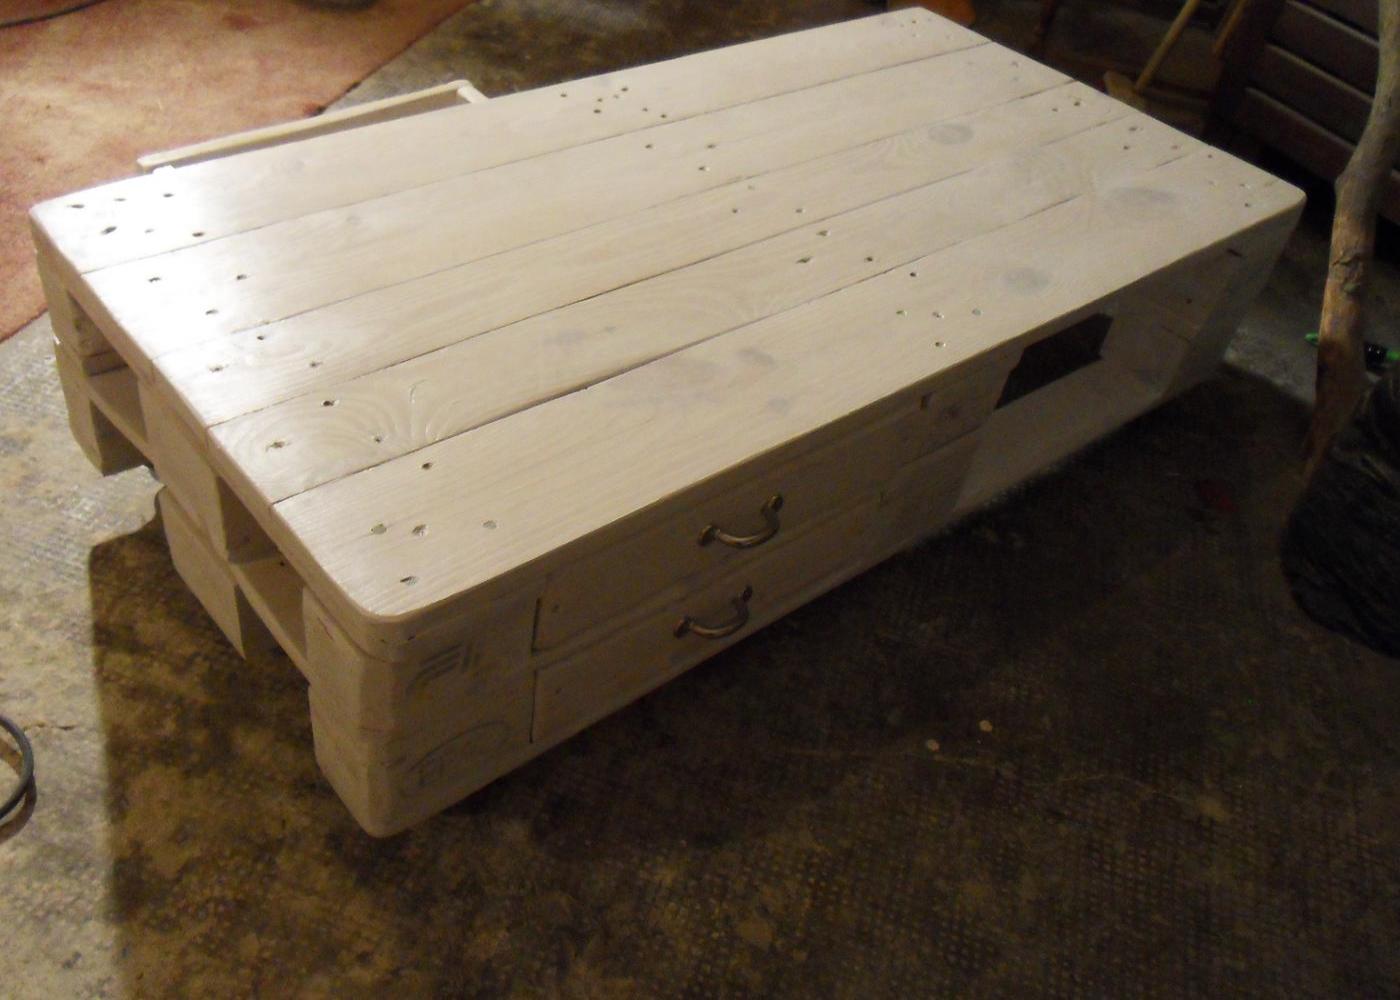
Pallet tables. I’ve already built one pallet couch table, which i varnished with linseed oil and therefore looks a bit rustic with its hemp rope handles. Btw., you get a lot of details how it was built there, so here i’ll tell less about the “basics” but rather the differences and a few minor improvements. Here we go, pallet coffee table Mk.2. This one was for a friend, she needed it more narrow and two pallets high, white transparent varnished. It is horrible to build for someone else, one gets much more self-critical, and the material prevents perfect results. Build for yourself! 🙂
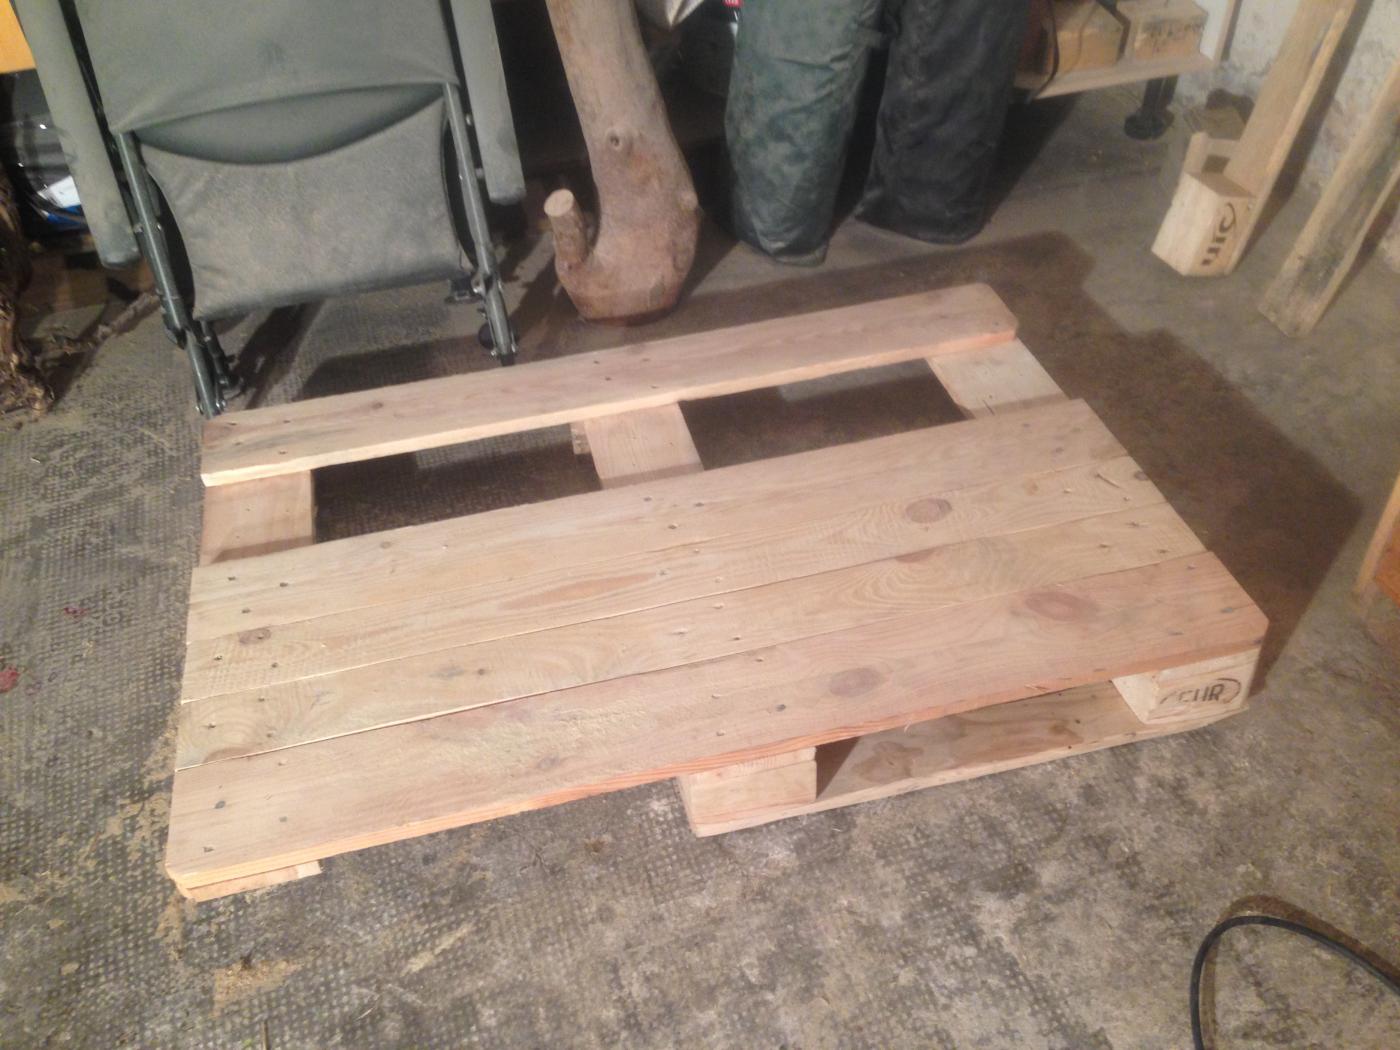
Tabletop as usual, only here its one board cut out for size reasons. Leave the top in one piece, pull off the complete substructure. Leave the “main boards” on top and pull out the two narrow ones. Cut/grind these and insert them into the first gap.

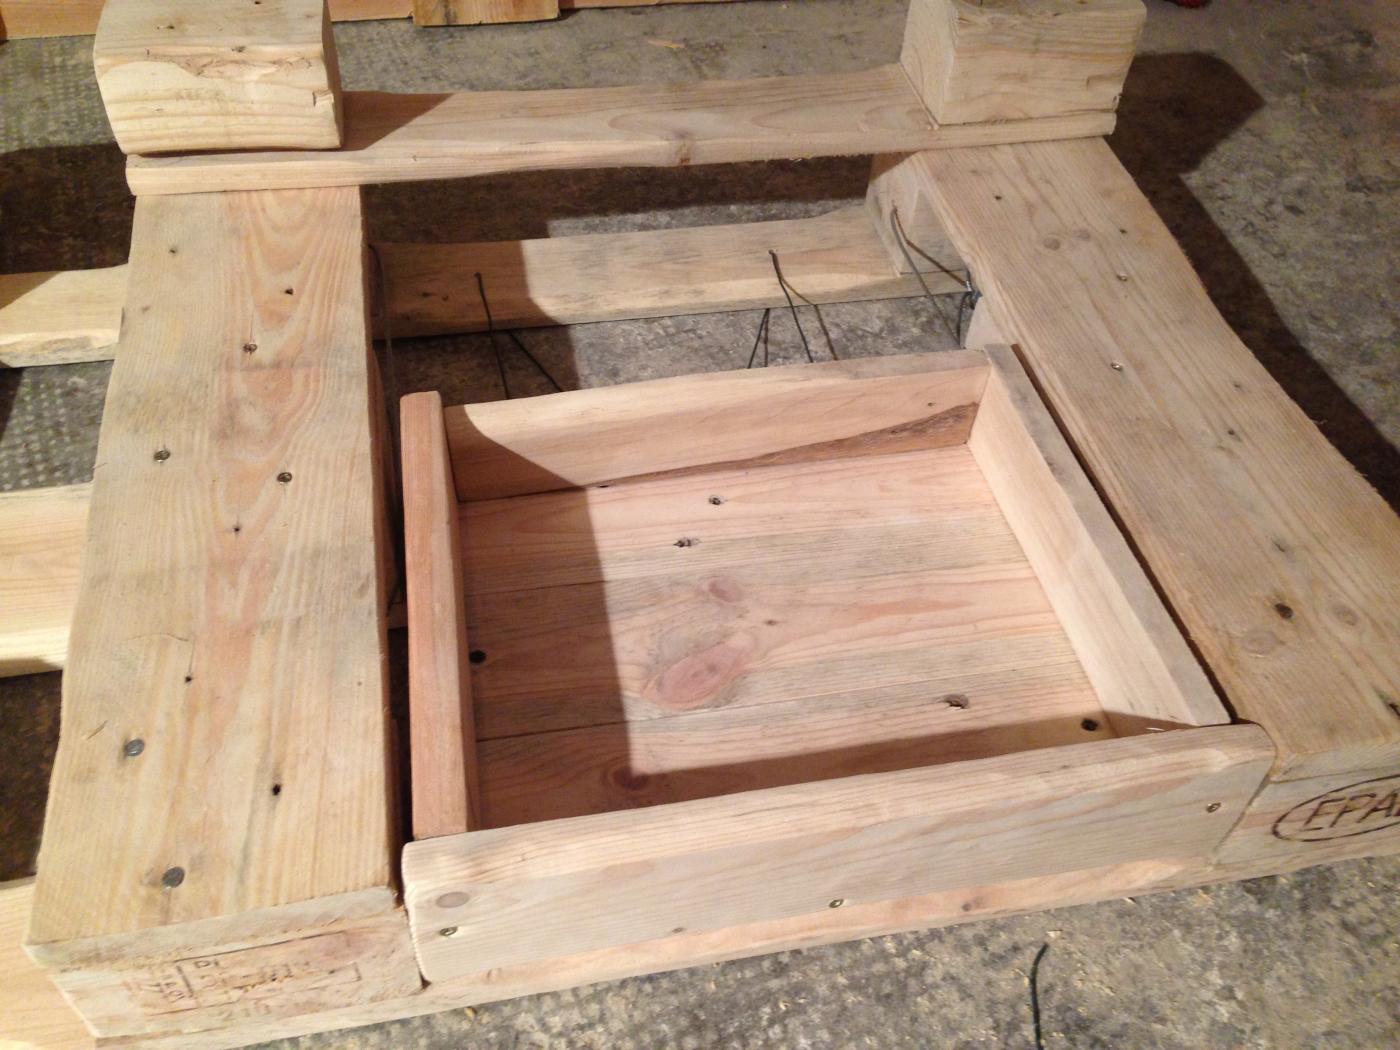
We want drawers (two superposed on each side), on only one half of the table. Here you see a) the cutted “subassemblies” once atop, once below the tabletop. And b), the gap in the plate I did not fill this time. Instead i removed the board behind the gap, grinded and placed it next to the central board. Afterwards, just cut the protruding lower boards off: so the table will be 60cm instead of pallet typical 80 cm wide.
For the drawer side of the desk, we sanded two blocks still connected with a board. The blocks at the other end we do not lift off, but cut off the board underneath the the block to have the same height on all sides. Moving the last table top board is not shown here, do this now, too. Now, the “lower level”.
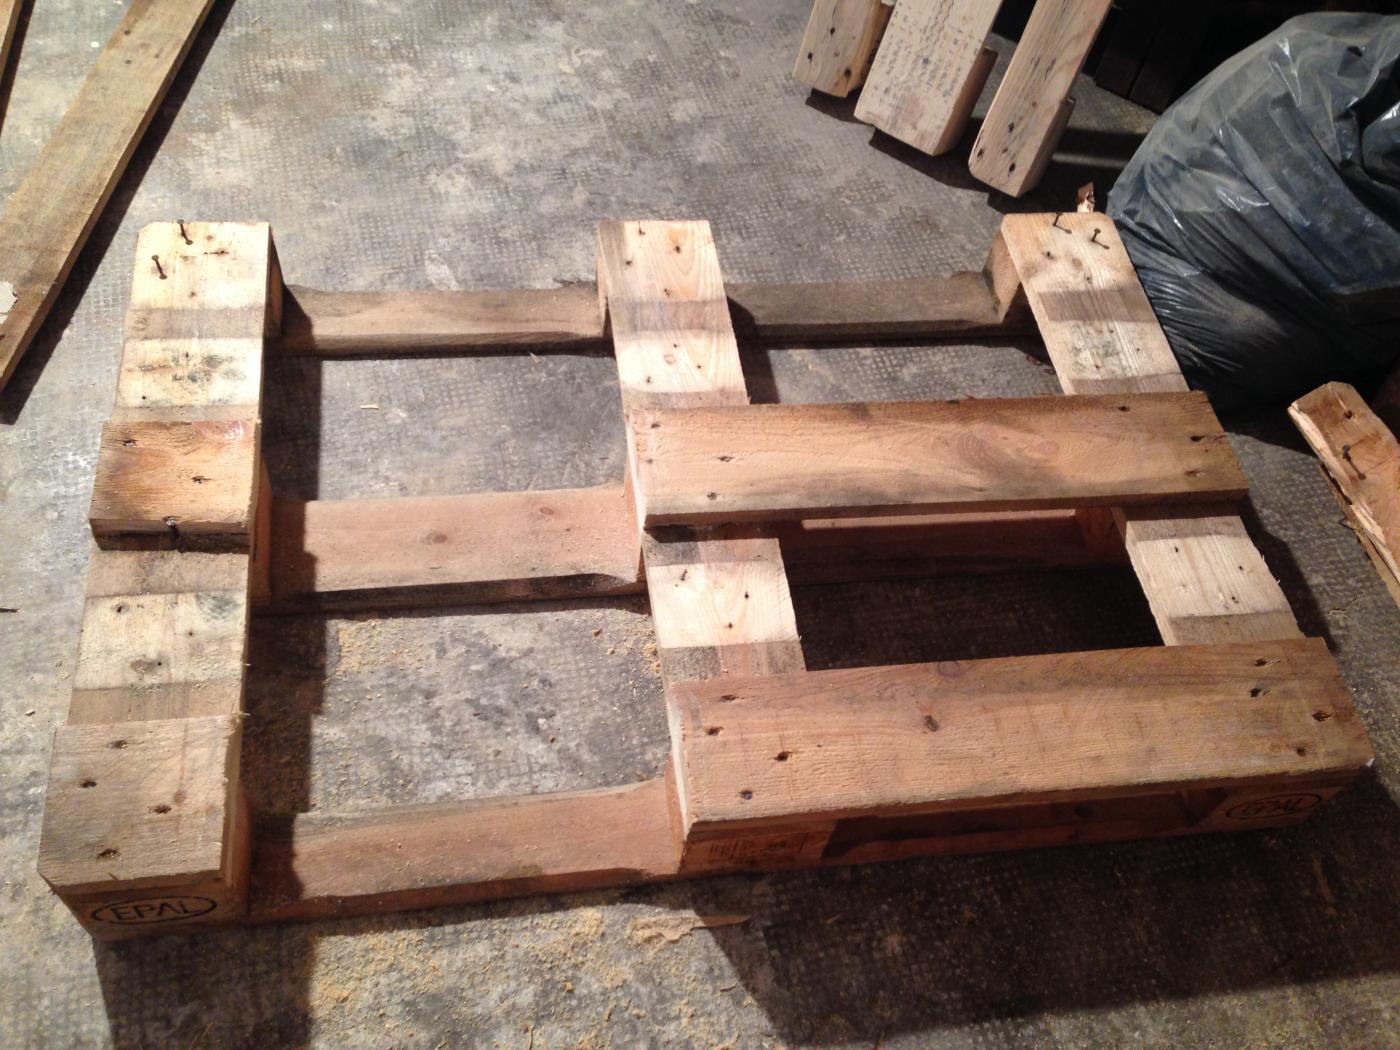
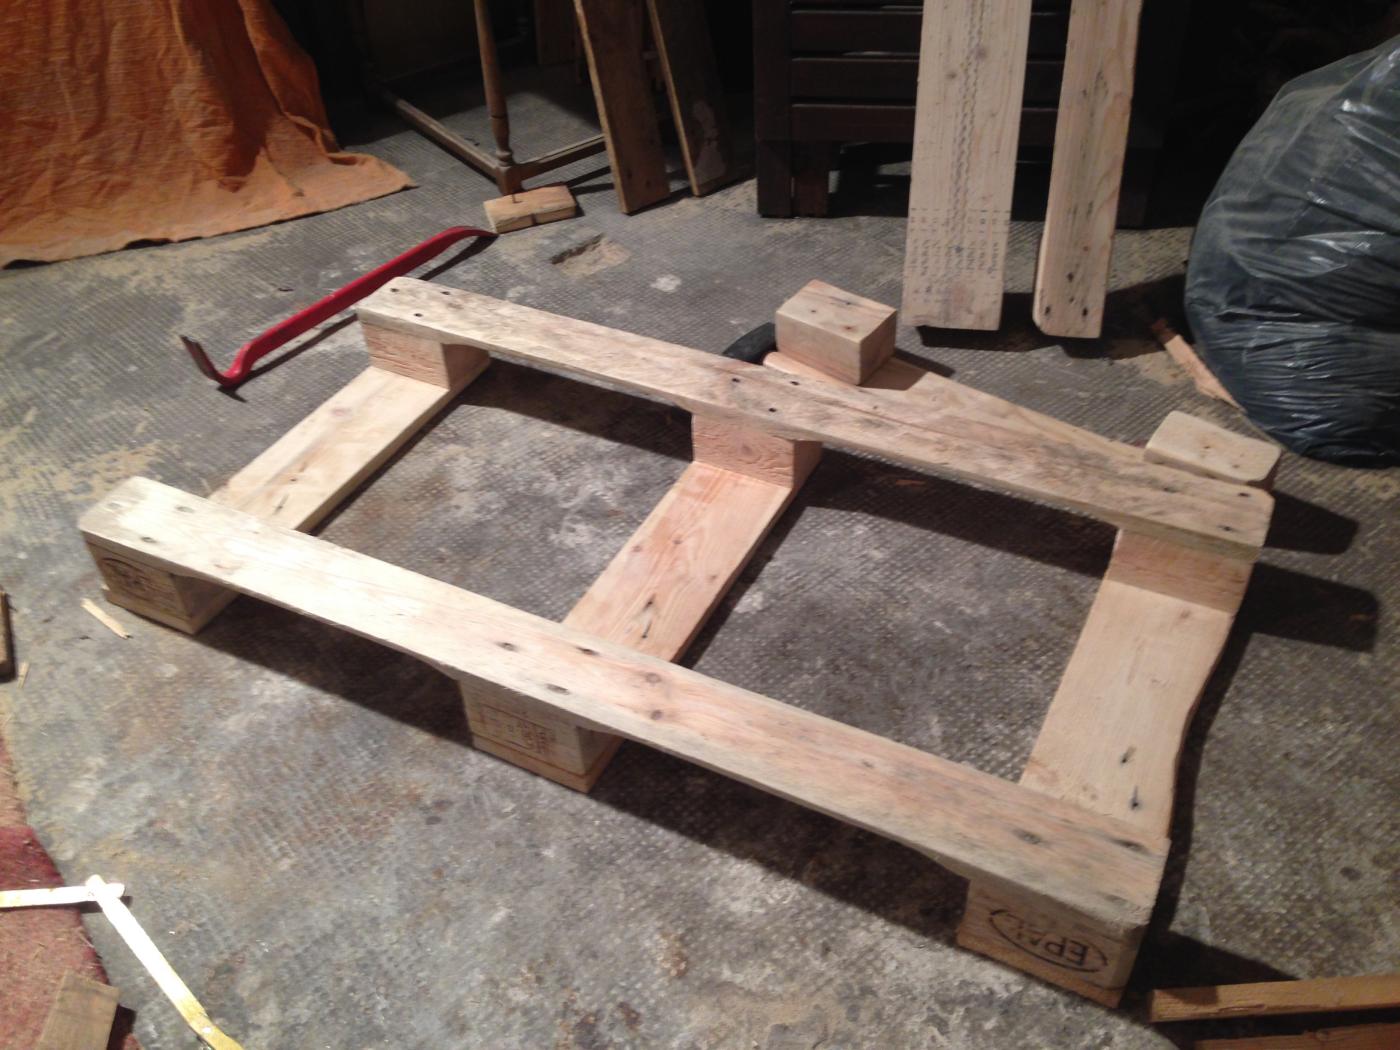
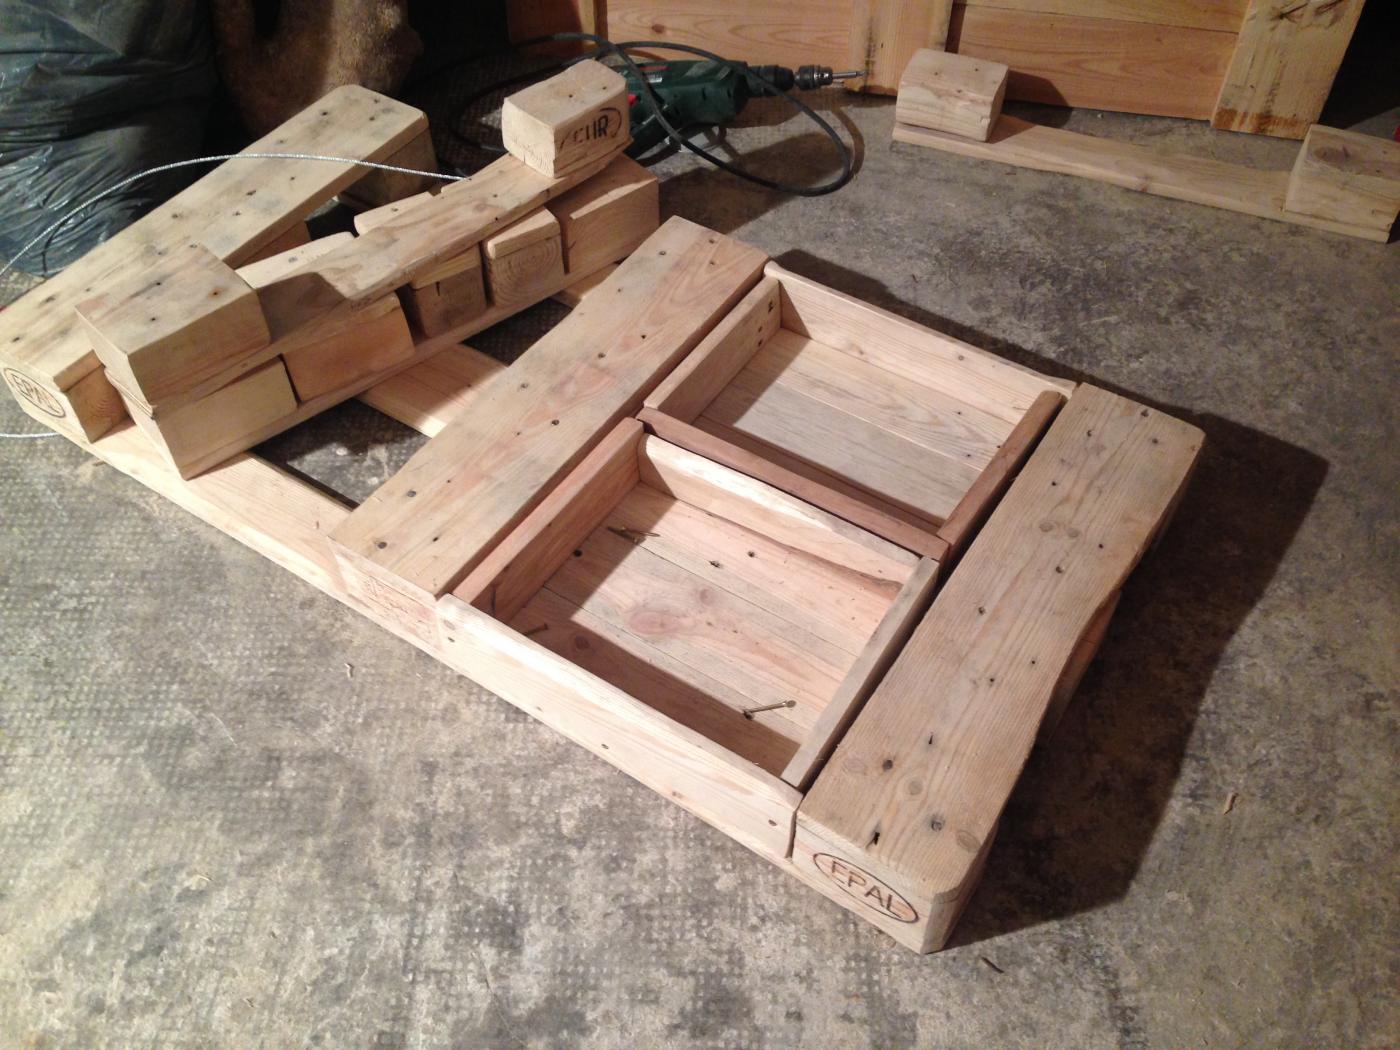
To the left, the “original pallet structure” is still visible. It was largely dismantled – complete board surface was removed, although here you can see two “leftover boards”. Turn around. If you intend to have the narrower version like me here, the middle and lateral pallet foot must go. Pictured: the middle one still removed, the lateral reinstated in the position we need for the targeted table dimension.
Here we see the future size and the targeted structure.
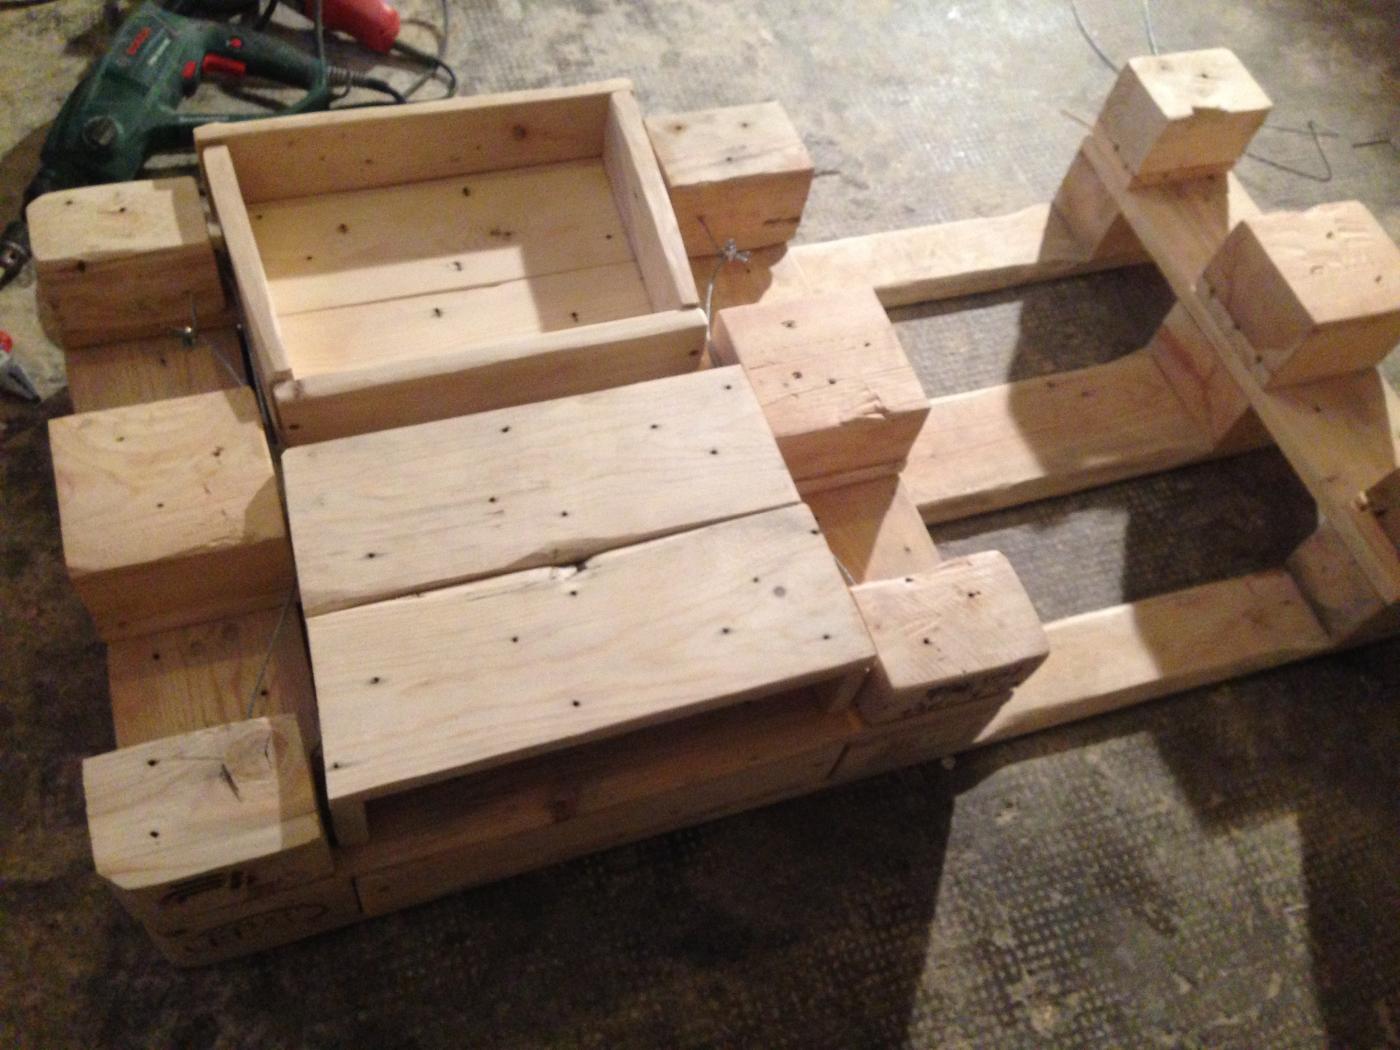
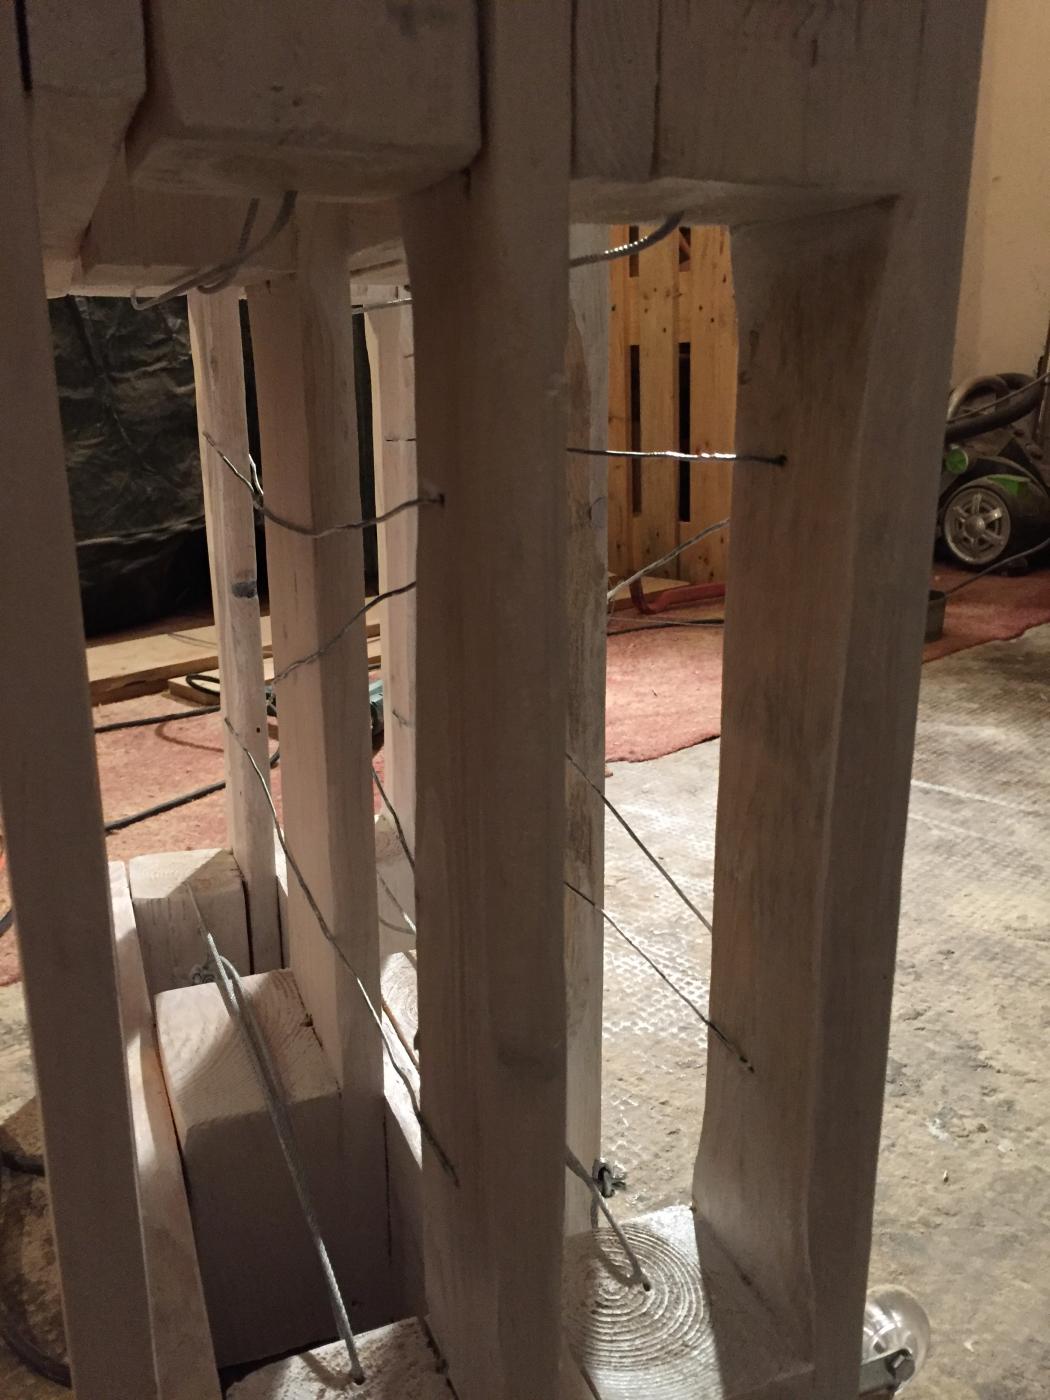
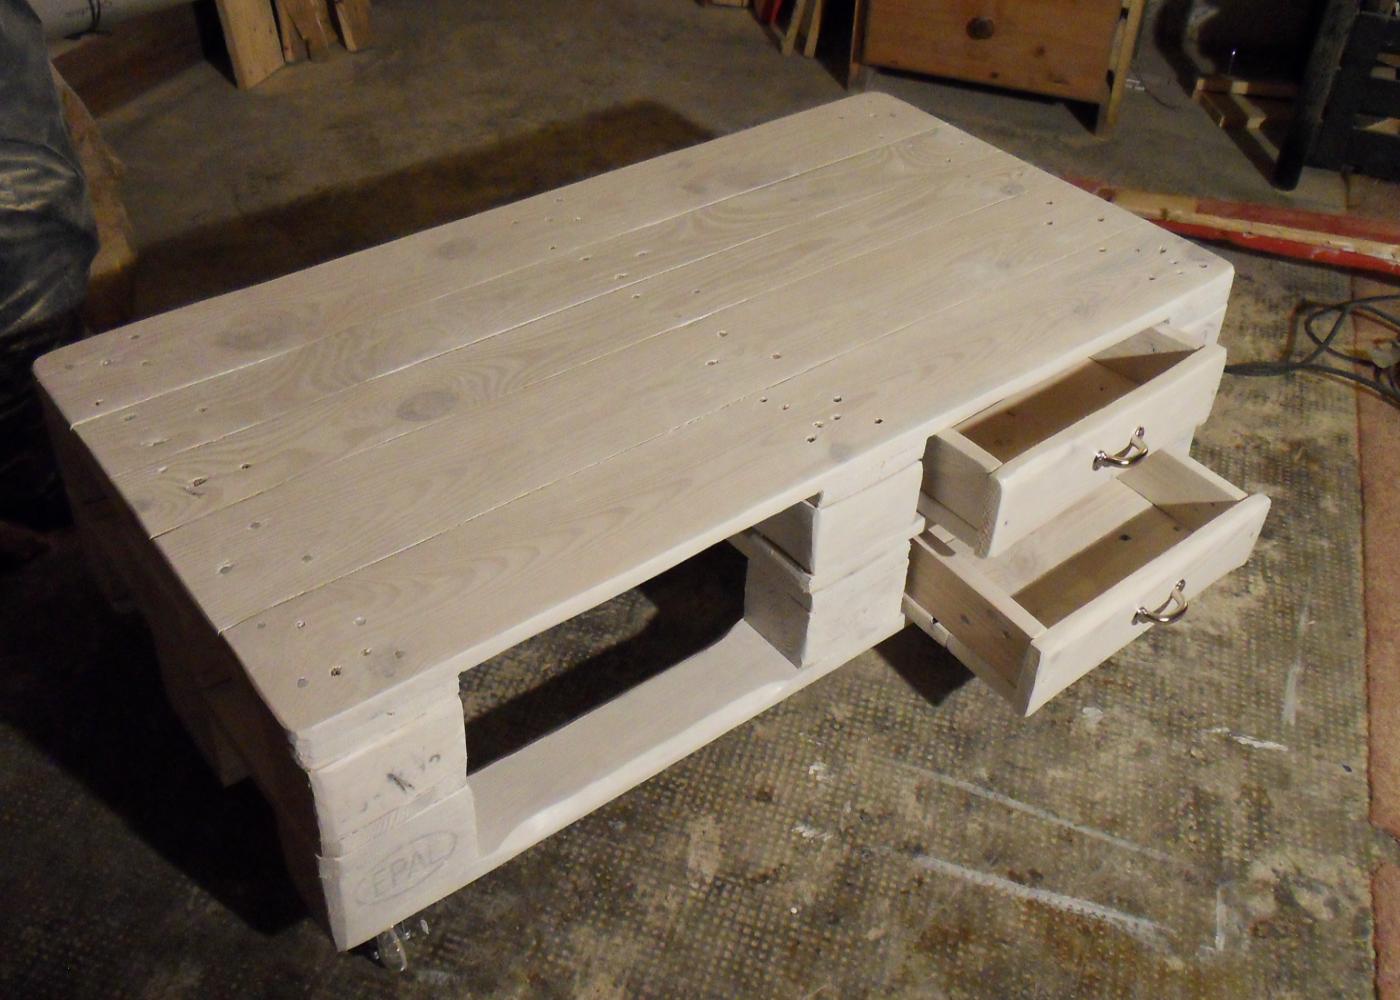
At this point it occurred to me that I used wire for the drawer slide bottom of the pallet dressing table. On wire, the drawer runs more easily and it neutralizes the discrepancies typical in pallet structures. Consistently thought: why do not use the principle for the side guide, too? So far, I always used a narrow wooden rail, but that uses up storage space. The idea is good, let’s start. I had some simple floral wire and found it stable enough. For the side sliders I took a thicker metal wire, it may be visible from the outside and simply looks better. Secondly, here expect more mechanical stress.
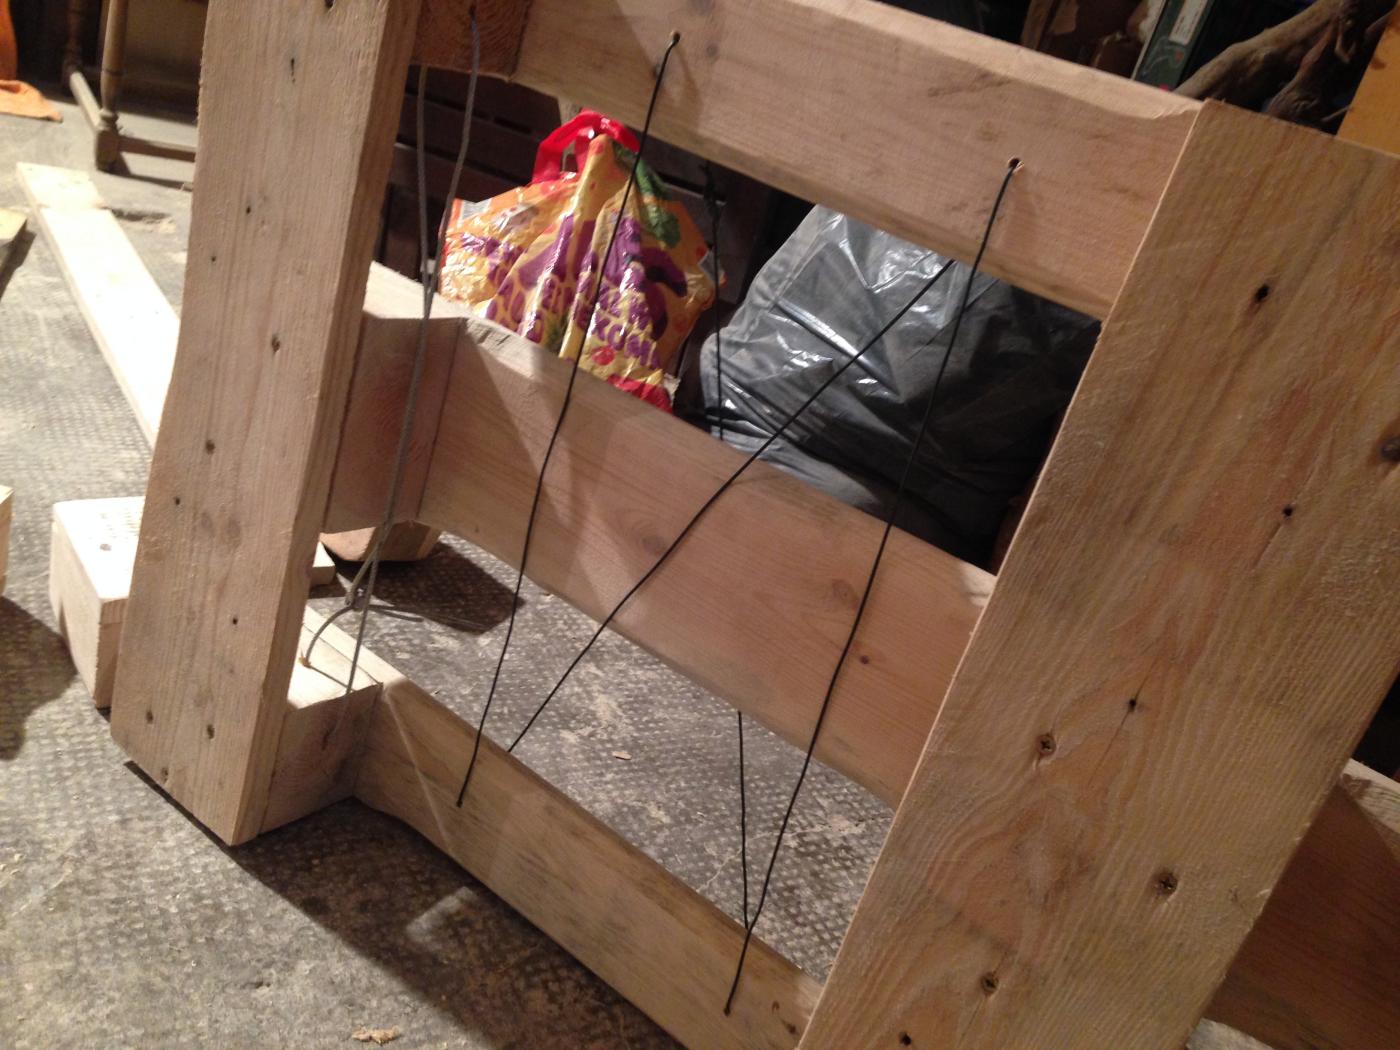
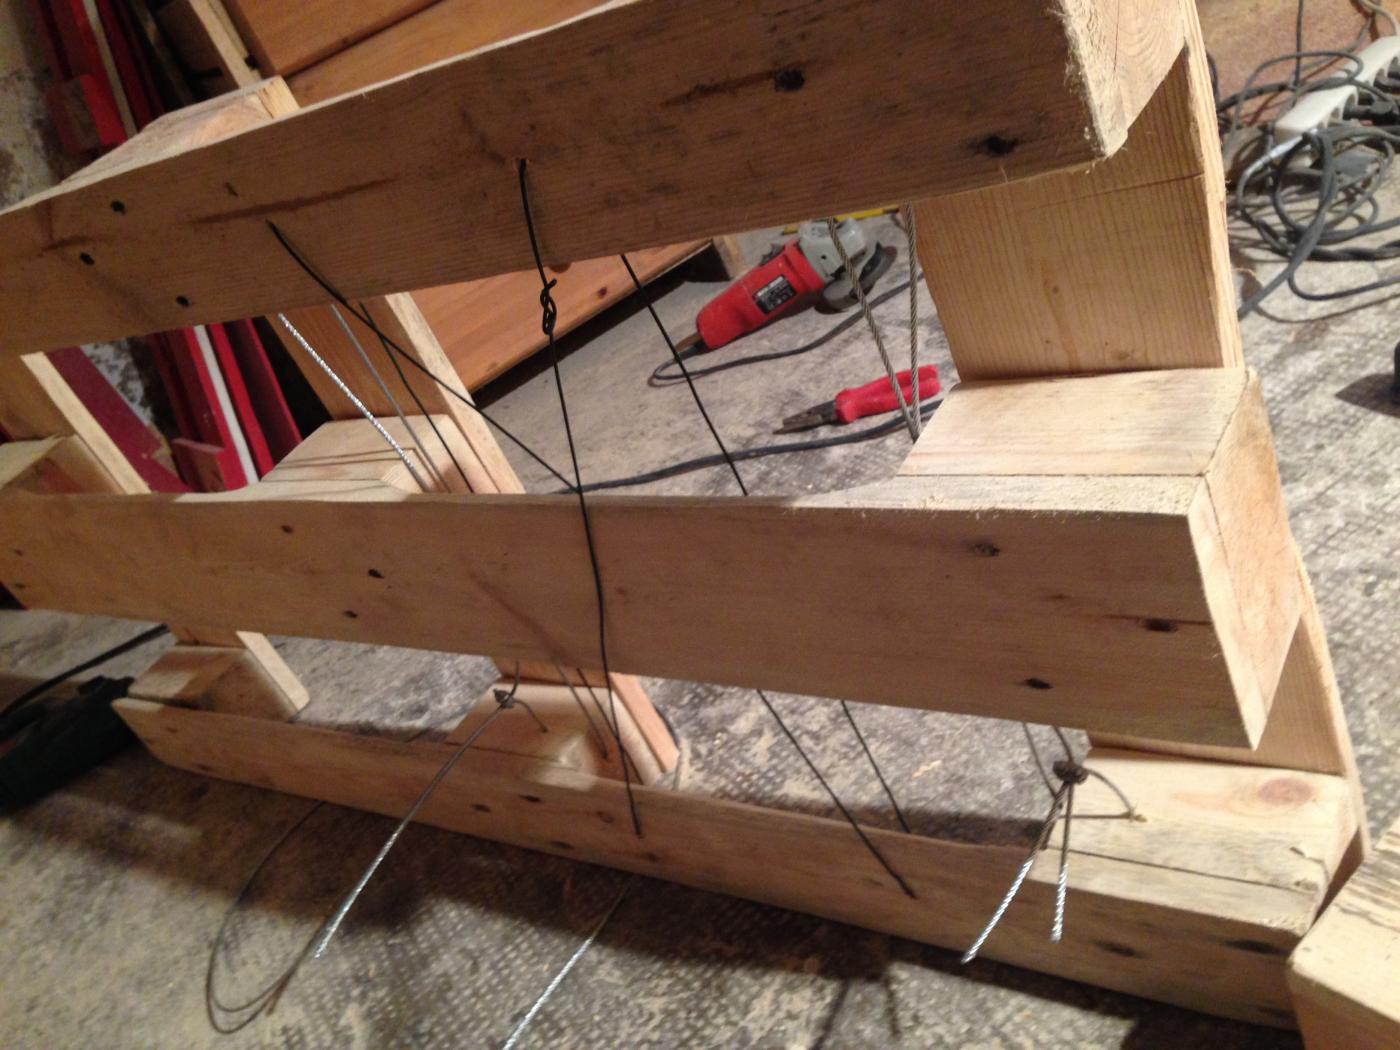
The holes for the wire-drawer slide are simply made – just drill through the bottom, put the wire through and connect diagonally, twist wire afterwards for tension. The side guides are obliquely drilled through the wood blocks, the cables fixed with with screw clamps. Here, putting tension on the wires was a little tedious, but semi-tightening the screws, stretching the cable, tighten screws, stretching cable and so on will do.
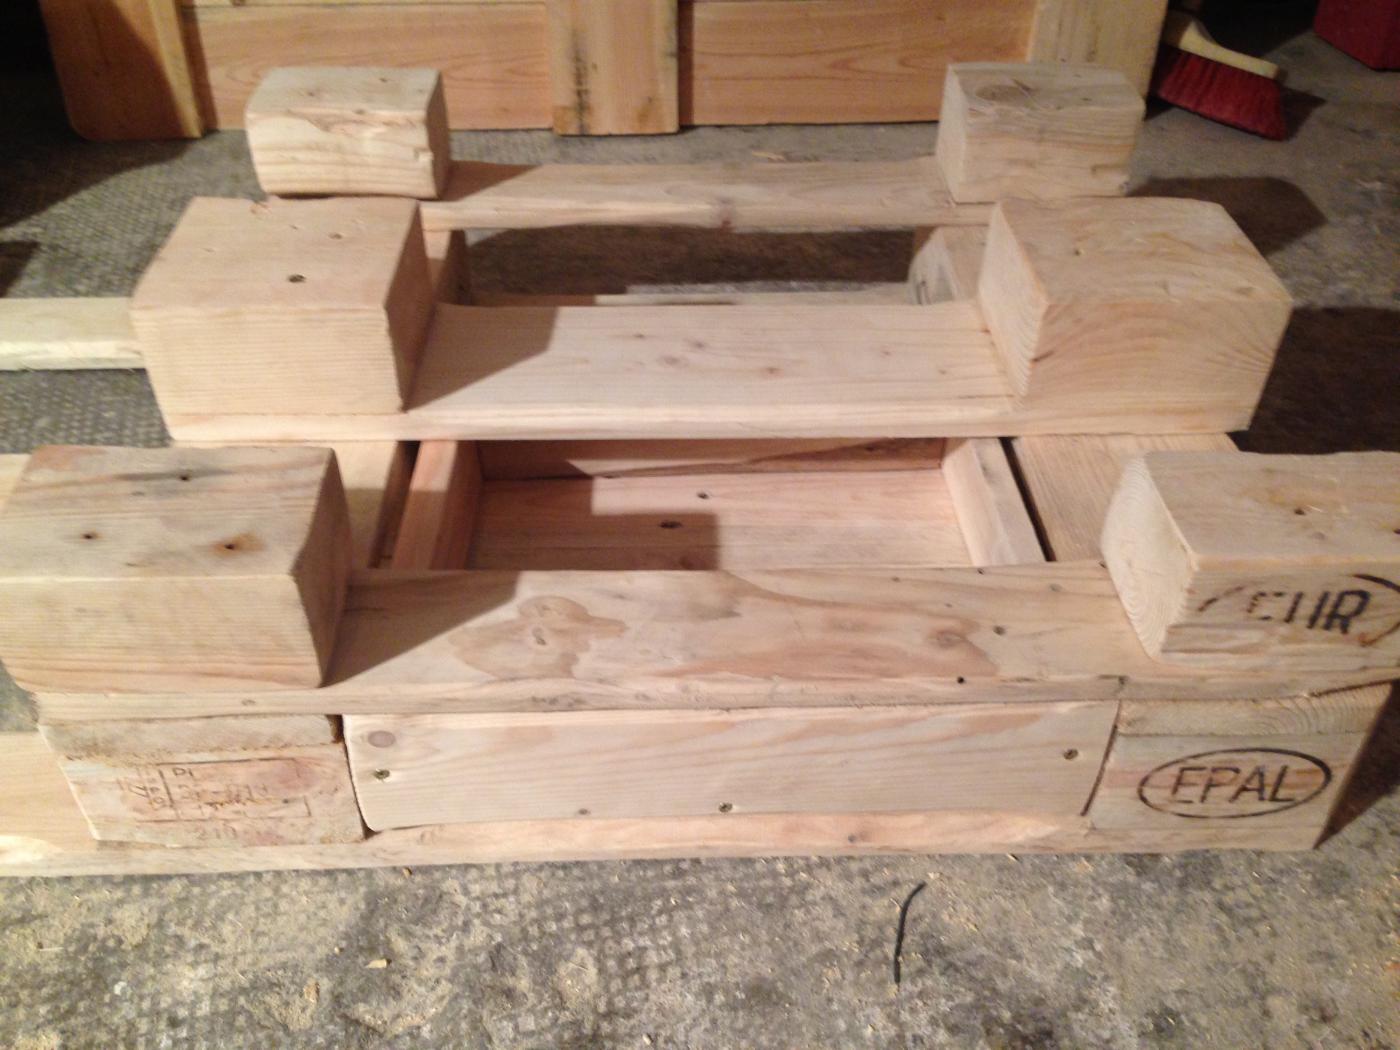
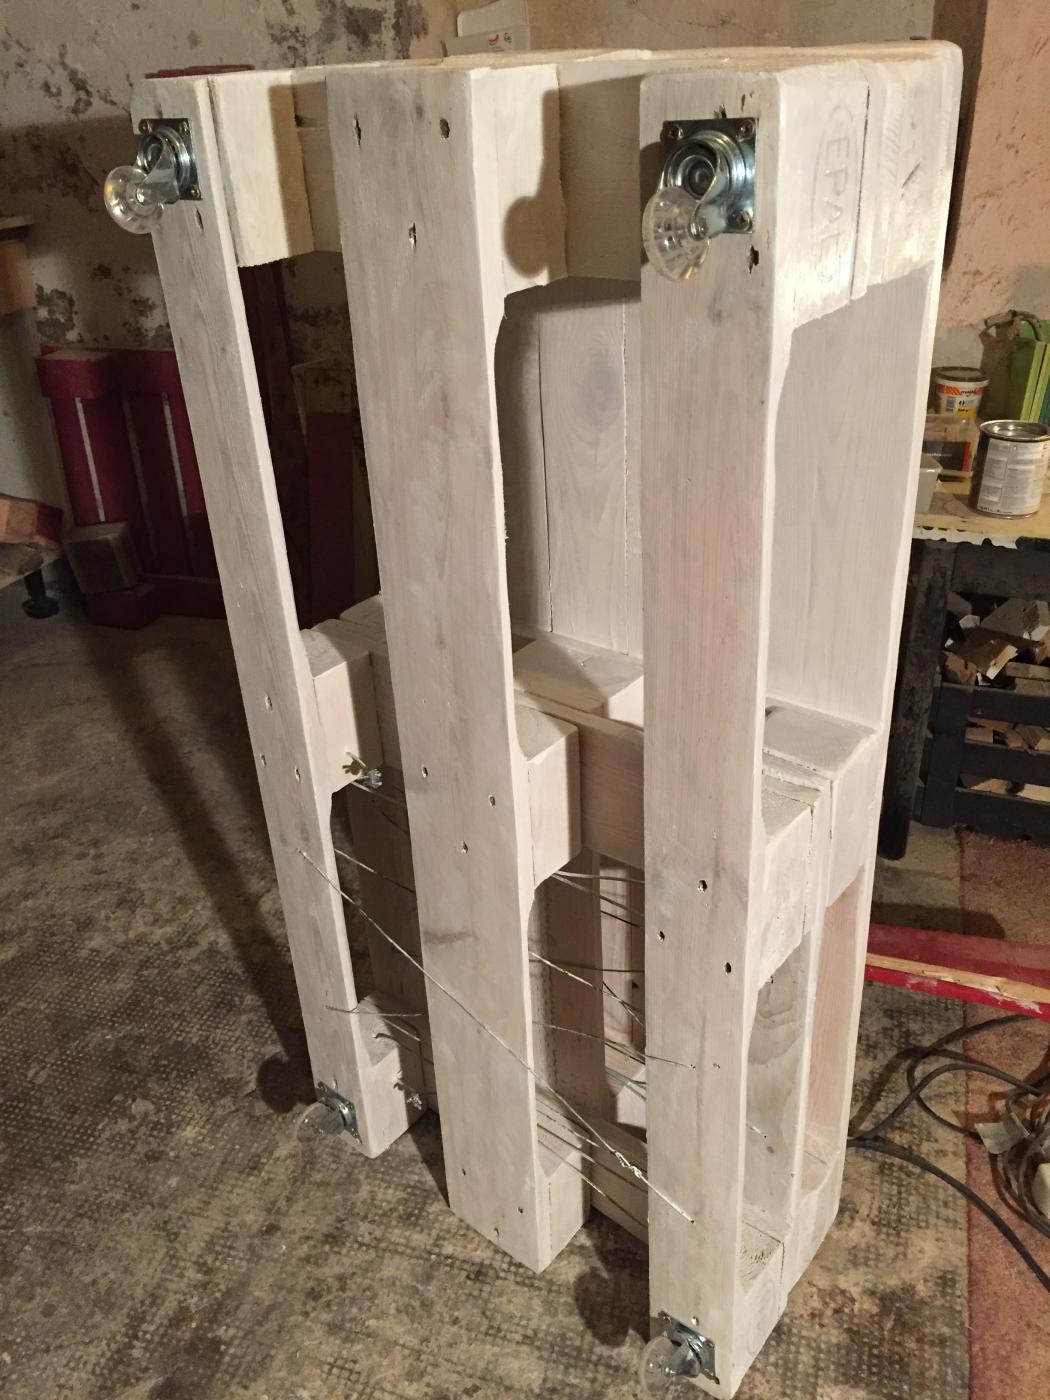
As you can see: drawers virtually over the entire width. I used to place the drawer sides “a board width” inside to have enough room for the guiding boards. With this method, its more elegant, uses up less space inside the drawer and it slides even more easy. Also visible in the picture: the wood blocks on which the tabletop will be placed later. On the table: two of the three “footboards” and the three blocks with unremoved, sanded board pieces. In the background, the third foot.
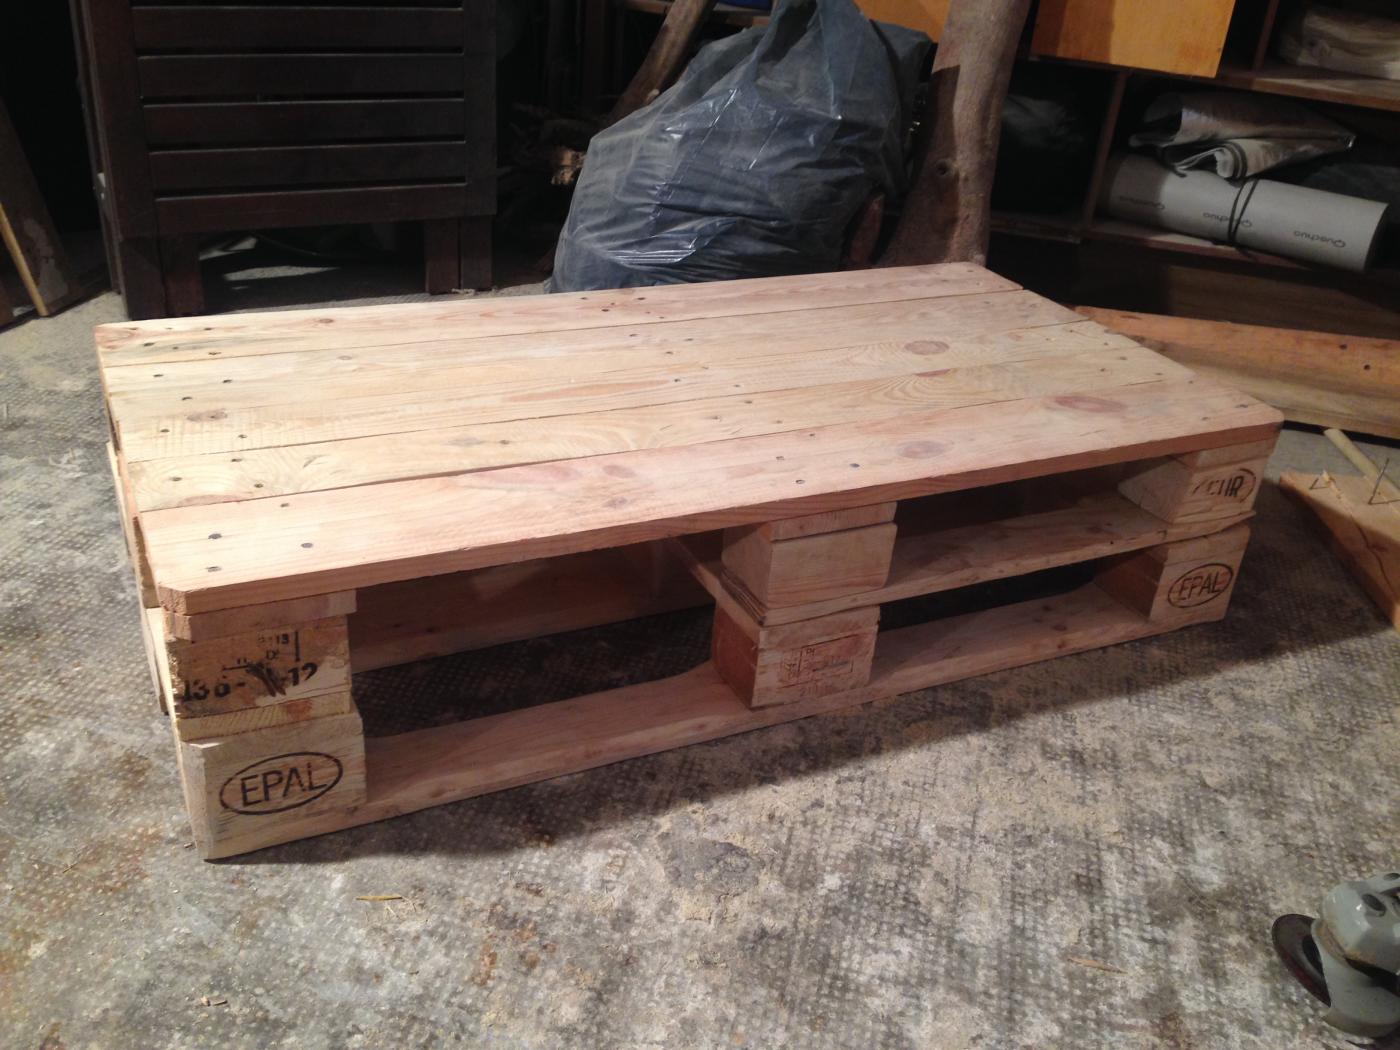
Then let’s see that the height fits. And most important: the drawers’ front facings.

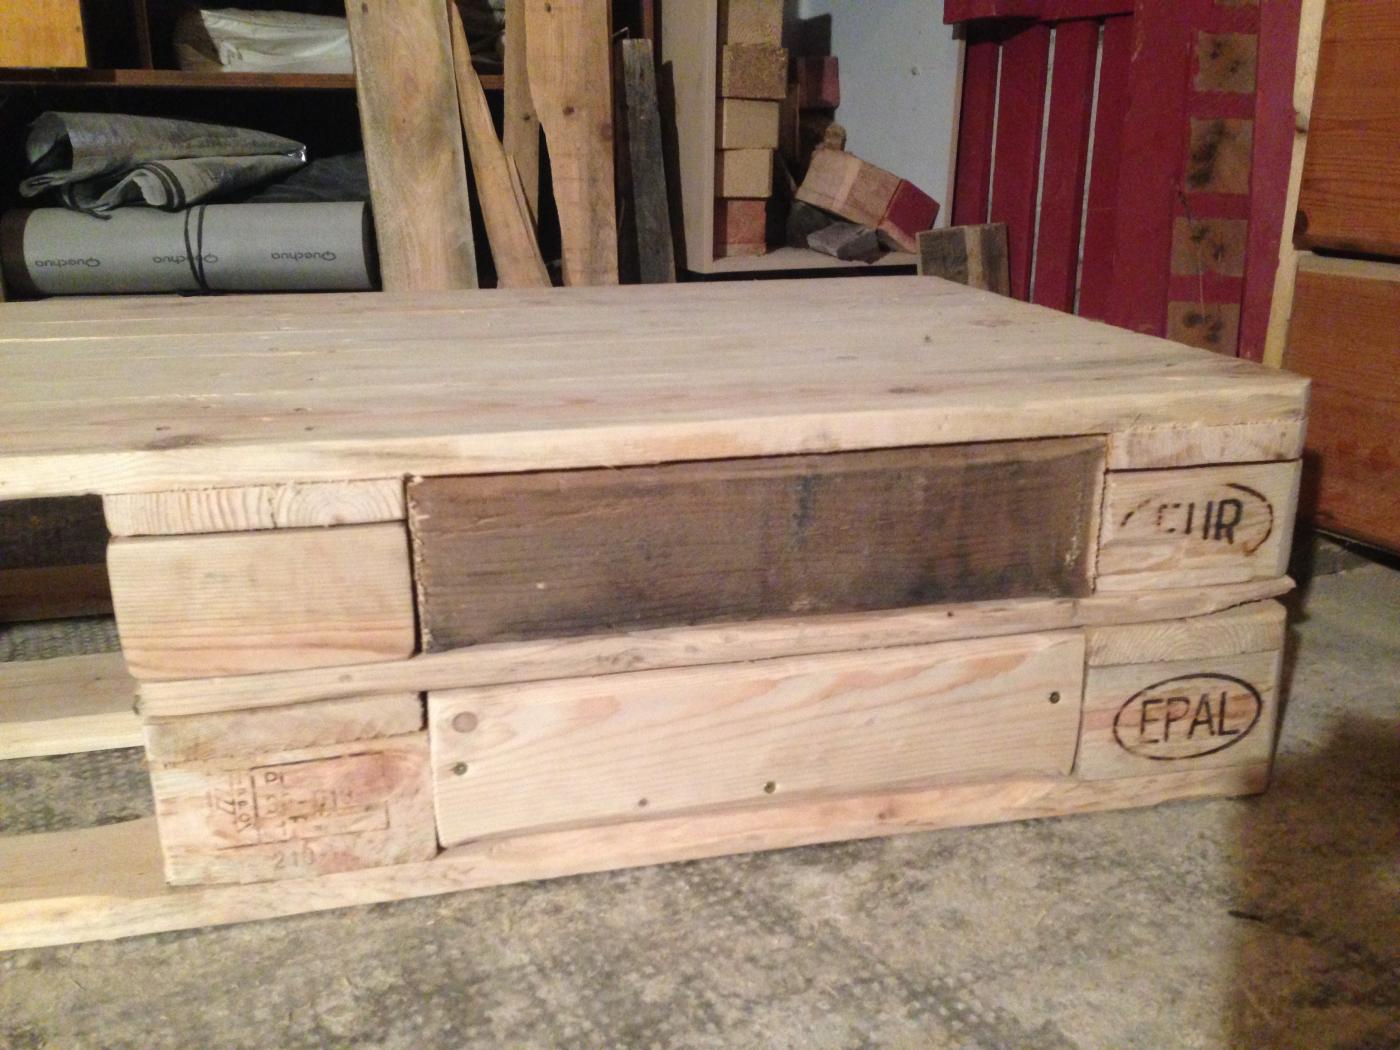
For drawer front facings I always take the cutted-out centerpieces of “pallet foot-boards”. The are always slanted on one side, which can be grinded pretty, they usually fit very well in height.
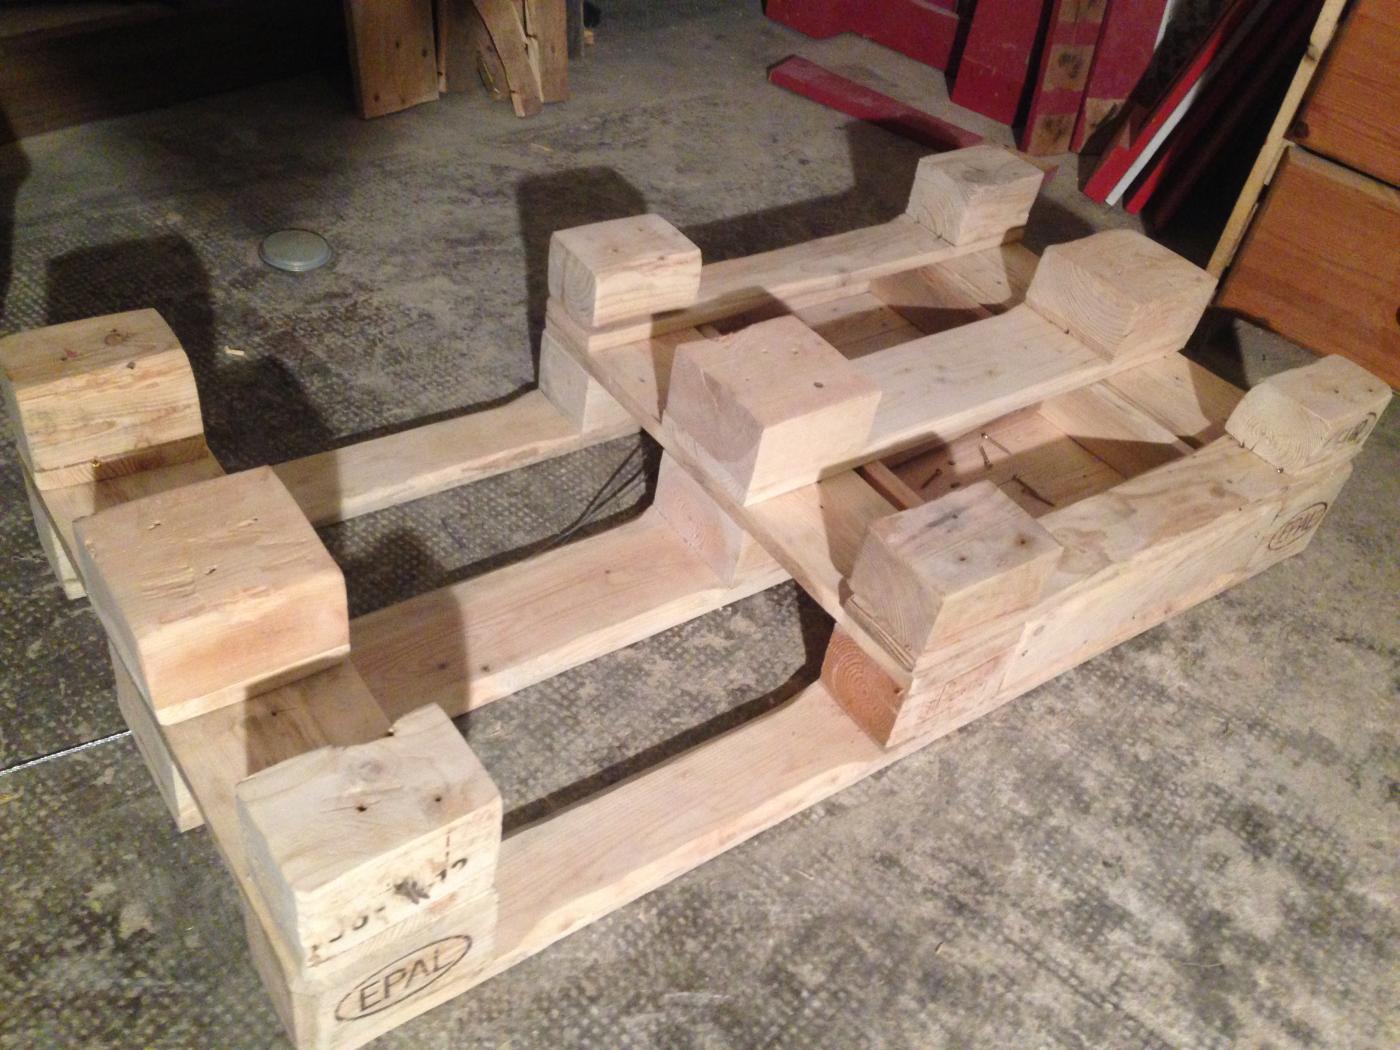
Here we see the sawed-off/grinded pallet parts which form the base of the tabletop. We build straight from bottom to top. Placing them correctly: the tabletop shouldn’t shake (or should be fixeable by screwing, meaning: gaps of one, two millimeters are still fine) and the lower drawers should still run smoothly. Now we can fix everything to the lower pallet construction. Either with very long screws through the middle or (not very elegant, but it works) simply slanted sideways through. Then (or while doing this) i noticed that the lower boards of the tabletop are not in line with the base structure or just a bit too wide. Hell, i just want drawer facings that fit in exactly. Some fine tuning.

Now we’re fine. We fit in the front facing and build the next two drawers.
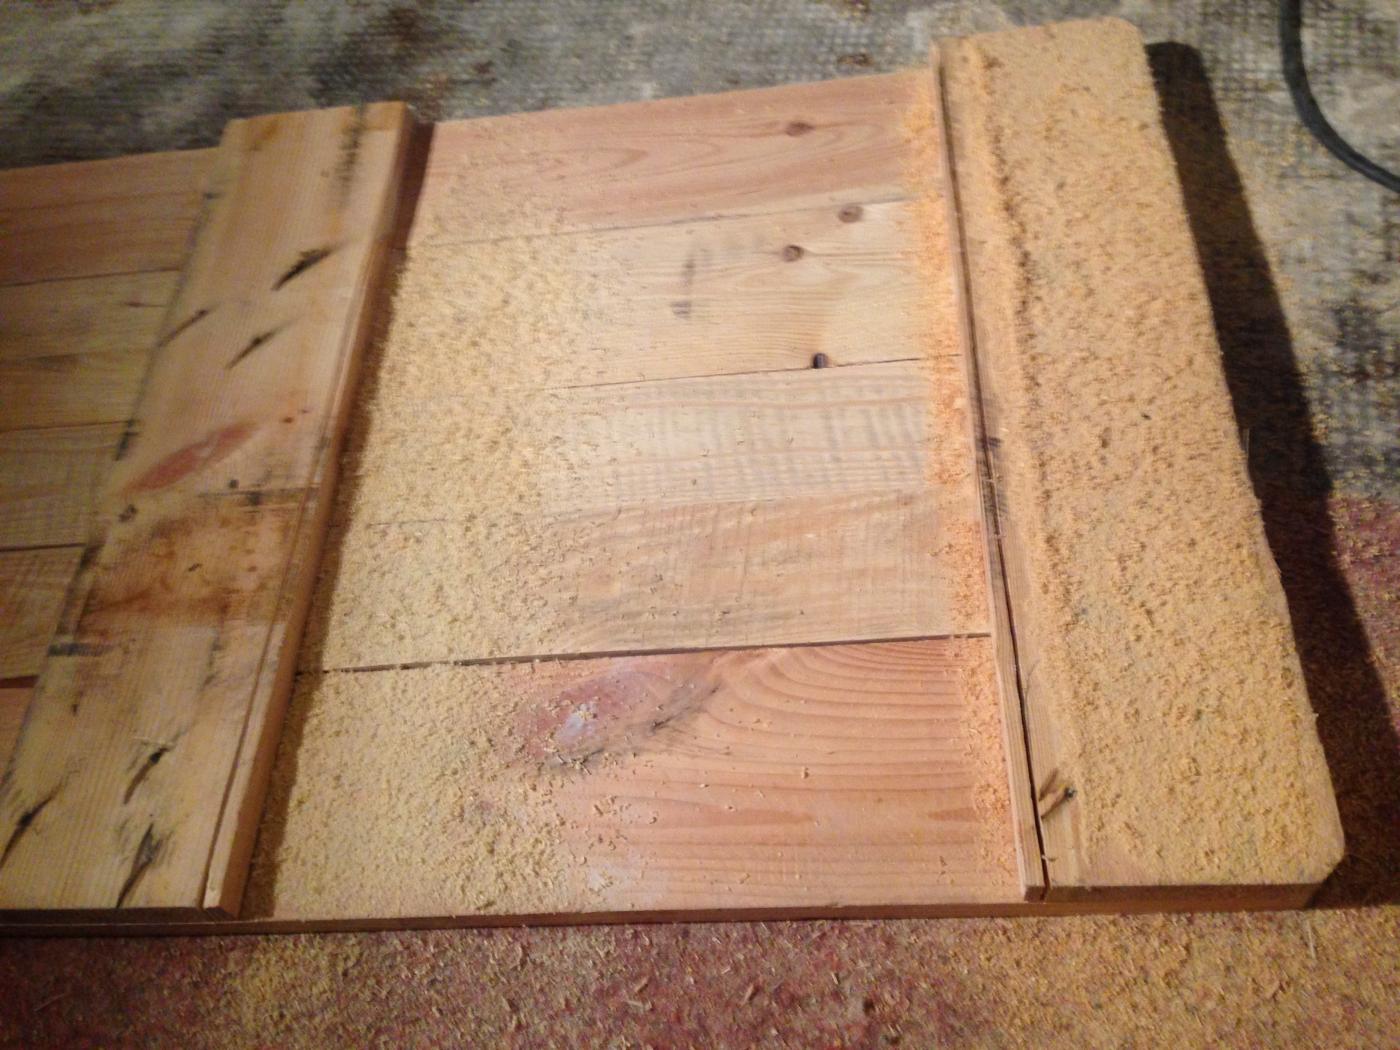
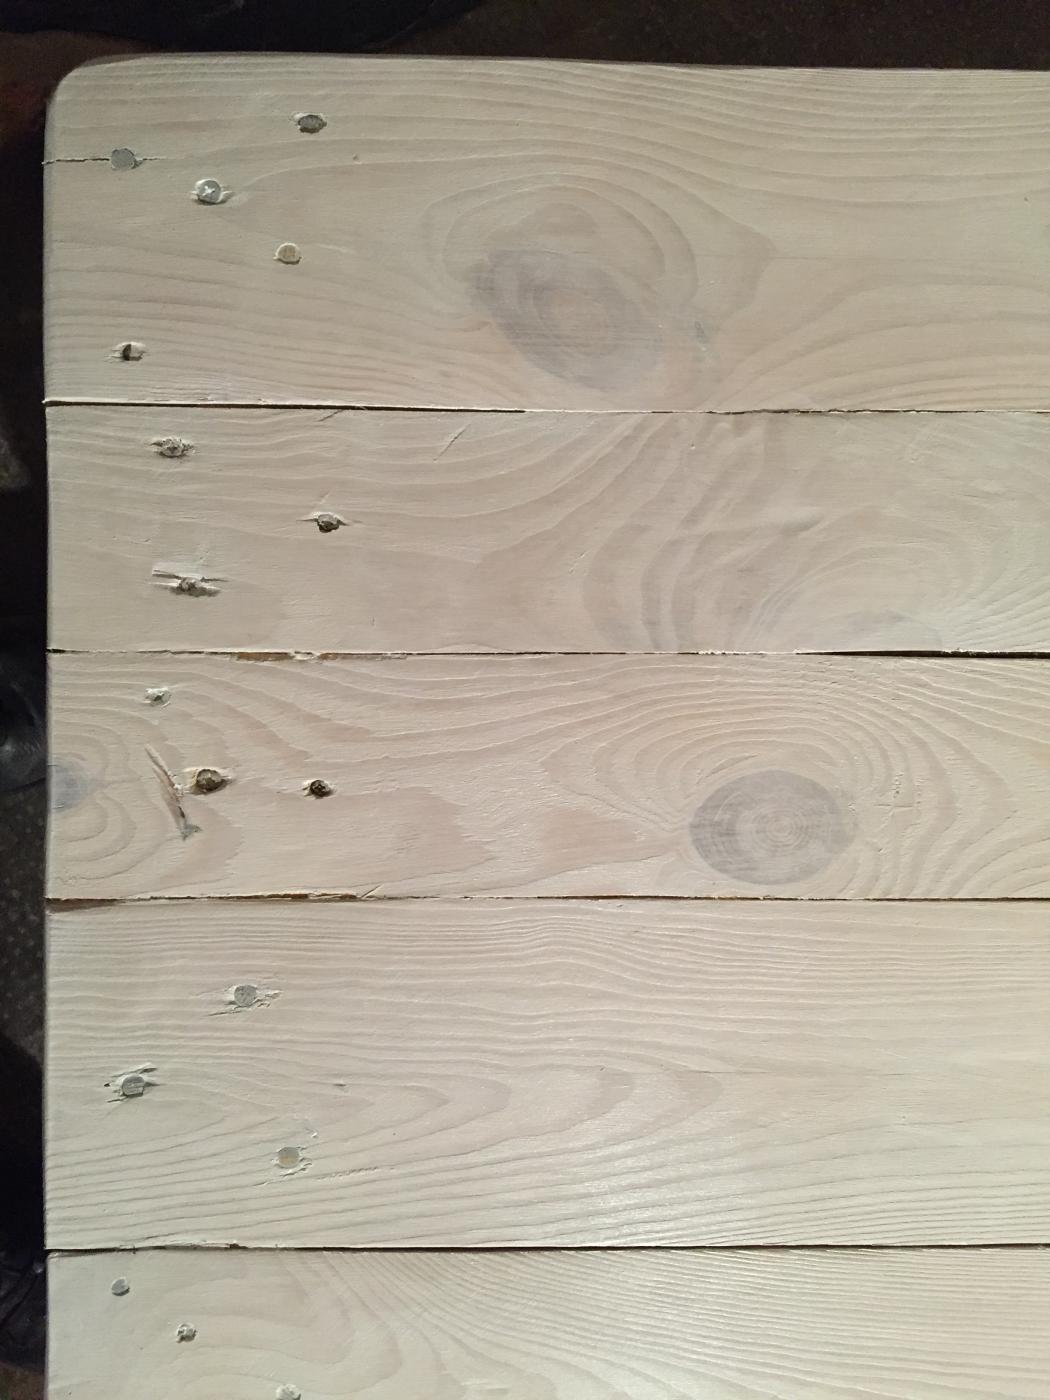
The same game again: build the drawers to fit, spare a gap for the wires. Subsequently, tensioned wire construction as known from the previous drawer. Put drawers in, tabletop on top and attach it. Optionally: start glazing before the “end assembly”, for easier reach into interior parts. I varnished after final assembly, it works, too. And before everything else: final sanding with fine (180 grain) sandpaper.
Speaking of sanding. As noted above: this was for someone else, and therefore, it needs to be slightly better than i’d normally would have done. As always, the grinding is the most exhausting part of the whole story. Also as always: when in doubt, grind again. Its really annoying when after varnishing rough/scratchy spots are visible again, which looked like “well, will do” before varnishing.
Color. This is a not entirely transparent paint. Applied thin, it has a very fine translucent effect. With the brandings, I was not entirely happy, I had some trouble to get pallets with solid wooden spacers, many are simply pressboard nowadays. I do not approve.
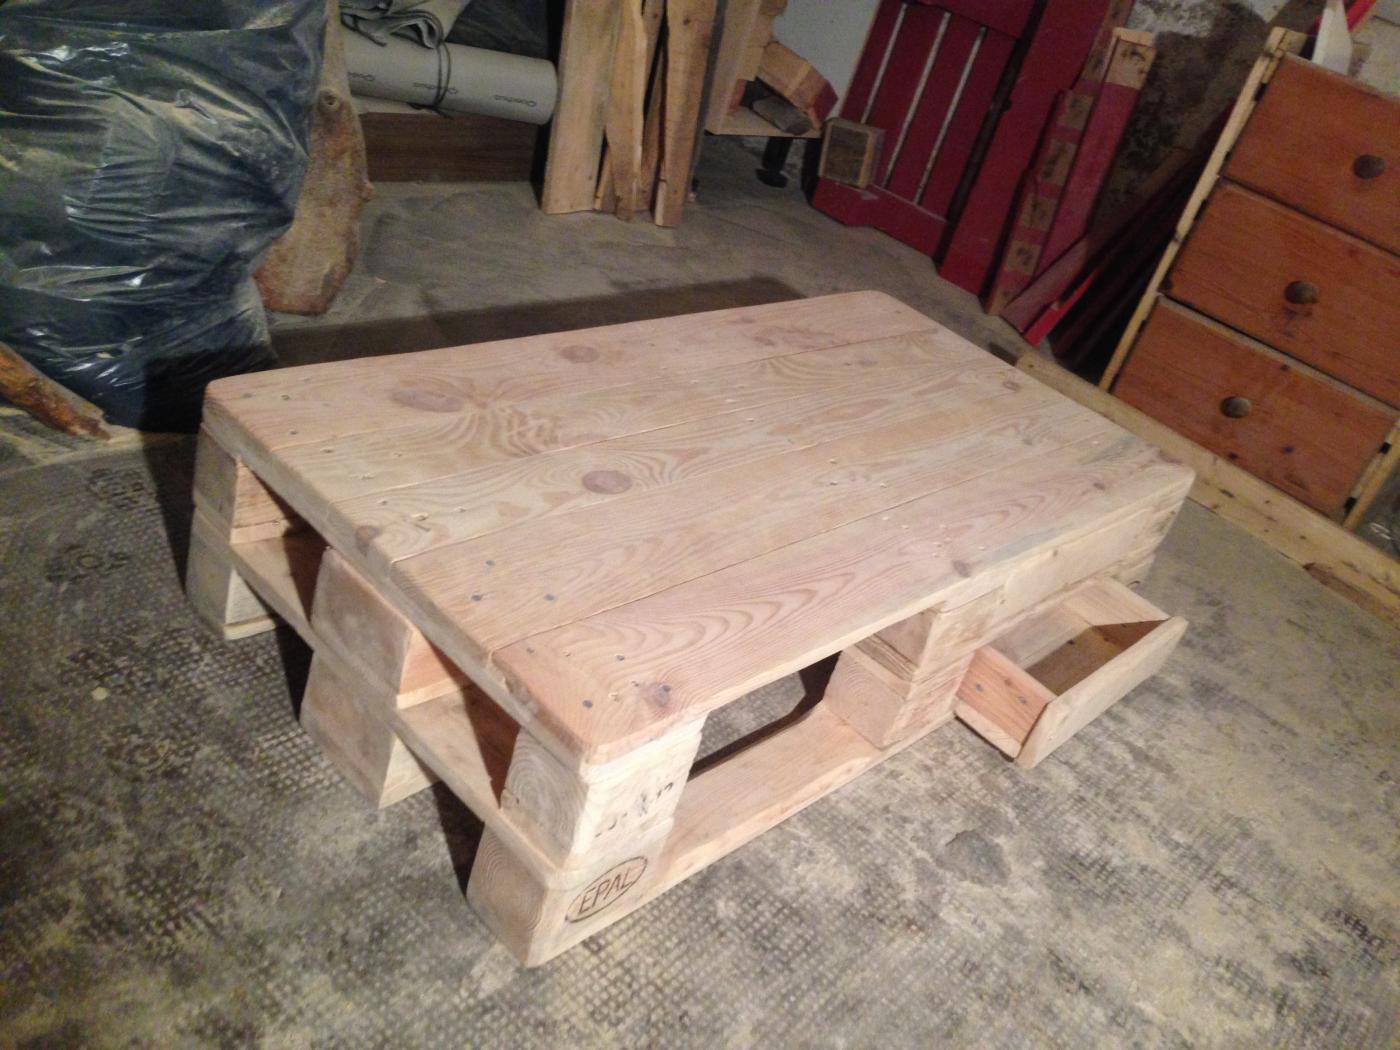
Well, thats it, mostly. We have to mount the drawer handles. Ideally centered on the individual drawers – they tend to have slightly different widths.
The future plan: placing a glass plate on top as well as inside the “double high” cabinet without drawers. Seems like a very good idea to me, I’d guess it’ll work well with felt pads between tabletop and glass plate. Alternatively, you have access to a powerful electric planer and get the whole desktop completely smooth and even, but that seems kinda overkill to me.