Pallets are large and bulky, and what you build with them, tends to be large, too: thats not entirely true. If you use a single pallet appropriately, it can be quite fun to build smaller pieces of furniture. The following shoe rack was rather a short tinkering on the occasion, as some shoe pillars started to annoy me. The time spent on it: about two hours, so thats a harmless weekend project to try out some form factors with pallet parts. Be warned: it has its limitations regarding useaable space.
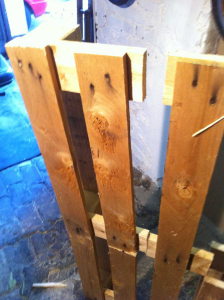
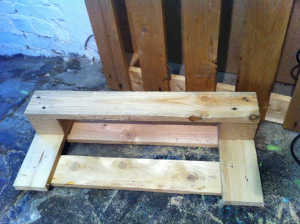
Only a single pallet is needed. Recommended once again: a disposable pallet with its typical narrow gaps between the panels. The single racks are sawn out of three parts of the pallet, which are in the following stacked together as shoe rack shelves.
The thought behind the construction: to build aslant boards in order to make good use of space. normal shoes as well as high boots should fit in, and the solution is quiote obviously to make the boards slanted. From here, the next mandatory feature follows: shoes must not fall out of the shelf.
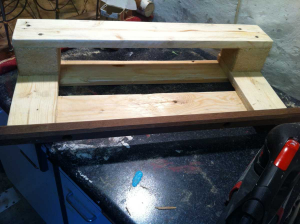
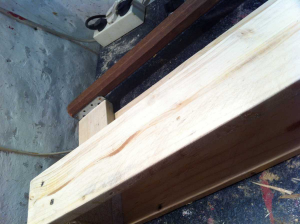
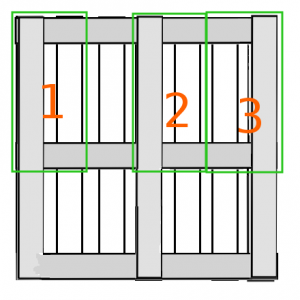
I sectioned the pallet into the shown three pieces. Thats the maximum of such single elements out of one pallet, to build higher rack structures, you’ll need more pallets. As always: grind the three parts in their maximum dissected state. Now, i had some poles lying around – any pile or smaller beam will do, thats up to your taste. Attach them as shown to prevent the shoes slipping out.
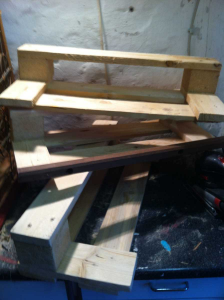
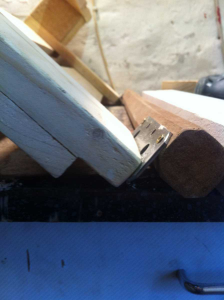
All three elements aassembled: now follows the detail work. You have to cut the basic rack legs once and in a way that the whole construction atop stands straight, while the racks themselves are slanted. The initial slope of the lowest element is the tricky point. You’ll have to saw two short (front) and two longer (rear) rack legs, angled correctly to fit in the corners of the first rack element.
 |
 |
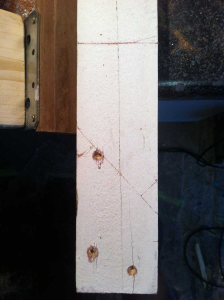 |
I fixed the front legs here in this angle. The back legs are likewise fitted into the free space between the transverse boards of the pallet part.
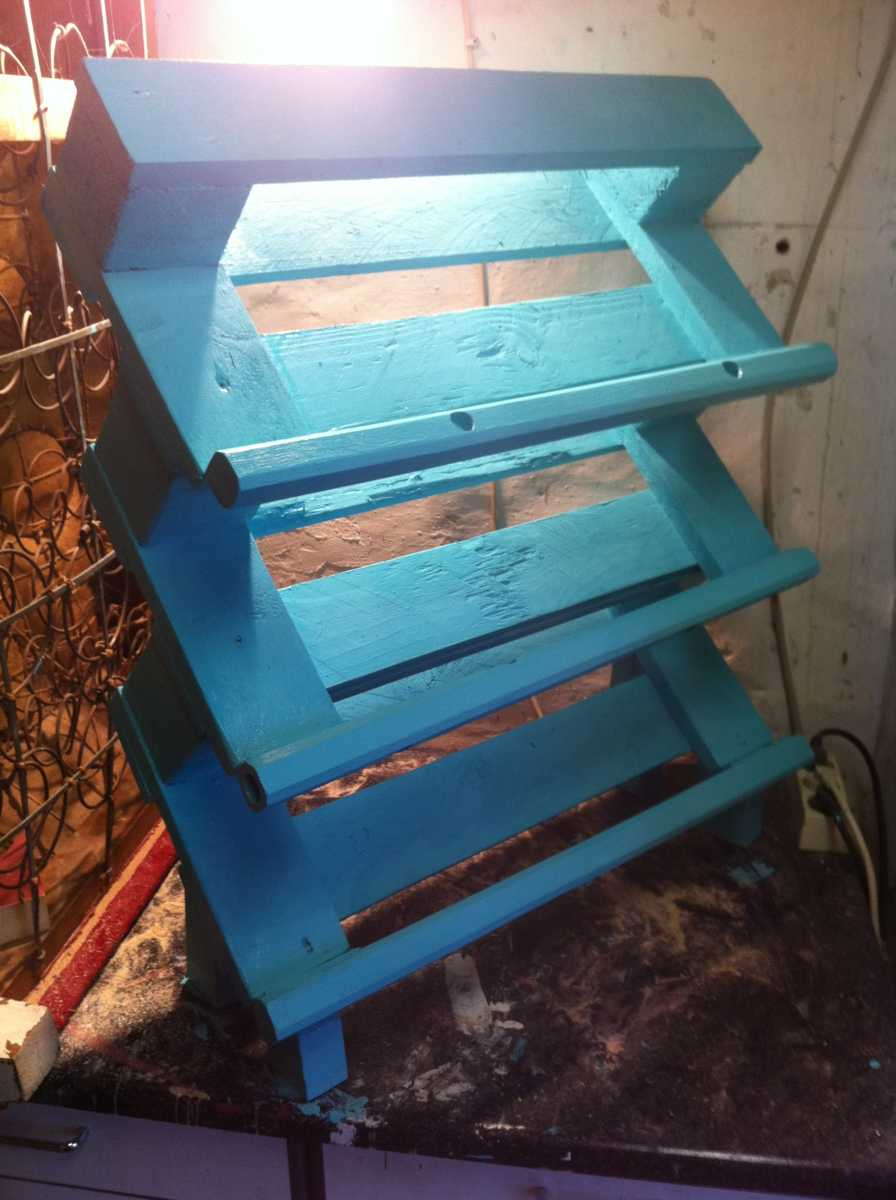
Grind the edges, screw, everything neatly, and at last, the (optional) painting. Here, as always, its personal taste if you like everyxthing painted, have the fiottings kept clean/metallic, not painting at all (but as long as shoes are put into the rack, maybe some varnish or paint to prevent the wood sucking up dirty water and stuff, some kind of finish here is recommended).
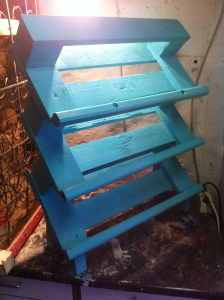
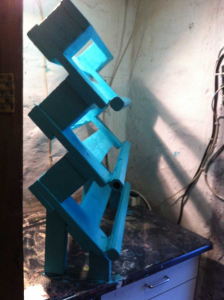
Well, that’s it, basically. Fix each element on top of the lower one, and the structure itself should stand straight. As its placed against a wall, it gets even more stability, and i haven’t secured it/screwed it to the wall in any way. Stands just fine.
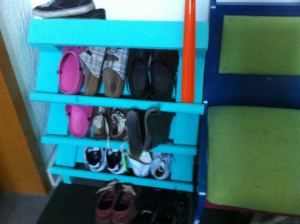
Final notes: What you need apart from the pallet parts can also be sawn out of the remaining pallet pieces. You get three rack elements out of one pallet, to have it higher or wider, you’lll need more pallets. Space for Shoes: only two pair of them per board elöement here. Thats somehow just a bit too little for me, so thats the catch here. On the other hand: i just wanted to try to build something with a smaller form factor as a test, and well, it worked and its actually in use. Fine enough for me.


2 thoughts on “Shoe rack DIY: Pallet furniture microproject”