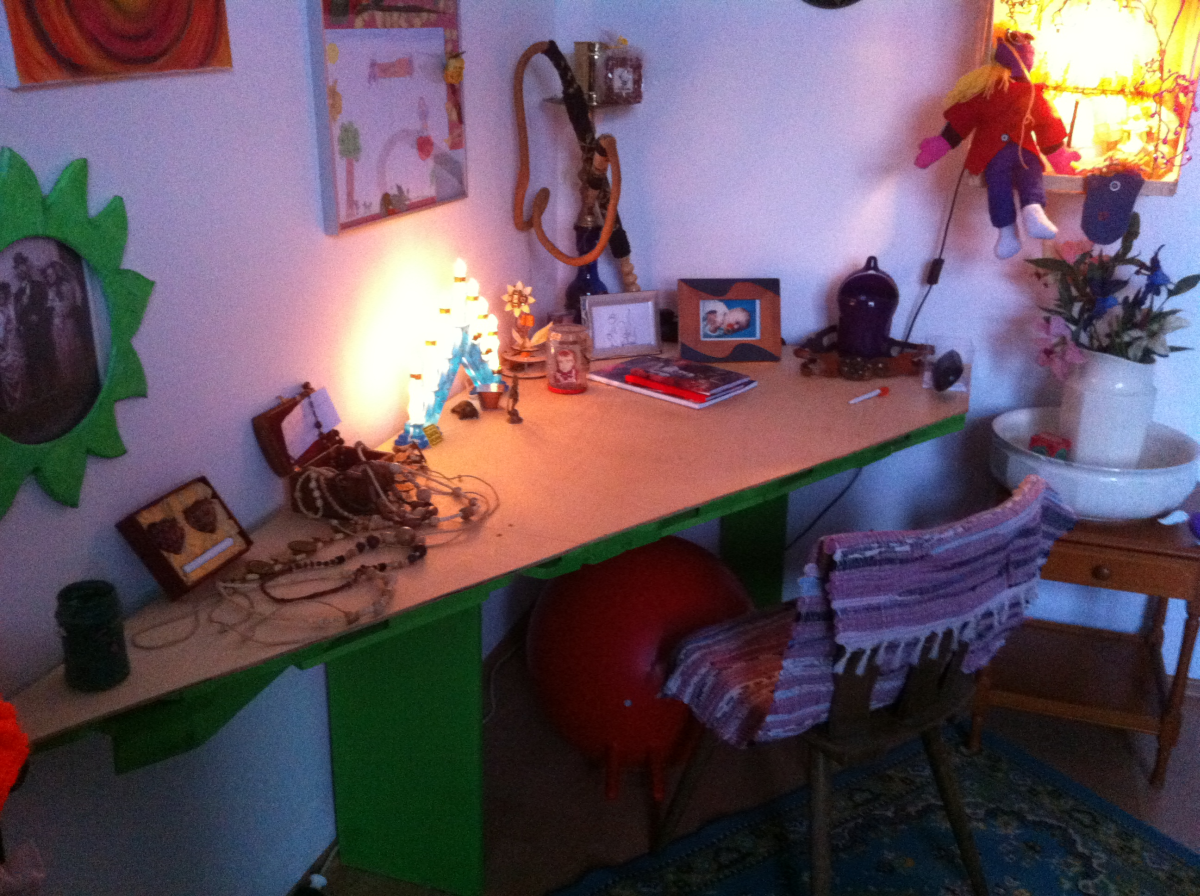
For the record: Triangular pallet desk, part 1. It took half a Sunday afternoon from here to completition, quicker than I thought. From an old bed, i had some chipboards left i used for the substructure. You can use something like that, i also thought about cutting some old IKEA Ivar shelves in form, but maybe they’ll serve better otherwise. These old bed boards were of no use for anything else, so well, i used them.
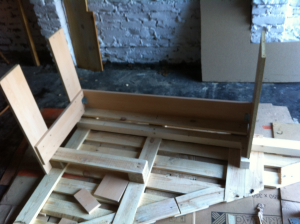
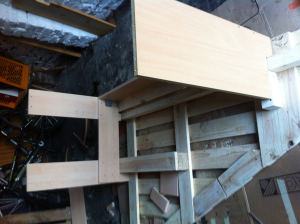
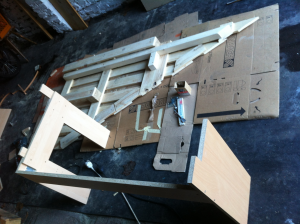
As for the first pallet desk: have it built at a comfortable height and take the thickness of the pallet tabletop and the overlaying board into account. I went for a total height of 75 cm and had to cut the foot boards at lengths varying between 60 and 72 cm, according to the thickness of the tabletop structures they were attached to. They should just “fit” into the pallet tabletop base. Use slats and screwed angled fittings fior stability, but do not attach it yet to the table top. First, painting and transportation to the site.
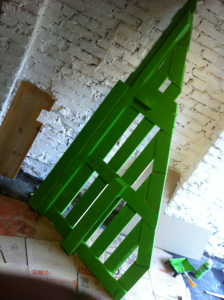
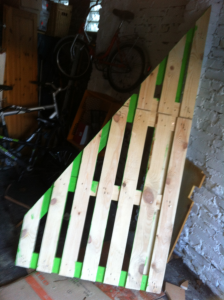
When your joint base structure stands stable, have it grinded (if necessatry) and painted (as you like). I painted the base structure nearly throughoutly, except for the back which is placed against a wall.
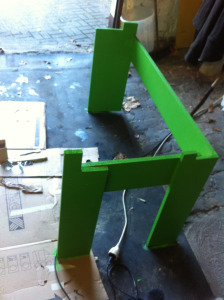 |
 |
 |
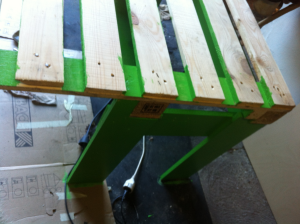
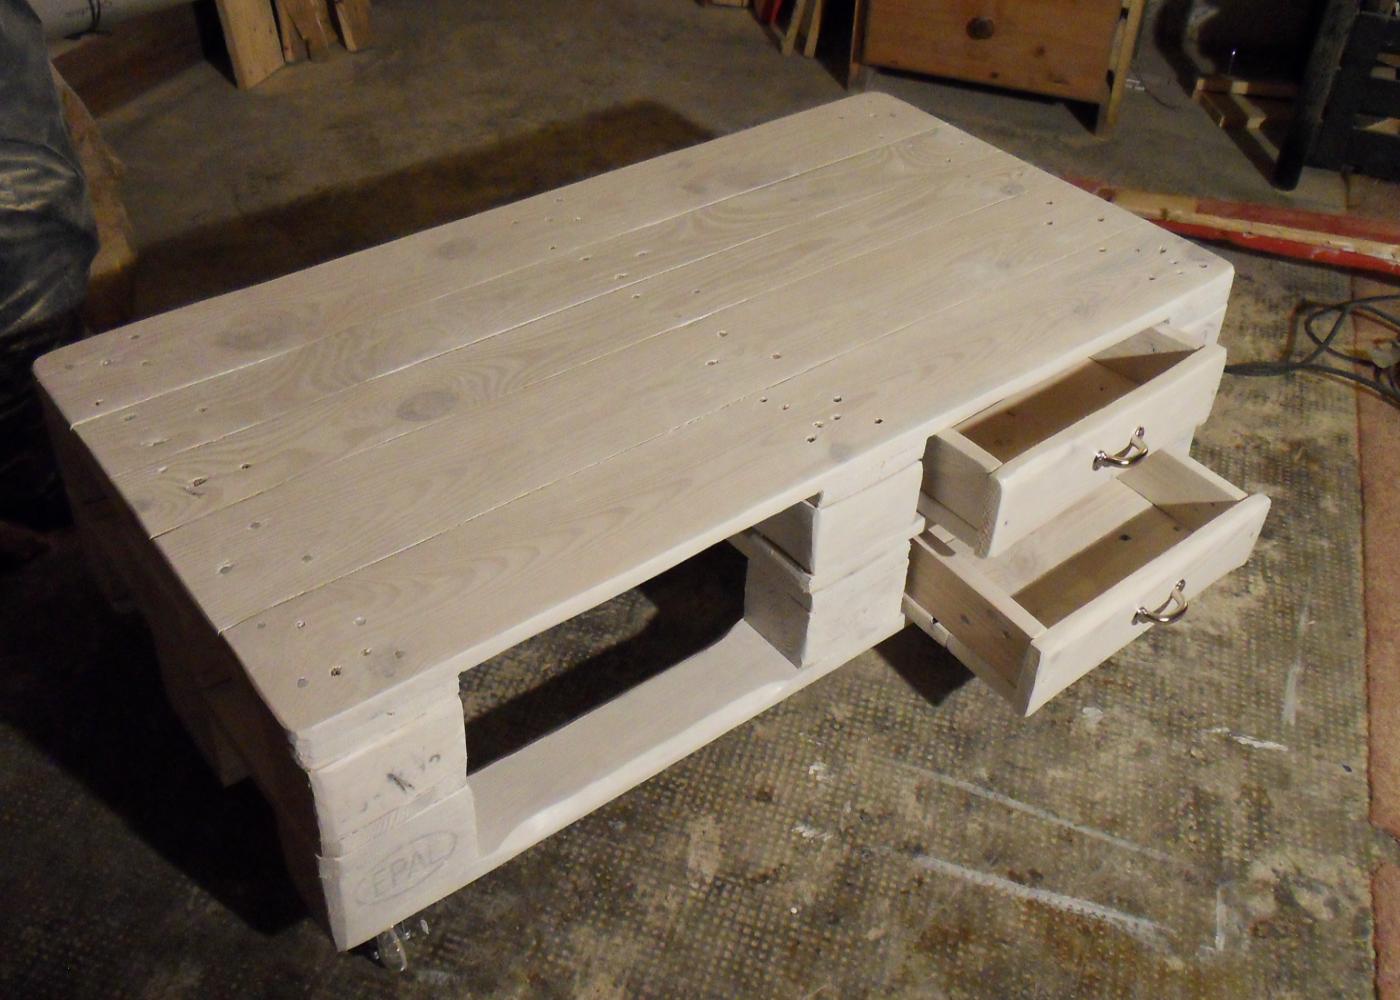
When you paint the tabletop pallet structure, have an eye on the bottomside, for its the most visible part. The top of the pallet gets covered with wood, while here the gaps between the pallet boards should also be painted at least as far as they’re visible later. After mounting the uppermost desk surface, those gaps are hardly accessible for painting, but nmaybe still visible.
Now put the actual tabletop board on the pallet. I simply fixed it against the pallet alongside the back edge with screws and cutted off the protruding triangular section, which again was reattached alike the triangular pallet section. Cut off superfluous material. As viewed on the picture: i already started to paint/varnish the tabletop here. Usually i dislike varnish, but its hardly avoidable on a surface which is worked on and should at least be basically resistant against moisture and dirt.
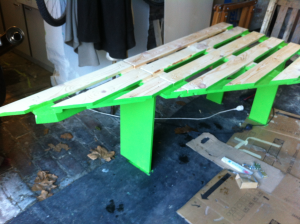
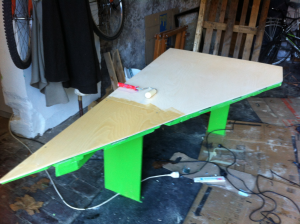
Now: let paint/varnish dry. Then take the base structure and the tabletop to its destination and assemble it. Two screwed fittings should be enough – both parts are stable for themselves and fit into each other. The less work you have with dissection/reassembling later, in case you move out etc., the better.
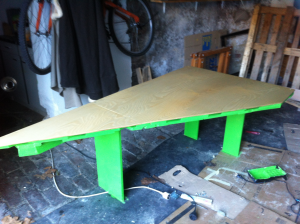
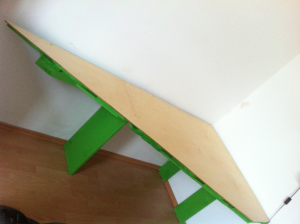
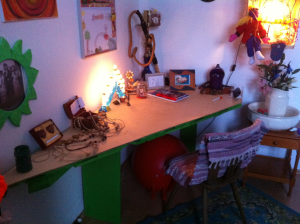
Odds and ends: I screwed an angled fitting into the wall. The table in itself is stable, but I’m a bit of a scared rabbit when it comes to even improbable dangers of toppling.
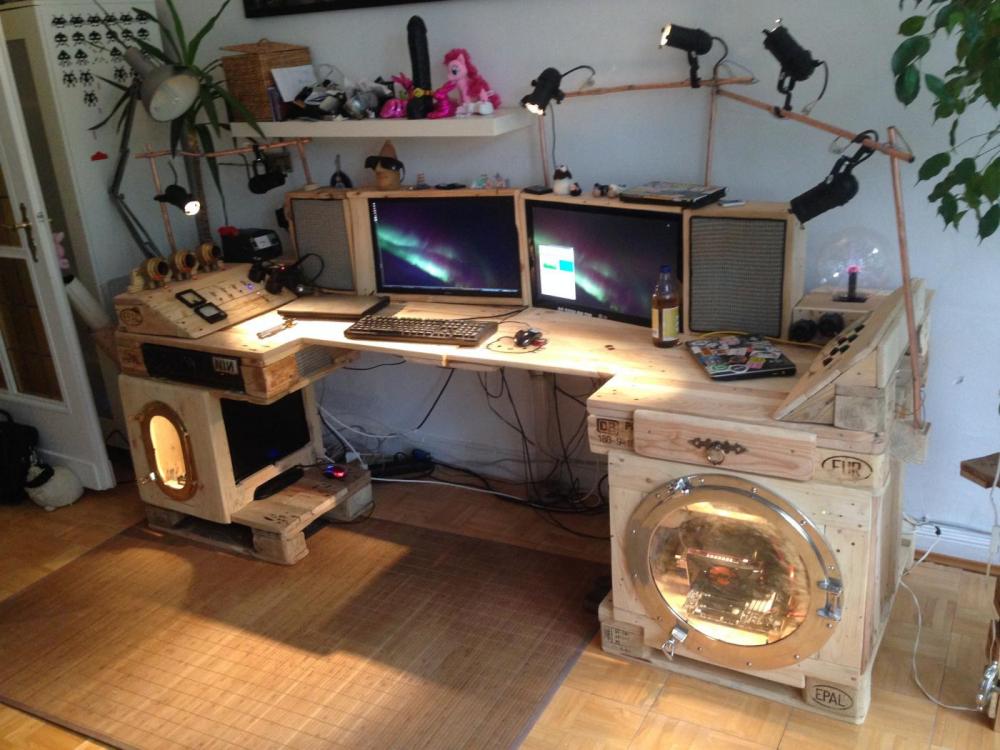
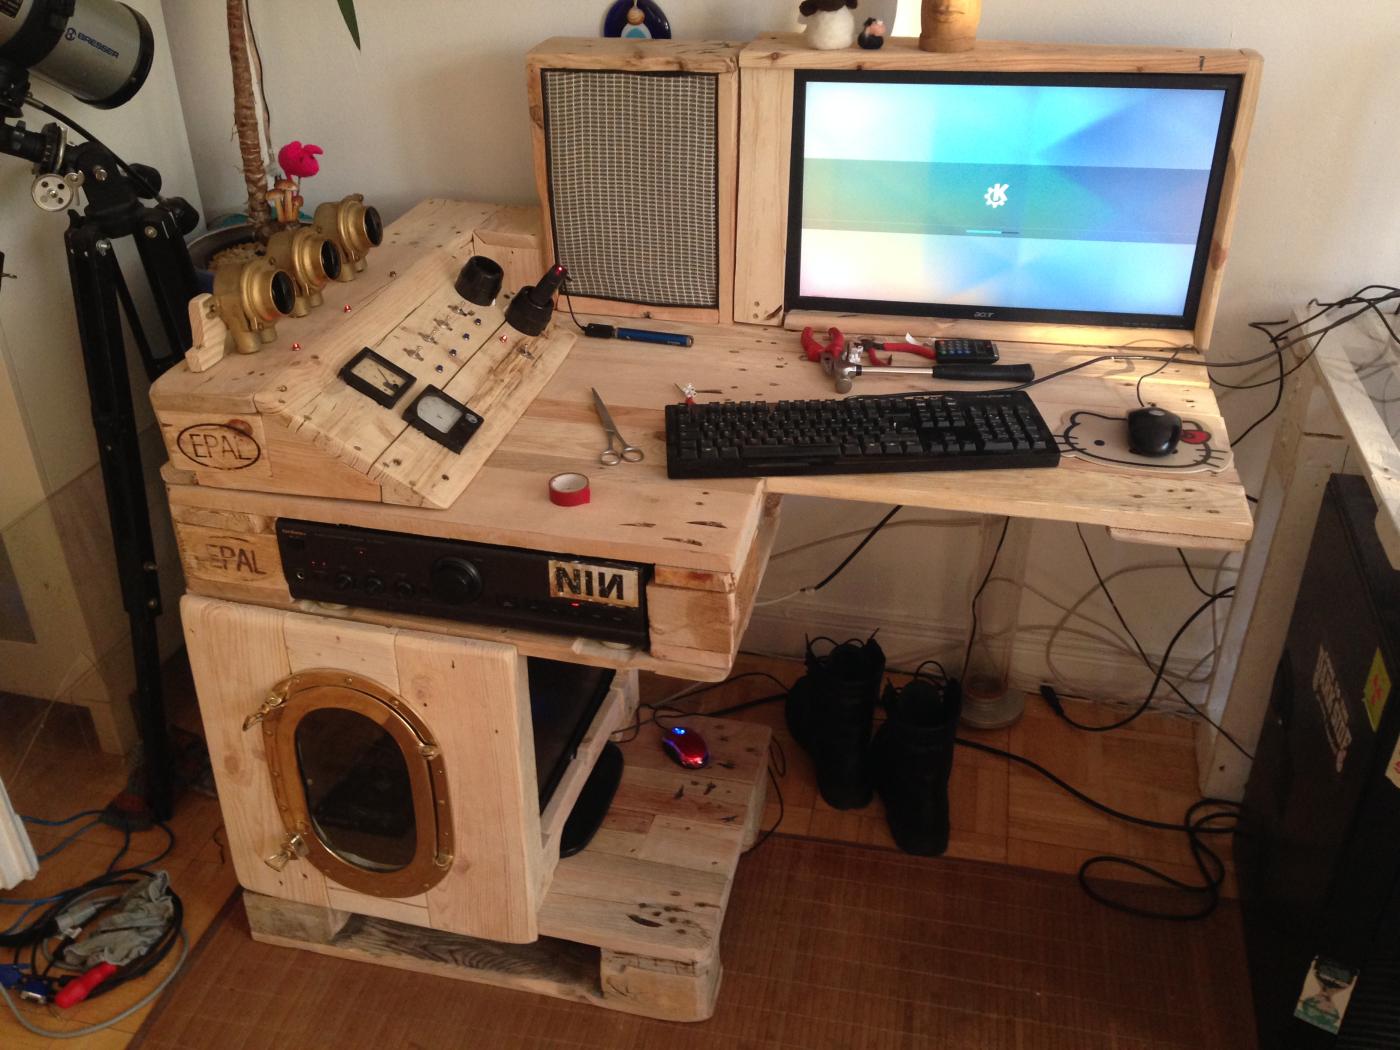
Finally: put the obligatory felt pads under the legs. Finally – attach cables, lights/illumination, other equipment etc. as desired – thats one of the great advantages of pallet furniture, that everything is easily attacheable. Have fun!
2 thoughts on “DIY triangular pallet table, pt.2”