A kitchen shelf. Preferably in combination with a “workbench wall”, an area where you can hang kitchen utensils and cuterly, that was the plan. Frame conditions: wall space long enough for two pallet widths. Therefore: two pallets wide. Next, the window still should be opened, preferably without cullet. Moreover: a kitchen is a somehow tricky area regarding dust and dirt on the one hand, on the other hand in terms of more steam, grease splashes etc., That said, a more intensive treatment of wood cannot be avoided. And finally: my kitchen – and in particular my work area – illumination is a bit inadequate. Since i enjoy illuminating pallet furniture, thats a no-brainer: i need some lightning under the shelf structures..
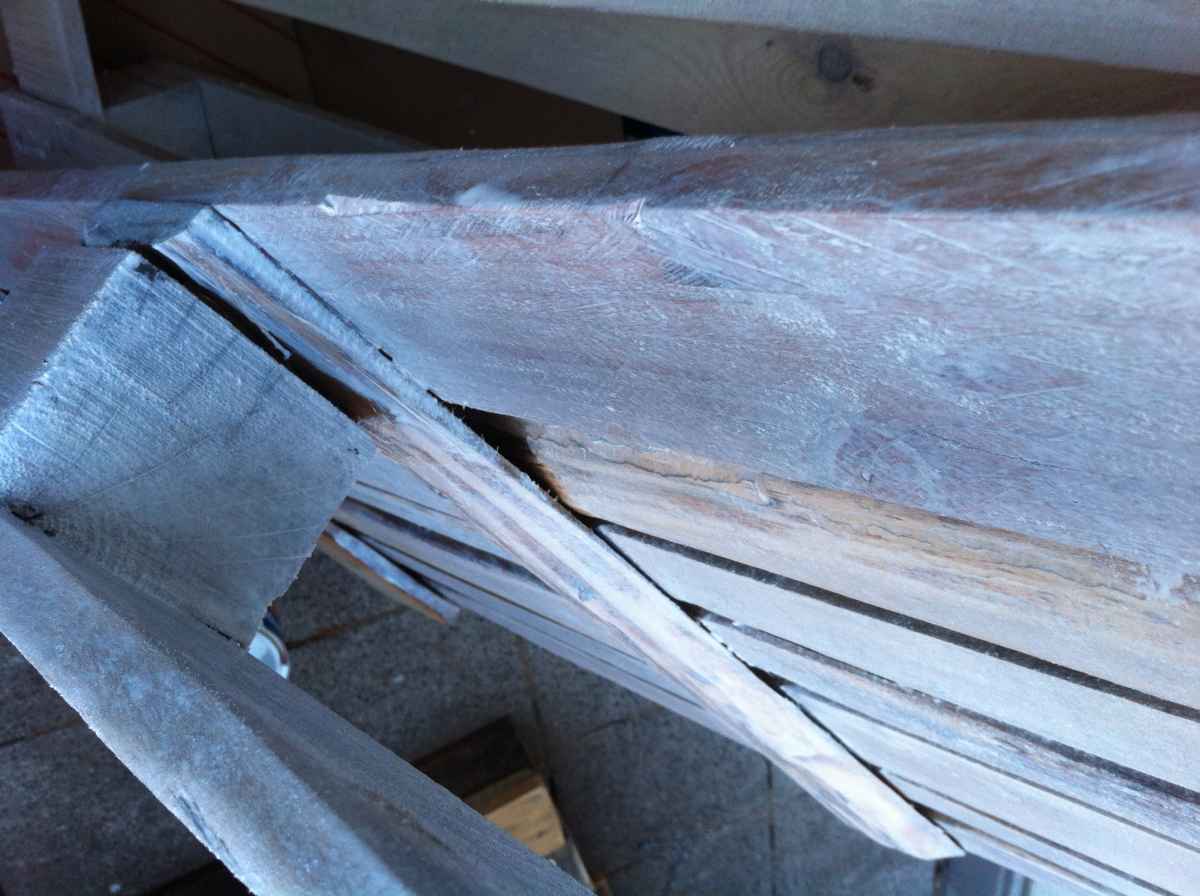
Before I started to work on the pallets shown here, I made a few sketch scribblings because I only had a very rough idea of how the whole thing should be constructed. In the end I came to no real result, so off to work. Rapid prototyping/engineering, but it worked out fine. Somehow its really easier to do some basic work (e.g. cutting the format of the “workbench pallets” and holding them agauinst the wall to get an idea how its further processed at best. By the way, it does not lack a certain irony that the heavier of the two pallets used here for clean kitchen furniture was probably one of the most dirty and care-intensive that I ever processed.

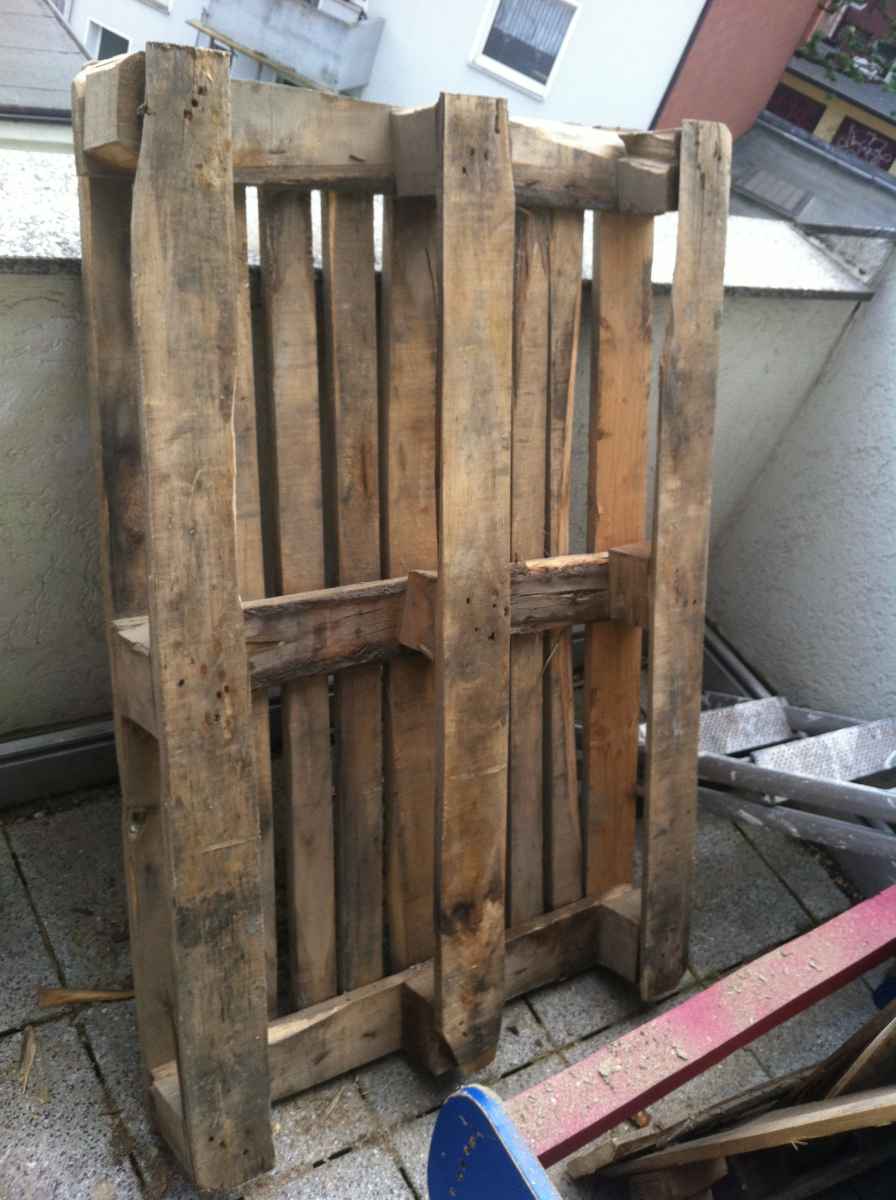
A complete “pallet height” wall-hanged workbench structure would simply become too high or too close to the work surfaces. I had the heavy pallet cutted in the middle between the “pallet legs” (on the protruding pallet part, cuterly will be hanged), the second pallet was cut to plain two “pallet leg width”. Keep all the removed/cut-off parts, you’ll have usage for most of them later. I also removed the center leg part of the heavier pallet for the time being – if only for the sake of cleaning it was a good idea. I planned to relocate it slightly higher later, but in the end he came back to the same place. No fear of resxtructuring -. as long as they’re not varnished yet, pallets are very forgiving regarding dislocations/relocations of pallet parts.
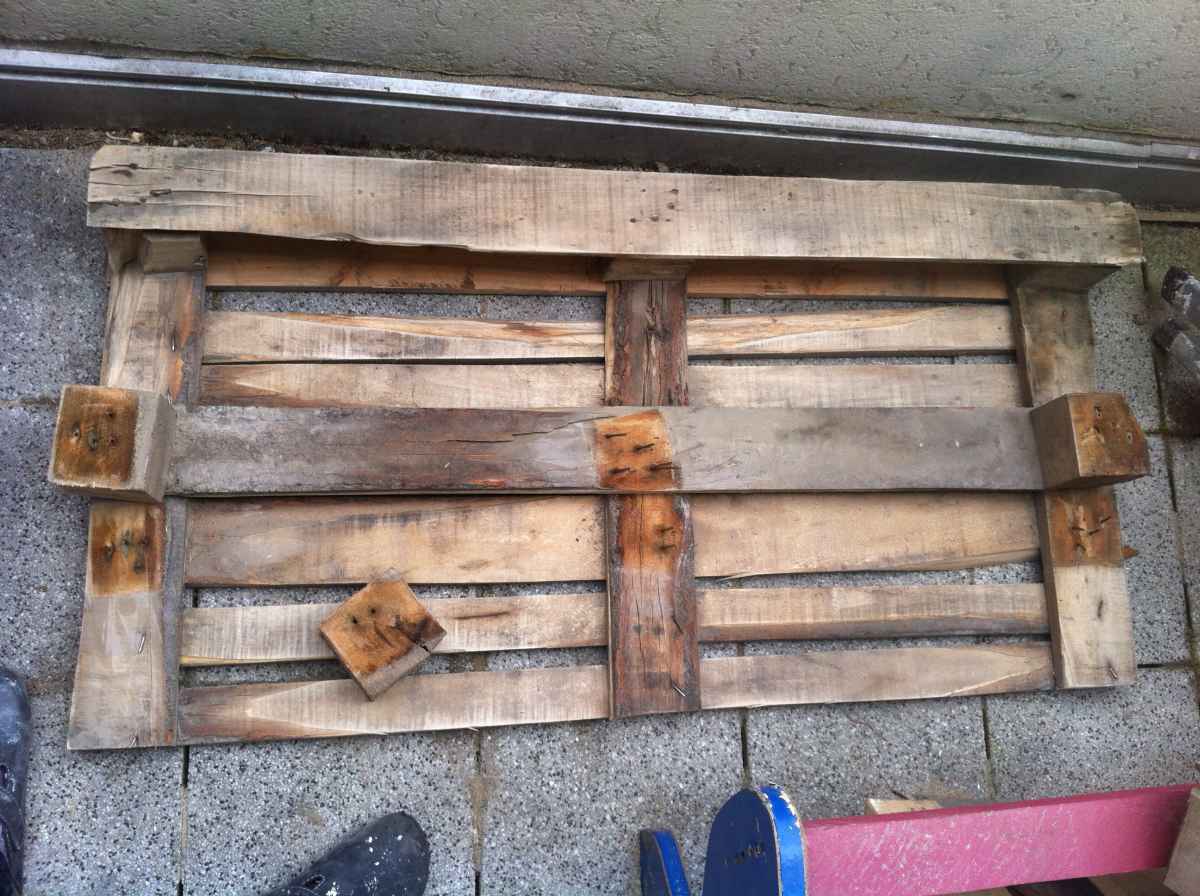
In the following, don’t let you irritate by occasionally changing details of the work progress – as i said, this was largely made without a clear plan and therefore, I had finally almost all “pallet leg” parts sometimes removed, relocated or changed the position of the “floor boards” – some of which were, alike with the Pallet wand shelf relocated from the bottom to the front. As usual, with a plan beforehand, the easiest way to work is to go for “maximal needed dislocation”, then have everything cleaned, grinded and varnished (see later), and finally reassemble everything in the wished form. Again, here, it was kind of a “development while processing” method, you save work when the final result is already clearly planned.
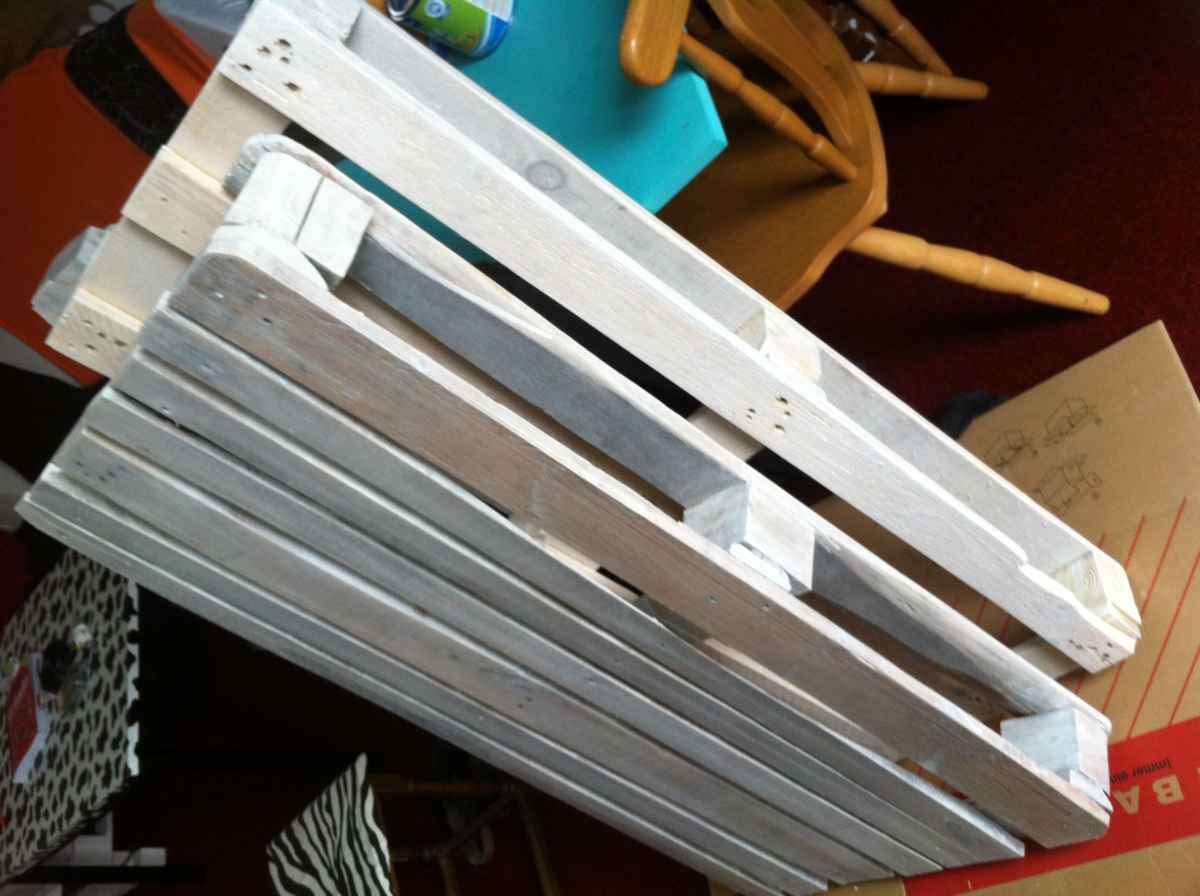
After the usual cleaning and dissecting work, i had the rap material glazed with some water-based wood stain, tint “chalk white”. The aspired effect: visible wood surface under a light/white varnish, with still visible grain, screws, cuts grinding marks. Should look somehow “processed”, but bright and “woody”.
Unnecessary to say, that i also wanted it to look somehow “improvised” and slightly whitewashed. Say that you can have your pallet shelf easily cleaner and more uniform than here, but I like the “rough” look. Note that you simply cannot have an even finish with non-opaque colors on pallet wood. Don’t aim for it or prepare to be frustrated – too often you have completely different wood sorts in the same pallet, differently cutted, varying colors dependend on the direction of the woodcuts, they will remain different under non-opaque colors. Do not even try, or paint opaque, if you want an “uniform” look.

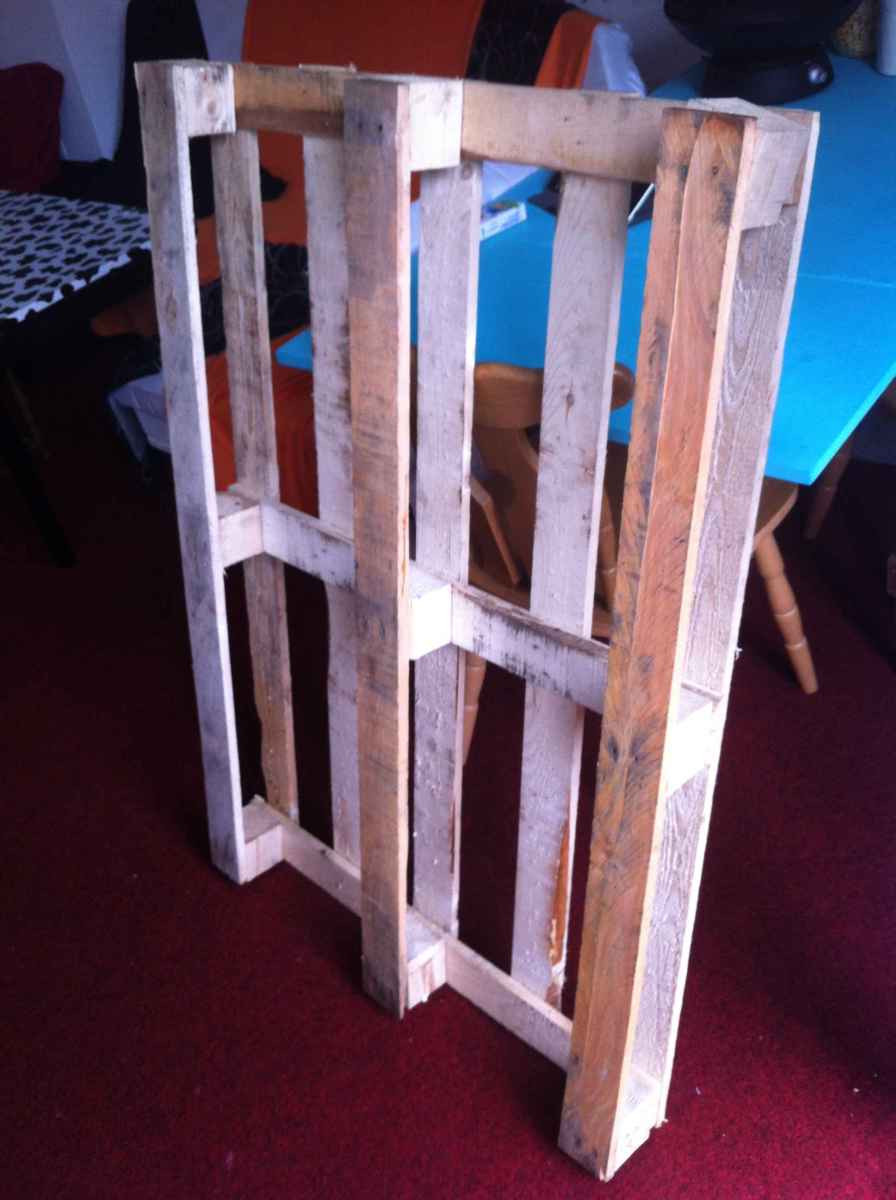
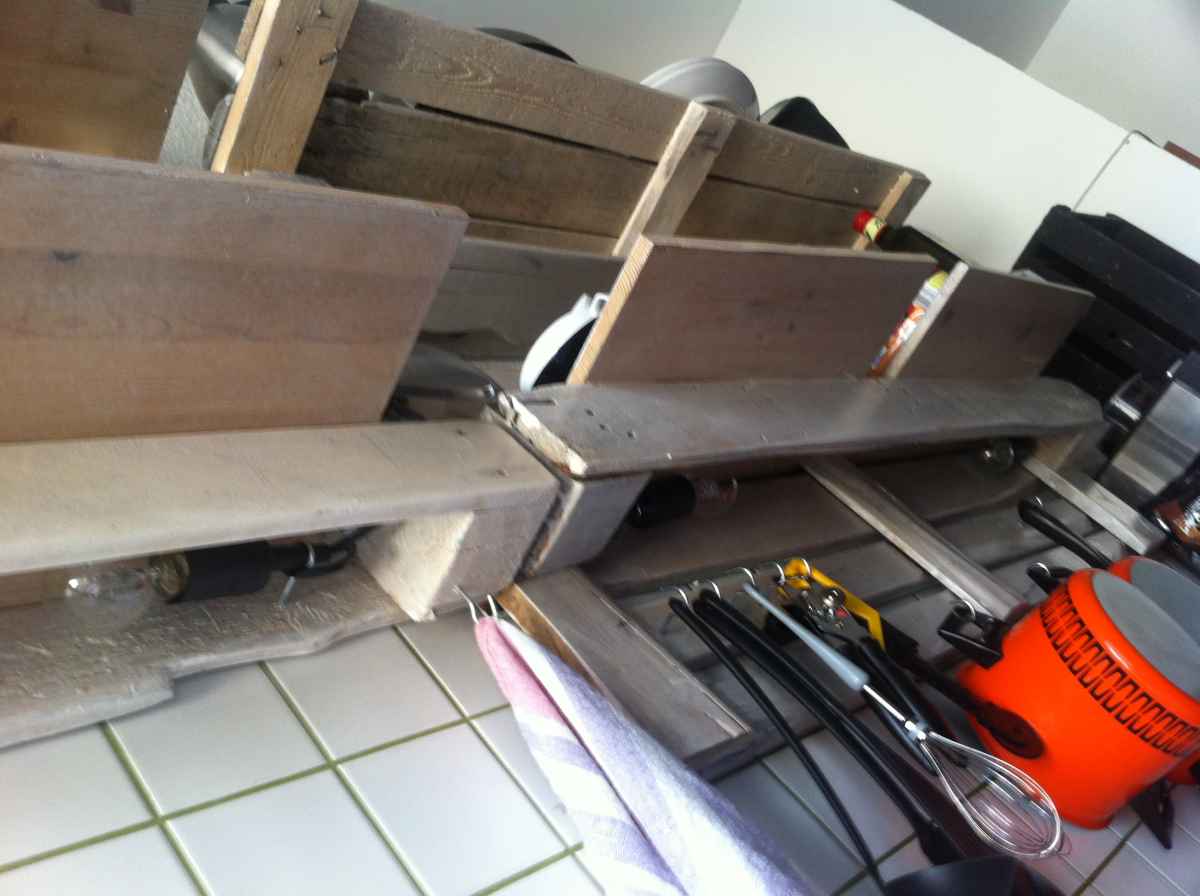
Here we see the results of the first varnishing. From here, some of the “footboards” were relocated again. But the next step here is the reassembly of the sawed-off part from the lightweight pallet as an upper shelf. The pallet foot was removed (Crowbar! Yeah!) and one of the pallet boards from an surplus pallet leg was mounted into the wide gap between the two existing boards. Fits perfectly.
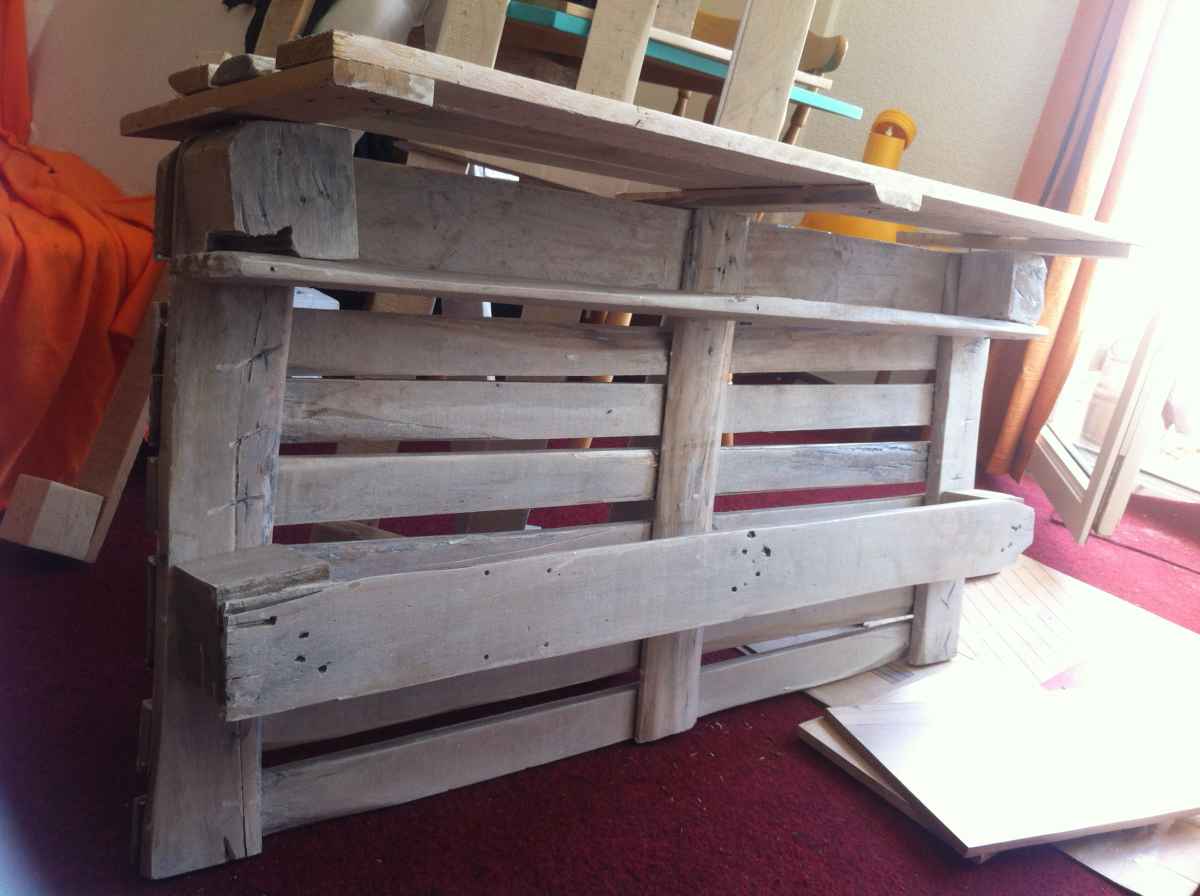
Beneath the larger top shelf you can see the first “footboard-dislocations” – pried from the bottom (now the front) of the spacers and bolted as a “small” shelf space at the bottom again.
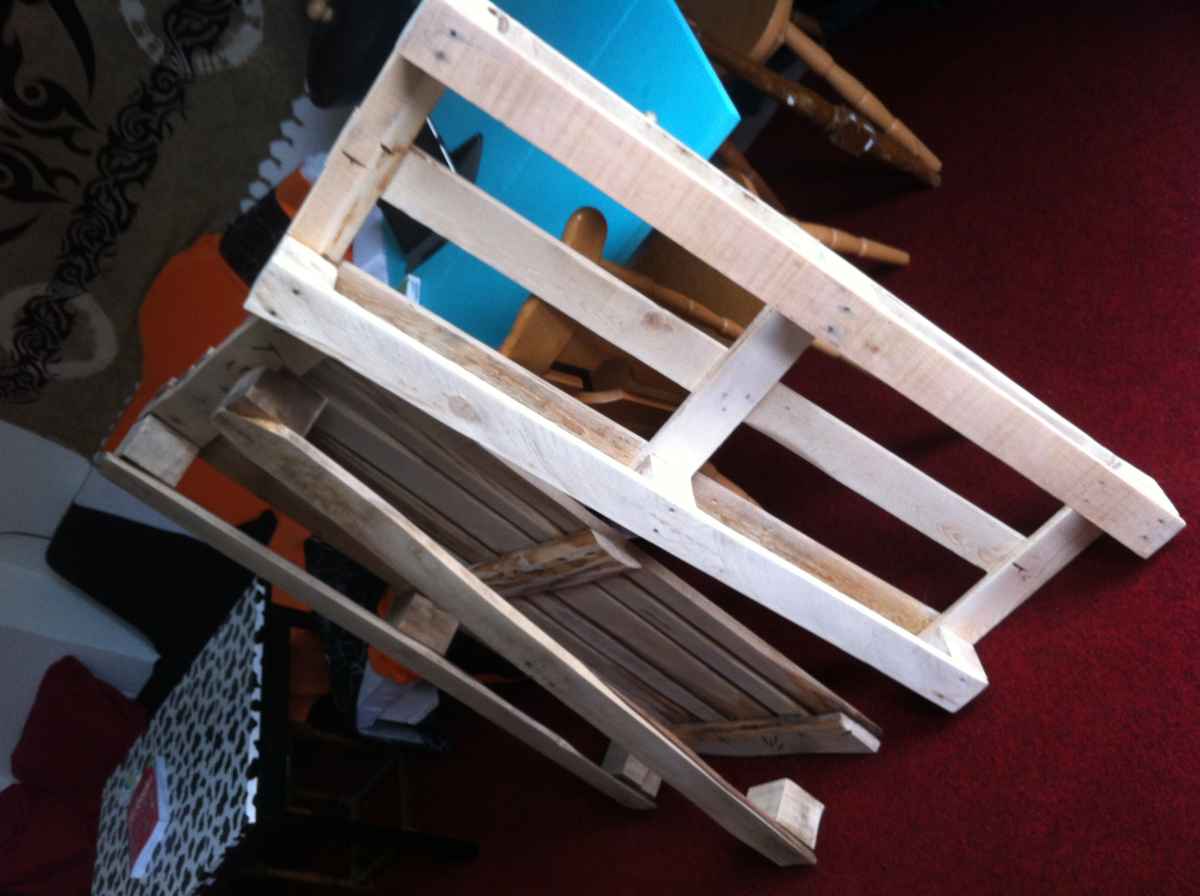
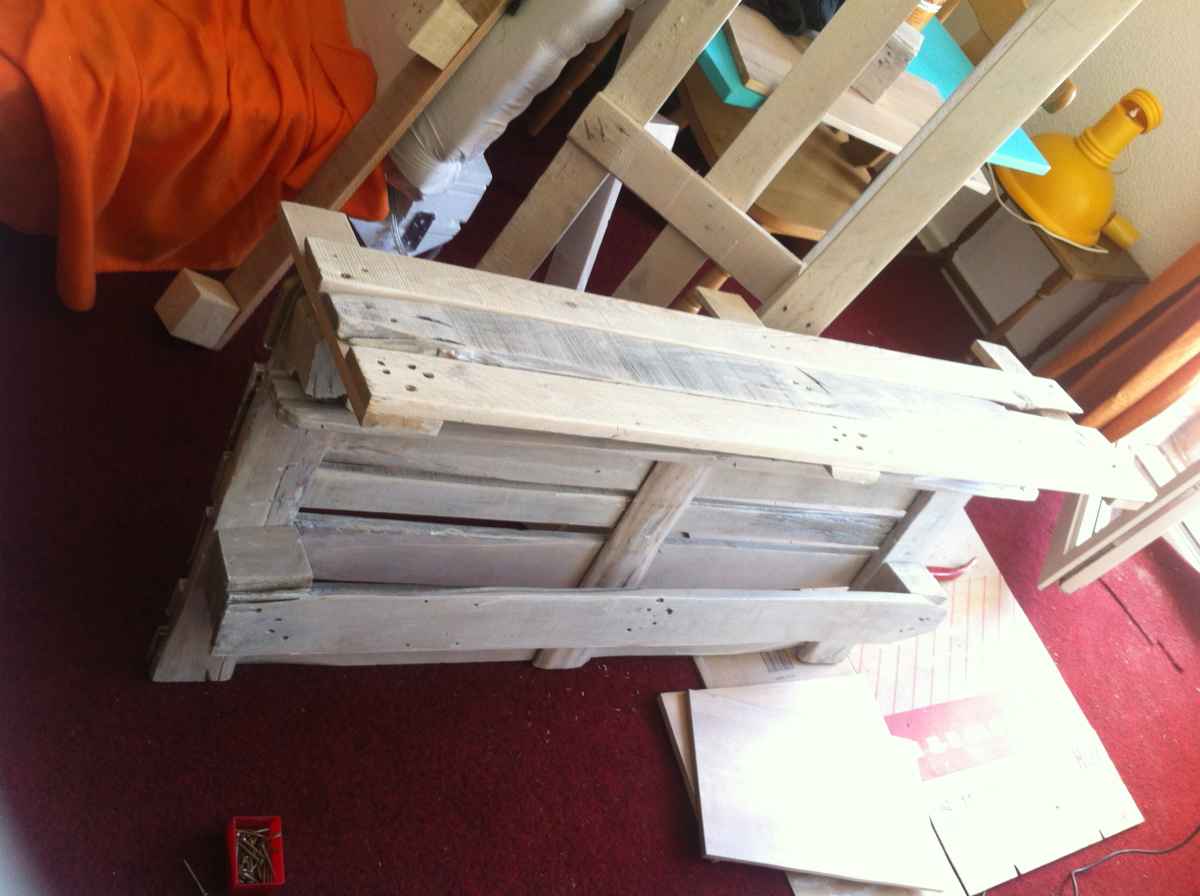
Some of the following experiments I had not documented. At this point some smaller intermediate steps are muissing in the photographs. First, I cutted two of the remaining cabinet shelves in half, of which I processed one already as a top workspace of the kitchen cupboard. After cutting, i had them stained and mounted side by side as shelves on the “middle part” of the heavy range. Same goes on two levels of the light range – the window-sided part of the lighter pallet wasn’t equipped with protruding shelves, as they would prevent to open the window without breaking glass.
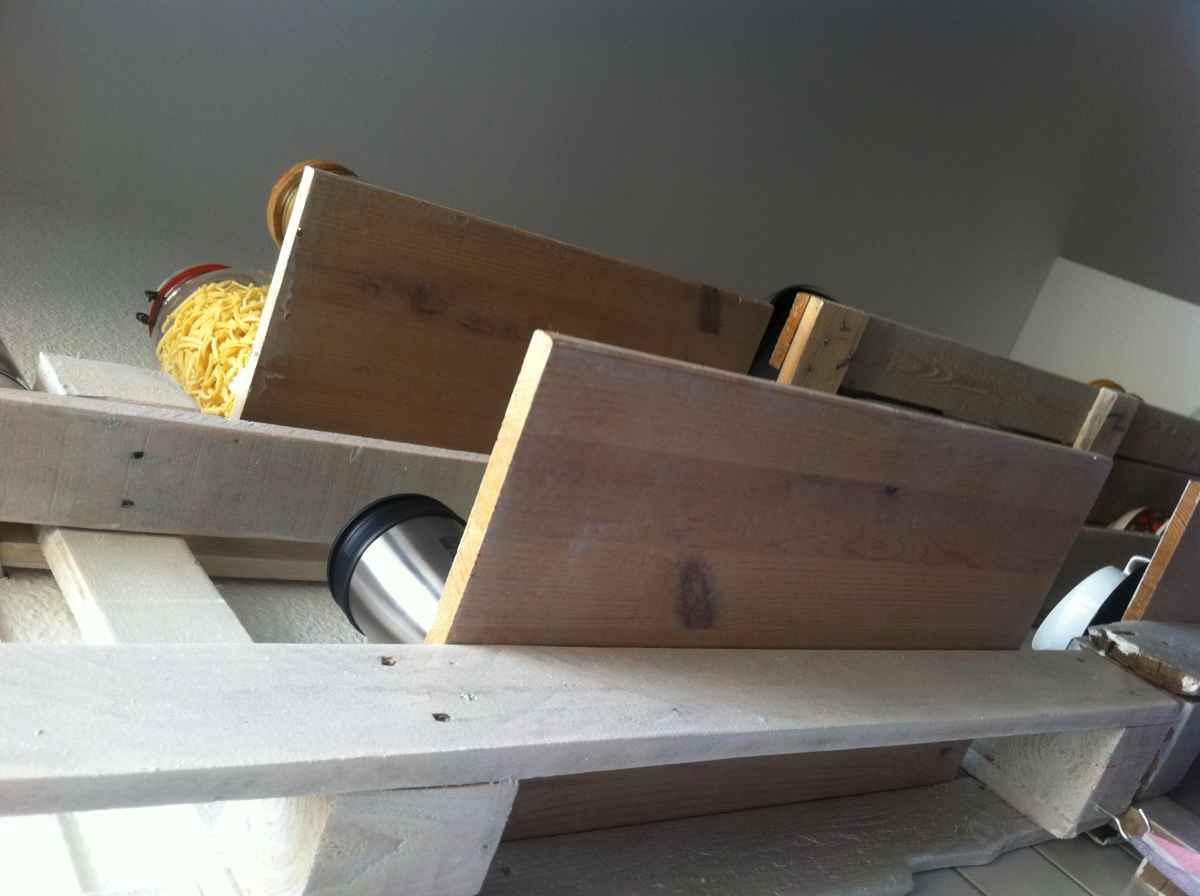

Left picture: the stacked shelves attached to the “lightweight” palette. Right: the upper part of the heavy pallet with the pallet shelf. On the lower shelf level of this pallet, the other two halves of cupboard shelf parts are mounted similar to the shelf next to it. All is attached by simply screwing through the board into the narrow sides of the pallet boards underneath. It does the job – but of course you can also work with fittings and angles, if it should become really solid. Recommended if you want to place heavier loads into the rackspace.
Now, illumination (too early: better do the second varnishing first, if you do a second varnishing). Its a clear case that the bottom edge wants lighting behind veneer badly, just like the pallet wand shelf. Fixing the light bulbs there can be quite easy, if you’re lucky with the sockets: those i had at hand were simply mounted with simple screw hooks.
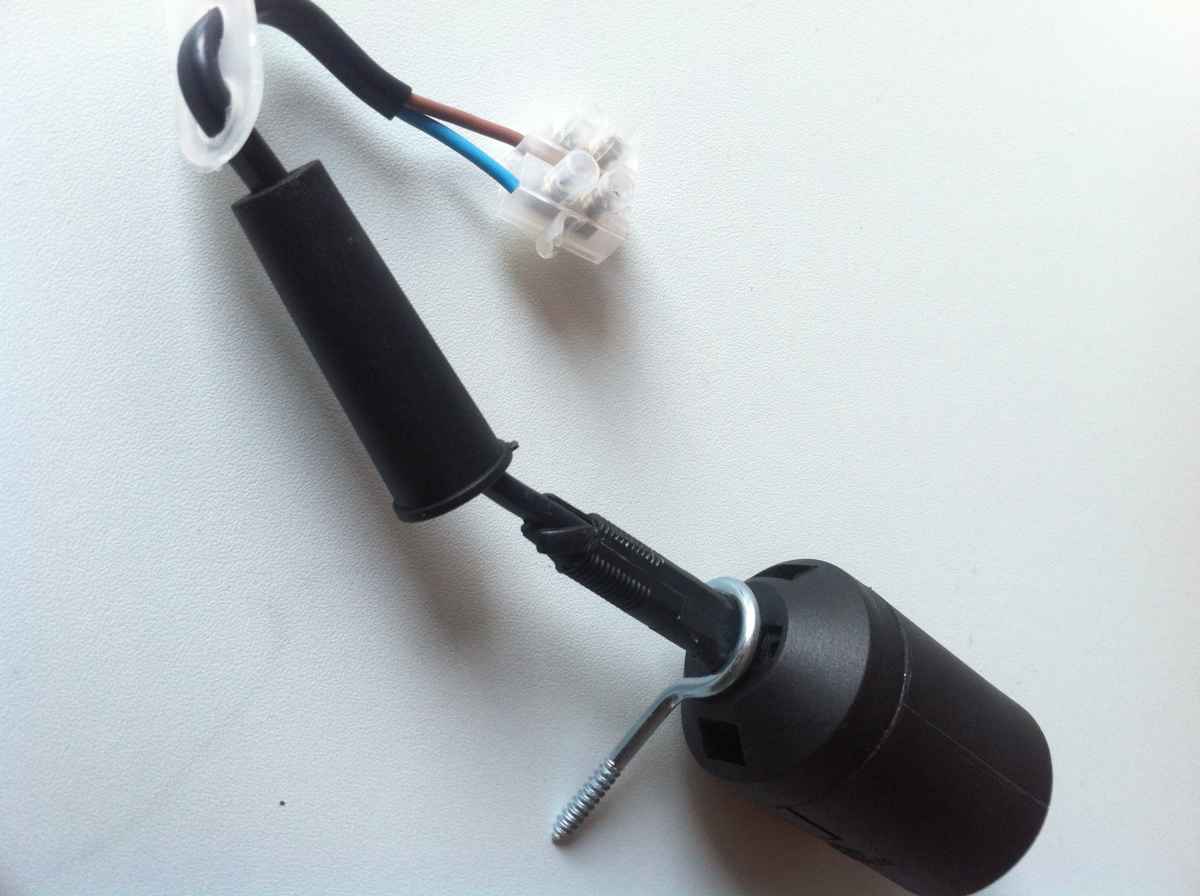
Simply unscrew the plastic cable duct, clamp in a hook, screw back the cable duct until the hook is tightly clamped. Even better: screw the hooks into the wood before you clamp on the socket.
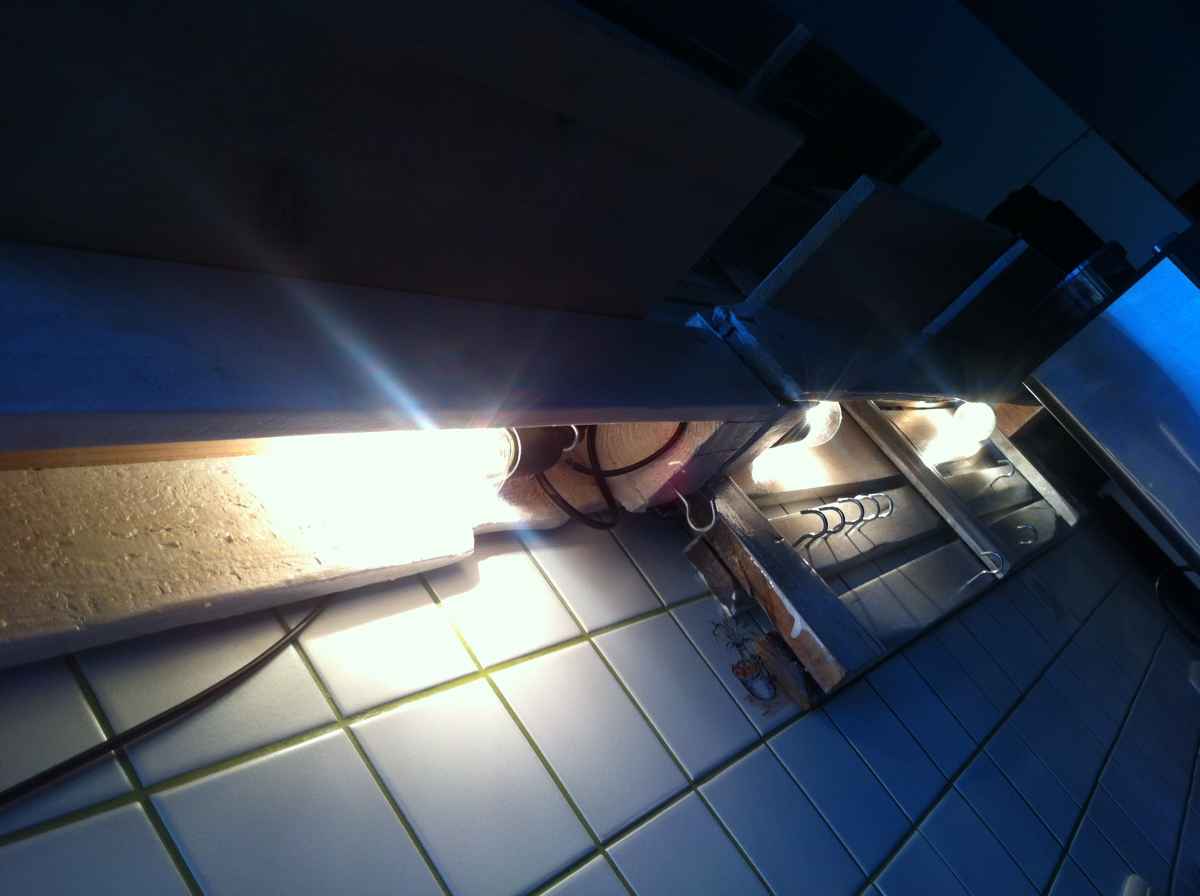
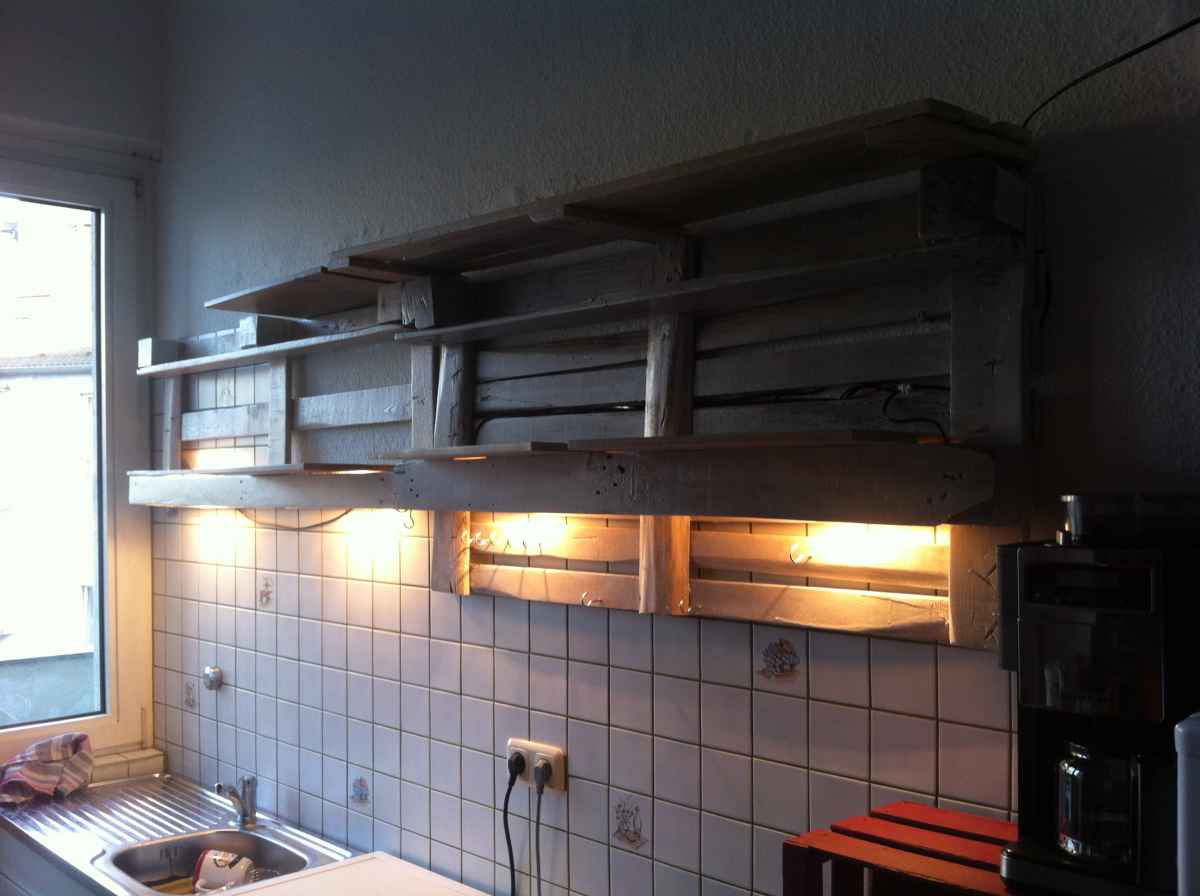
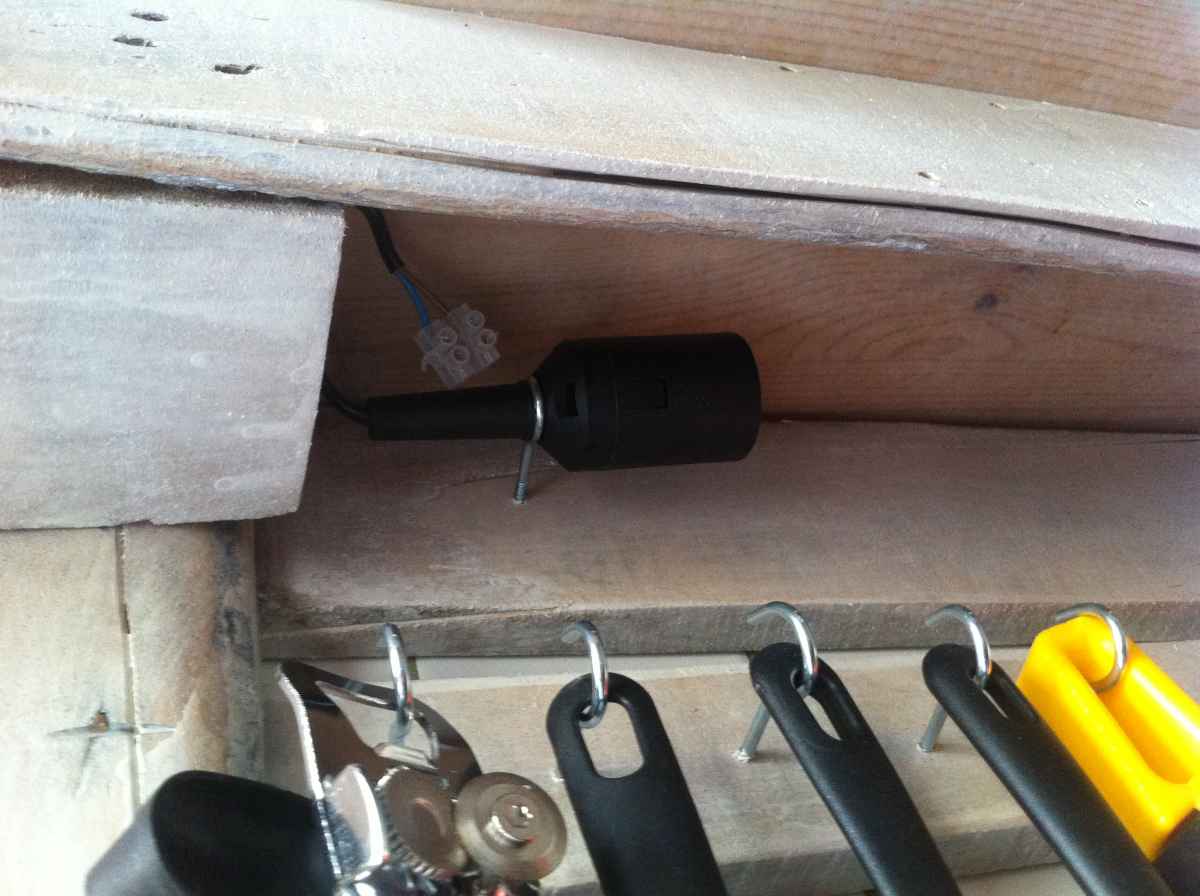
Provides good light on the kitchen workspace and generally does the job. Electrical issues: I have connected all the sockets/lightbulbs parallel. Four lights with eight watt should be no problem. You can use a cable switch, or as its done here, simply use a switchable plug for the power supply. Alternatively, the two range parts could also be cabled “separately switchable”, do this if you want to have turn on the light above the stove but not the sink, but hey, as you like. In the kitchen, I usually either need light (and lots of it) or not.


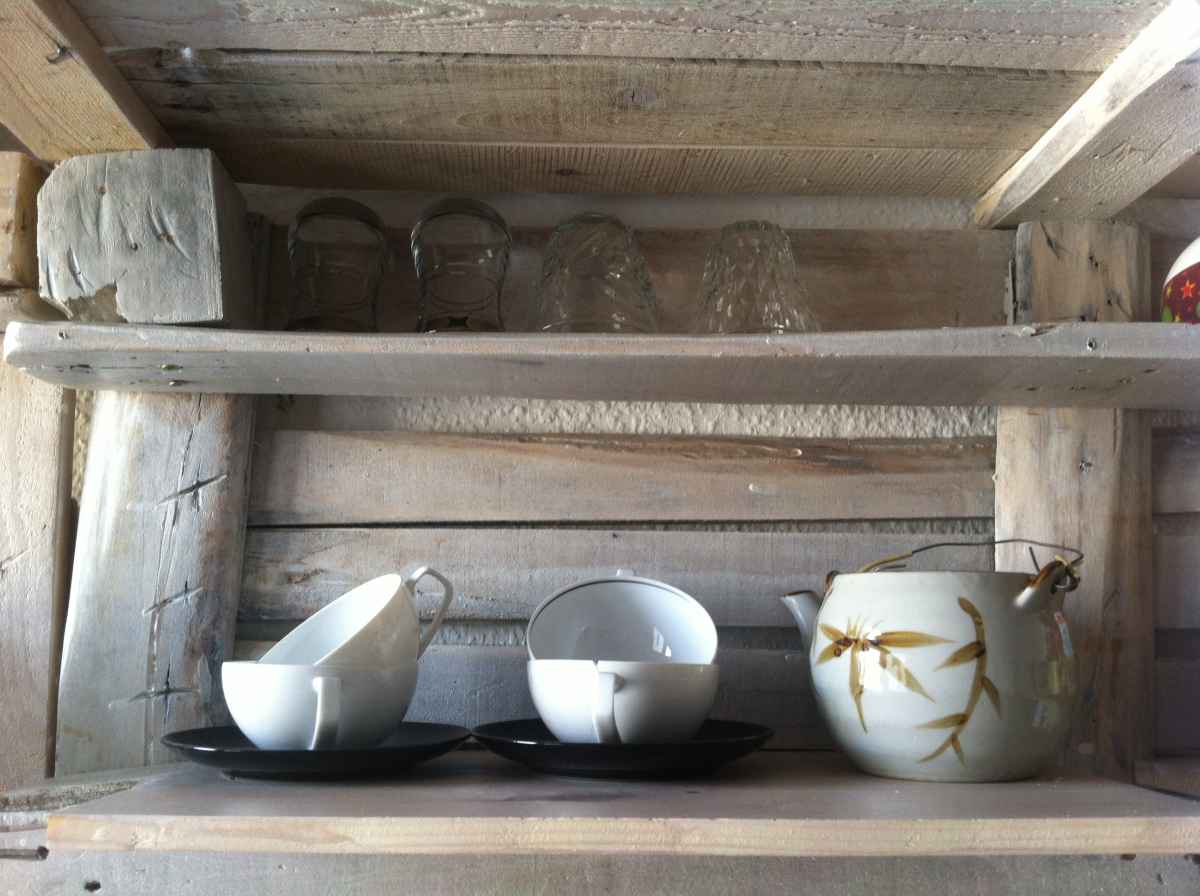
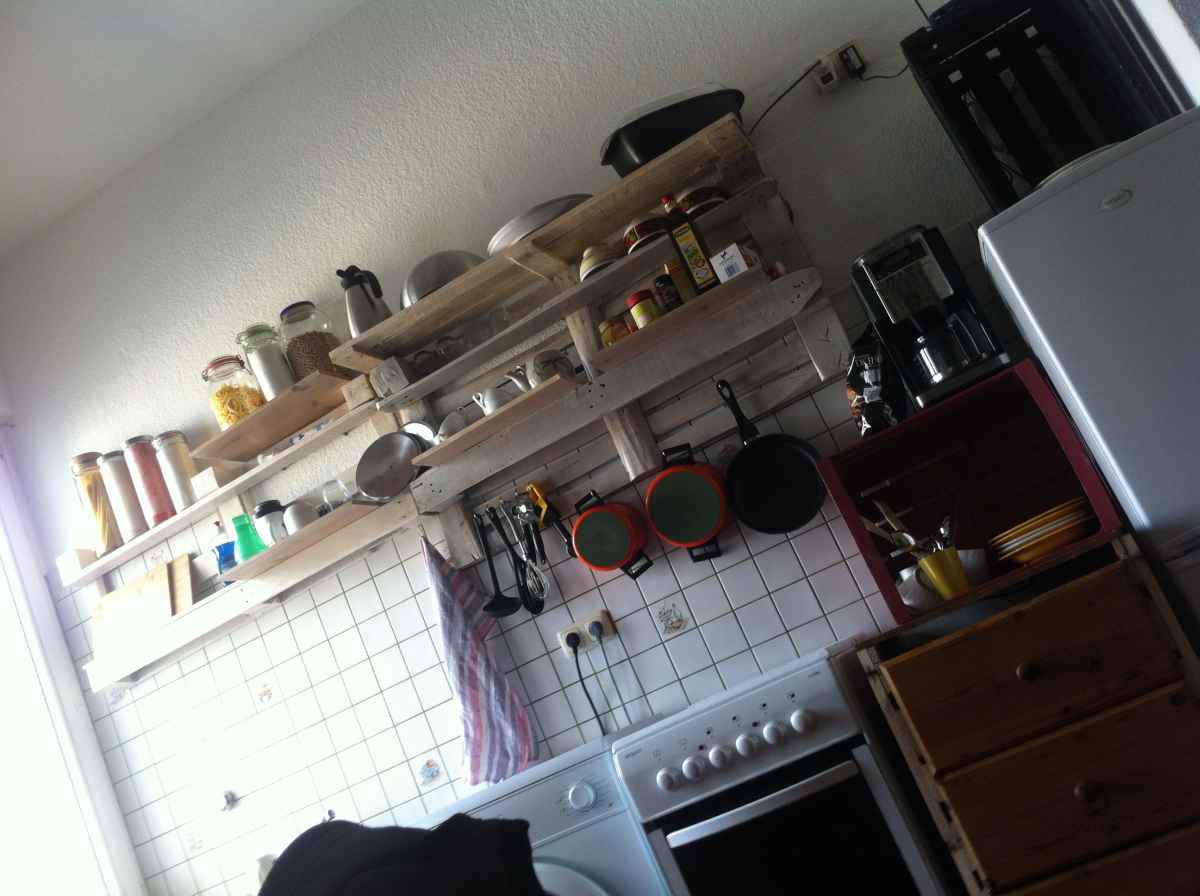
This is kind of “test loading” with dishes, because i didn’t apply the clear coating yet. At this point, the chalk white varnih surface was dry, but not yet ready for the second varnishing. This is recommended after 24 hours, and I thought, come on, do it as recommemded. But nevertheless, i wanted to get an image of the result with all the shelves loaded and the cuterly hooks in use. One can hardly resist to get a preview of the end result. Nevertheless, unnecessary to say that i had to clear everything out again and take down the shelves completely, to make the second varnishing. Also recommended: do the cabling/illumination *after* the second varnish.
Now, the finalization after taking the whole thiung down obnce more and having a second coating with clear coating. The simple reason for two layers of varnish for a “simple wall colour does it” fethishist like is that we need some more robust surfaces in an environment like a kitchen regarding moisture, steam, grease splatter and other kitchen-typical phenomena. Again i used water-based varnish analogous to the glaze of the pallet garden chair, non-toxic, children- and “saliva-proof” , so i don’t need to worry on what I place the dishes from which i eat.

Paint/Varnish can be solvent-based or water-based, both are available in “kitchen ready” non-toxic variants, i like water based stuff better. Mostly because its less smelly while drying. One single thing to remember in addition to health considerations would be that stain and clear coating/first and second varnish should be both on the same basis: both either water-based or solvent based.
That’s it – everything is mounted with a total of five dowel pegged wall hooks prodtruding far enough just to hang the pallet board over them. I#m totally hjappy with the result. Shortcuts are described, i obviously had some superfluous tasks and loops while building the “kitchen cupboard alternative”. And finally, I hope that the various “board dislocations” are somehow understandable.


3 thoughts on “Pallet kitchen shelf – DIY cupboard alternative”