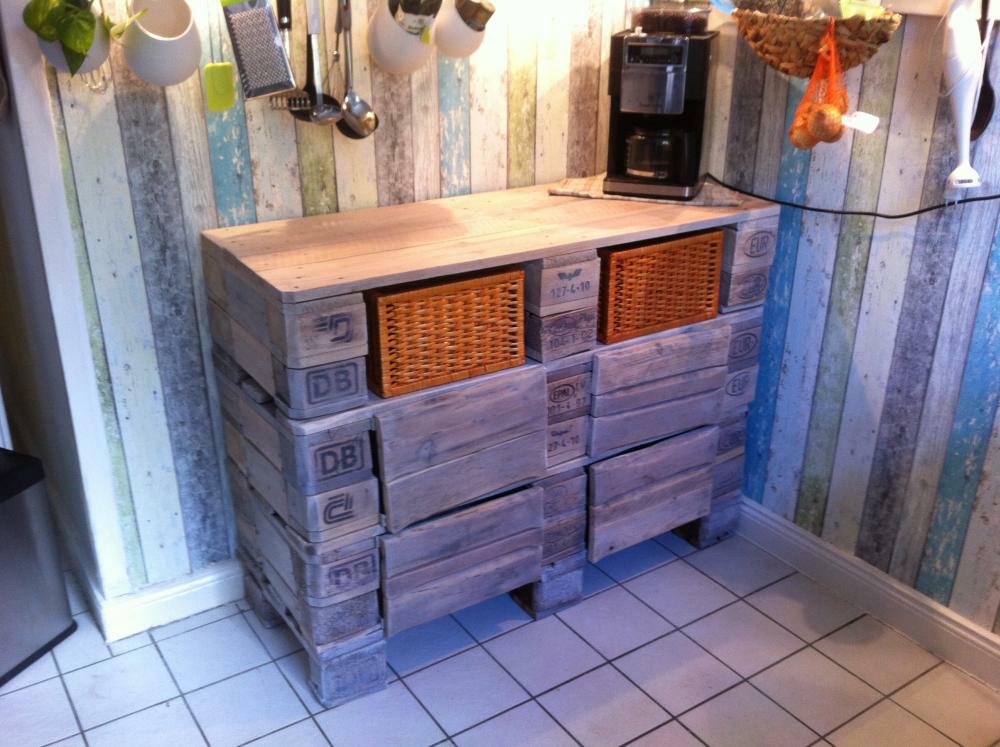
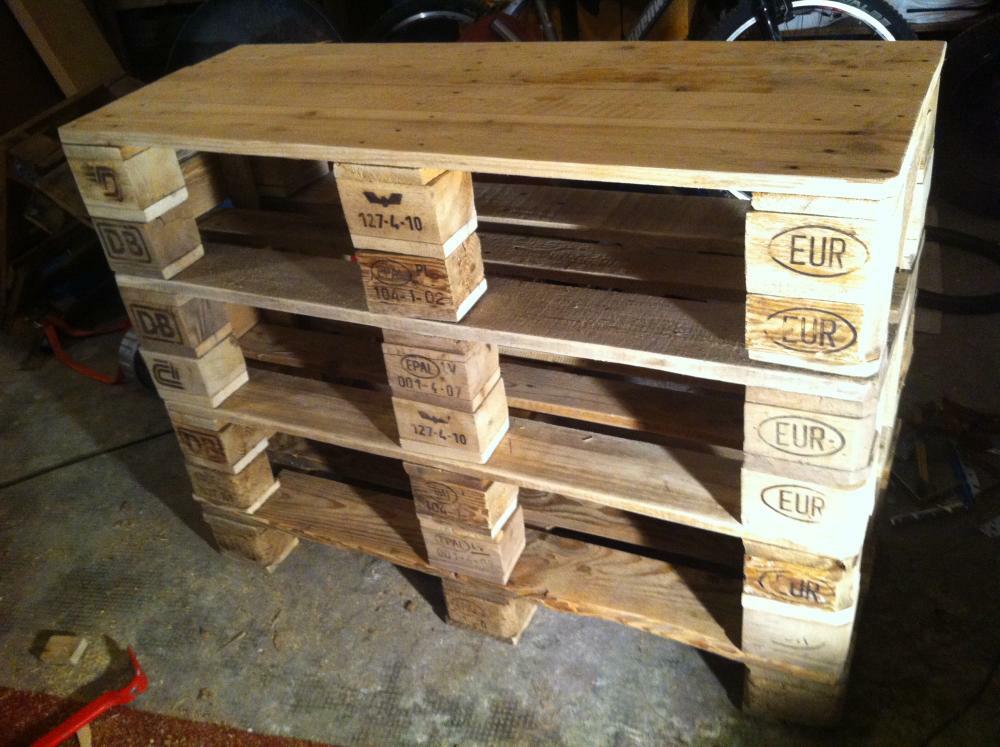
In many respects a first. I wasn’t too keen on creating cabinets before, the material and the expected results seemed “too clunky”, somehow inappropriate to me, and given the restrictions of the material, pallet cupboards just werent’t really obvious to me. Now, a cabinet. Furthermore: i guess in all of my posts, sooner or later I talk about how much I prefer one way pallets to Euro pallets – lighter, usually cleaner, simple and easy to work with and most of the time the more “light”, less clunky results. Now a break with these two habits: a cupboard, made from Euro pallets.
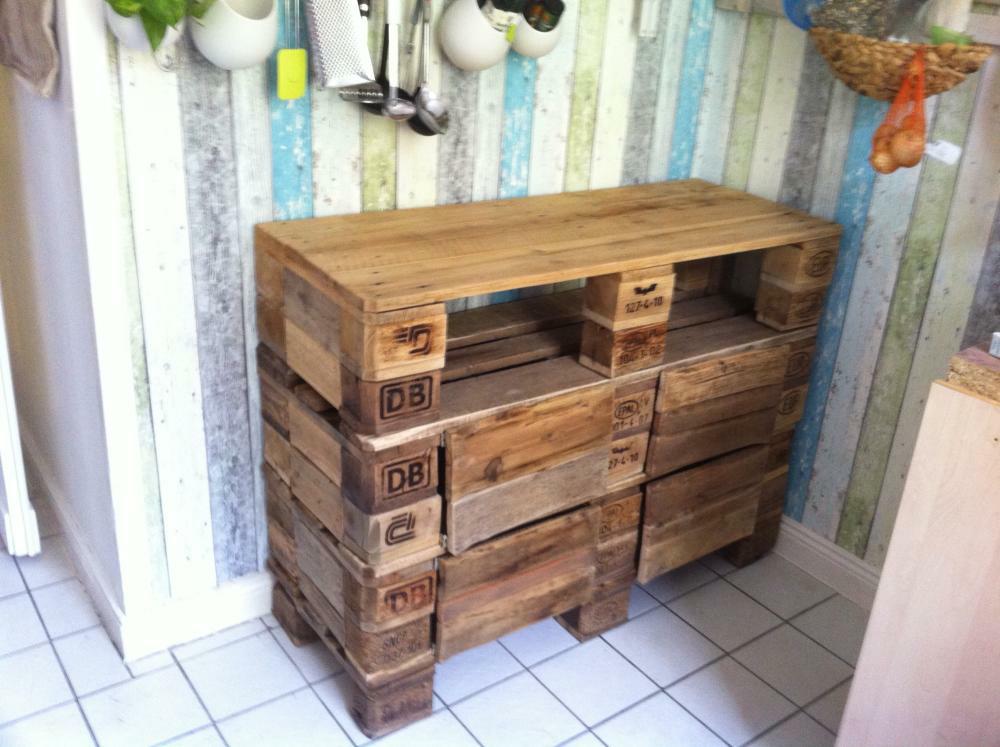
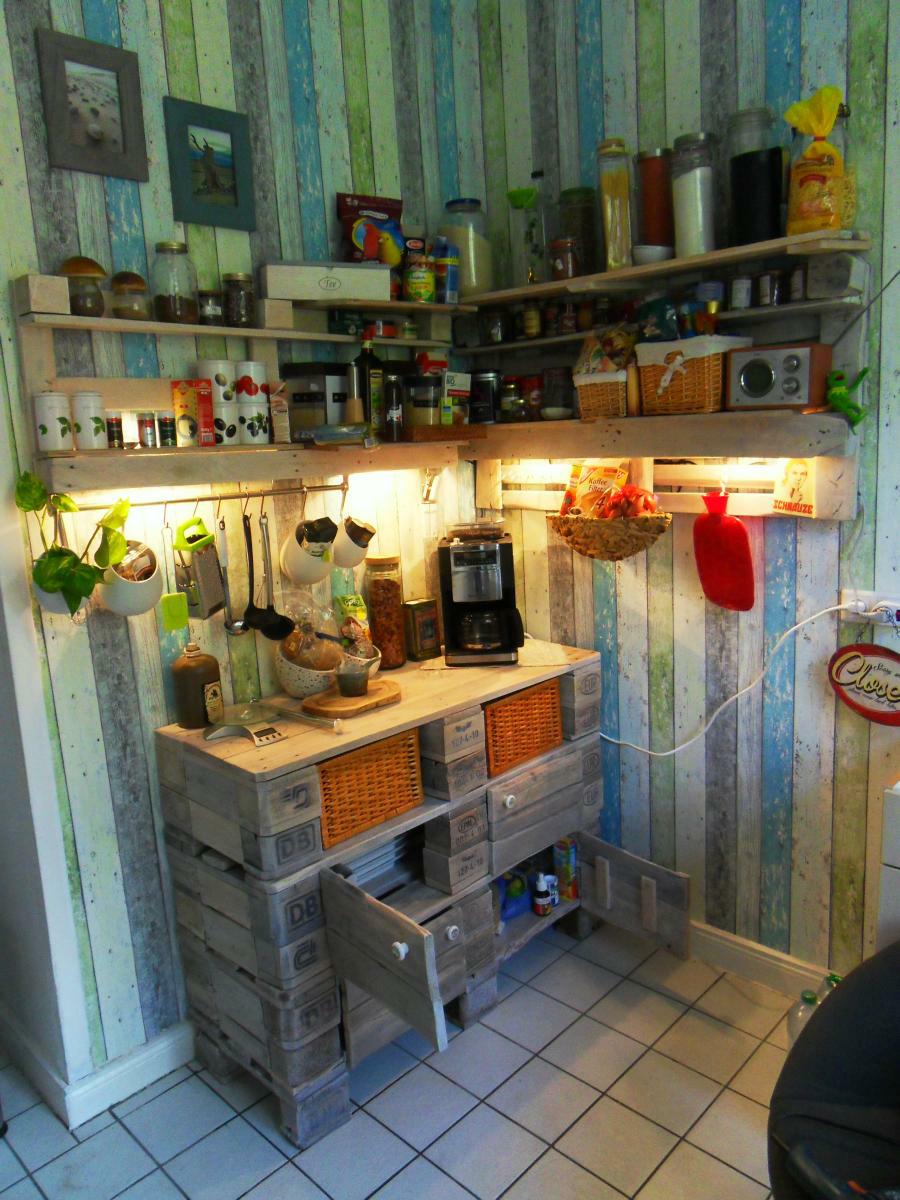
The latter has a background. After moving into the new apartment in Wuppertal it turned out that in the basement still some old Euro pallets were deposited (see also: Where to get pallets?). Precisely, four Euros and two indefinable age-old Disposeables. Owner said he’d dispose them, we said no, he can leave them here, we’ll think of something. This thinking lasted a bit, but here we are. A kitchen cupboard. You can put the coffee atop, you can puit some stuff in, it looks fine and fits perfectly to the pallet kitchen shelf, obviously.

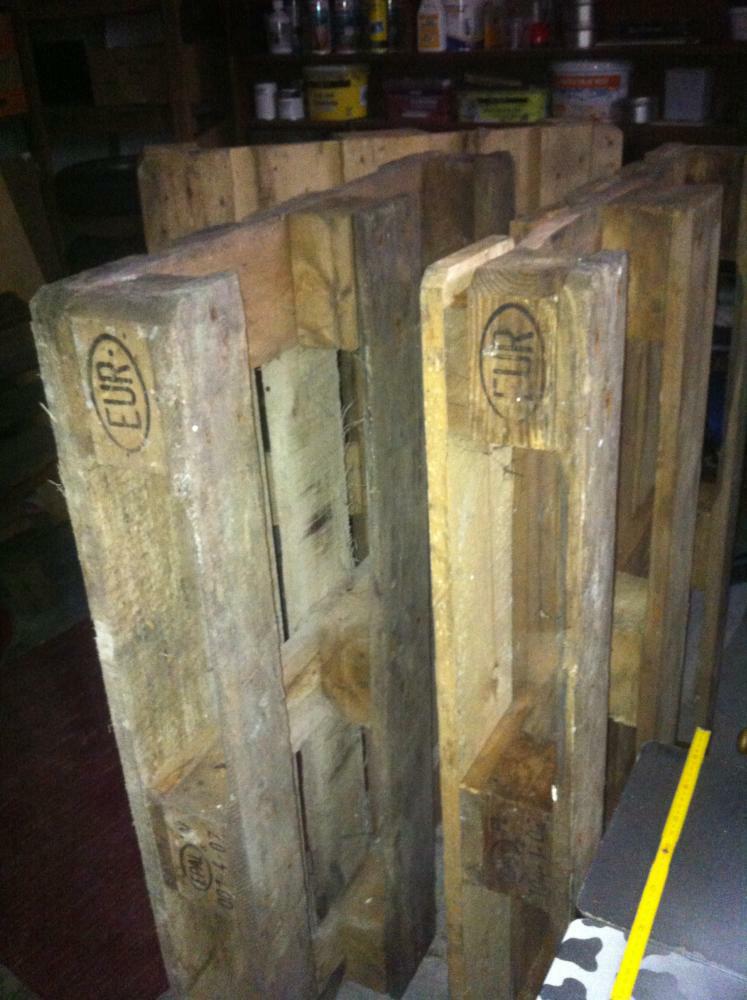
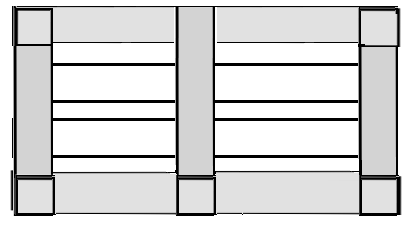
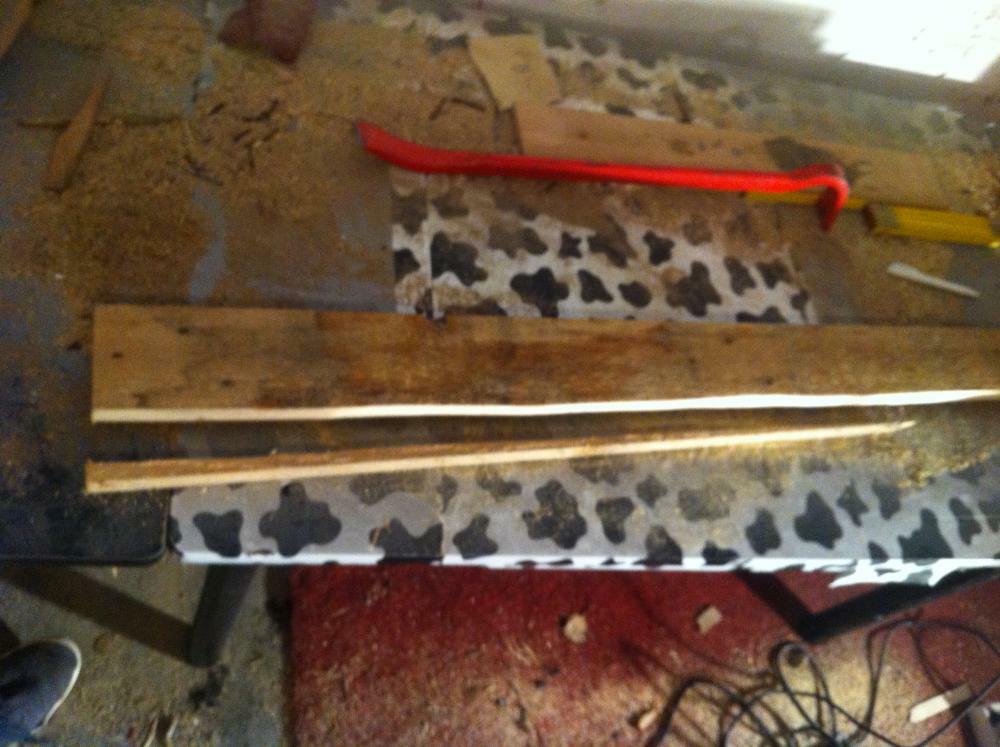
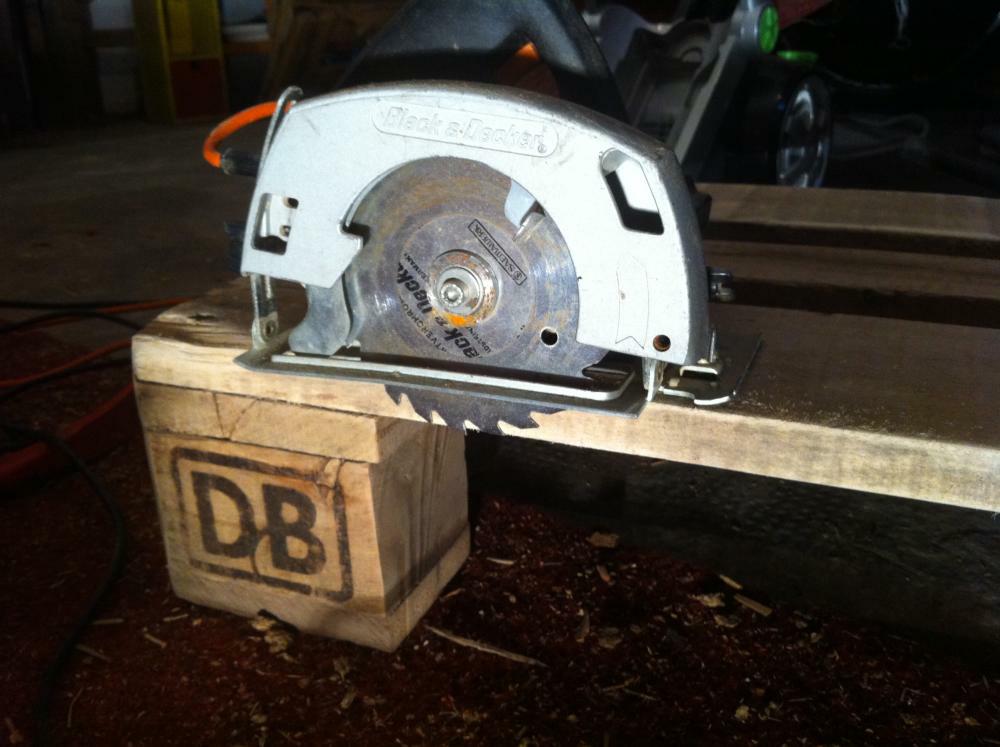
Principle: One pallet, one floor of storage. More precisely, two-thirds of a pallet in double heigth, anything else would be somehow oversized. Thick red line in the diagram: here the entire part was sawed off. The rest was used nearly as a whole, (thin orange border section). Along the green lines the “Footer Boards” were sawn out between the “spacers”. The turquoise edged spacers (4) were levered out later with the crowbar (Yeah! Crowbar!), we well need those later, so they shouldn’t break. That is pretty easy twith “natural wood” spacers, but those from pressboard are sometimes a pain in the butt.
The idea behind: each cupboard floor is “double spacer heigth”. Therefore, we’ll need five spacers per floor (and have only four per pallet plus), but since we need an additional pallet for the footer construction of the cupboard, we even have a reserve of one or two in case if one crumbles while levering off. The plan here is to build the cupboard three compartments high, so I need a total of four pallets.
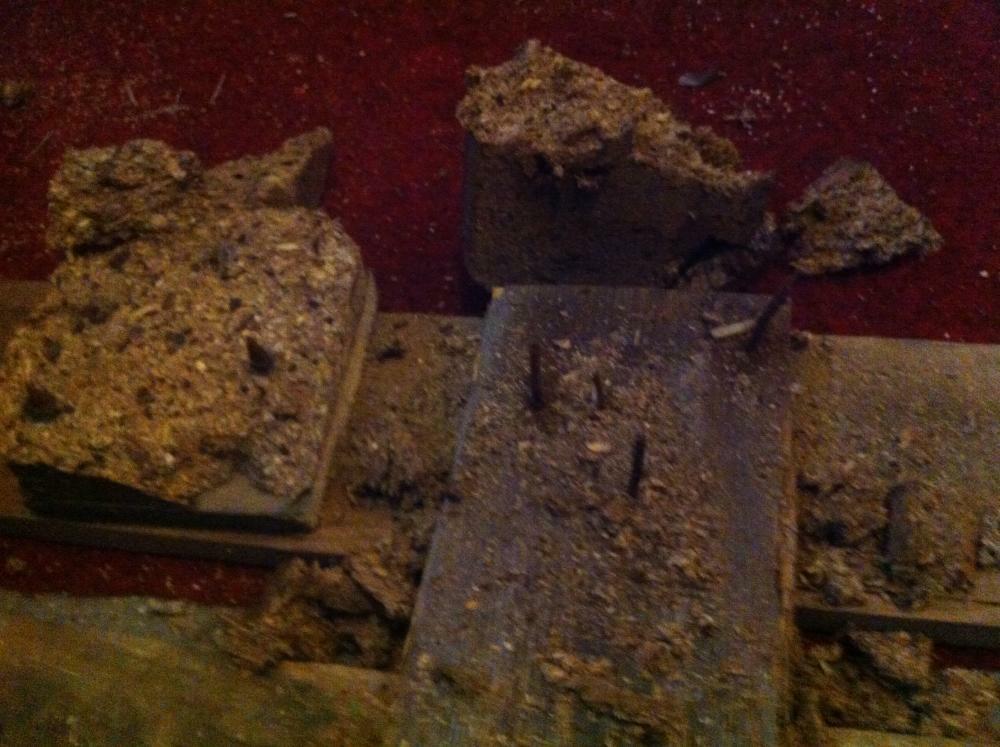
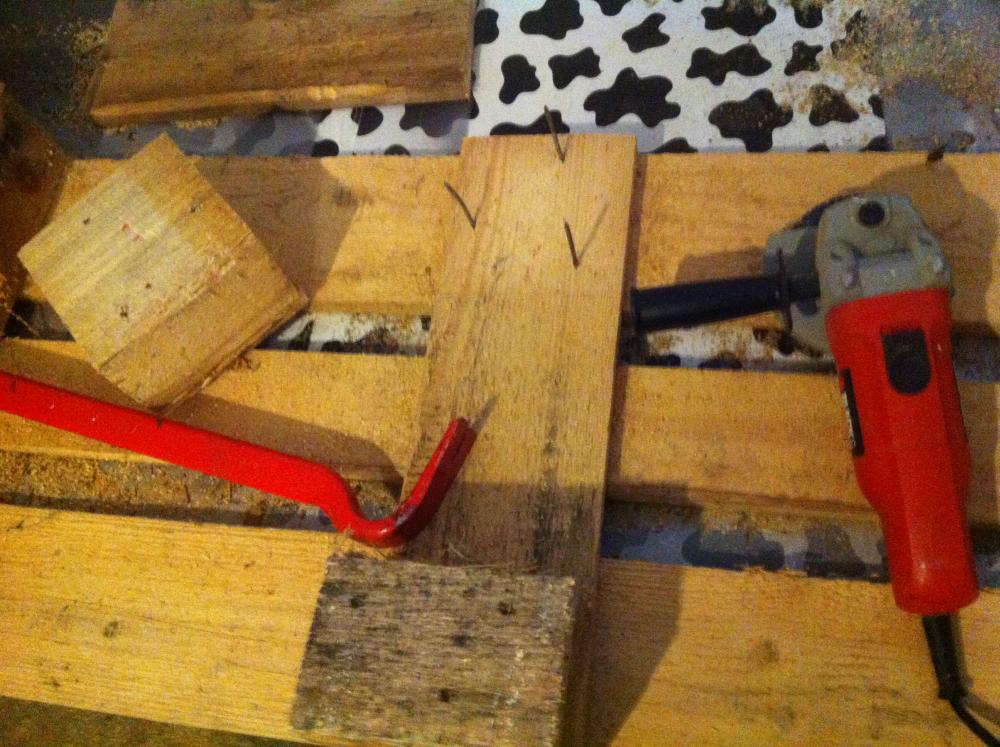
My advice: use the cut-off-saw for protruding nails which aren’t removed otherwise, and use it soon. It depends on your workplace, but you can get ugly injuries with those old nails. Never happened here, but i want it to stay so.
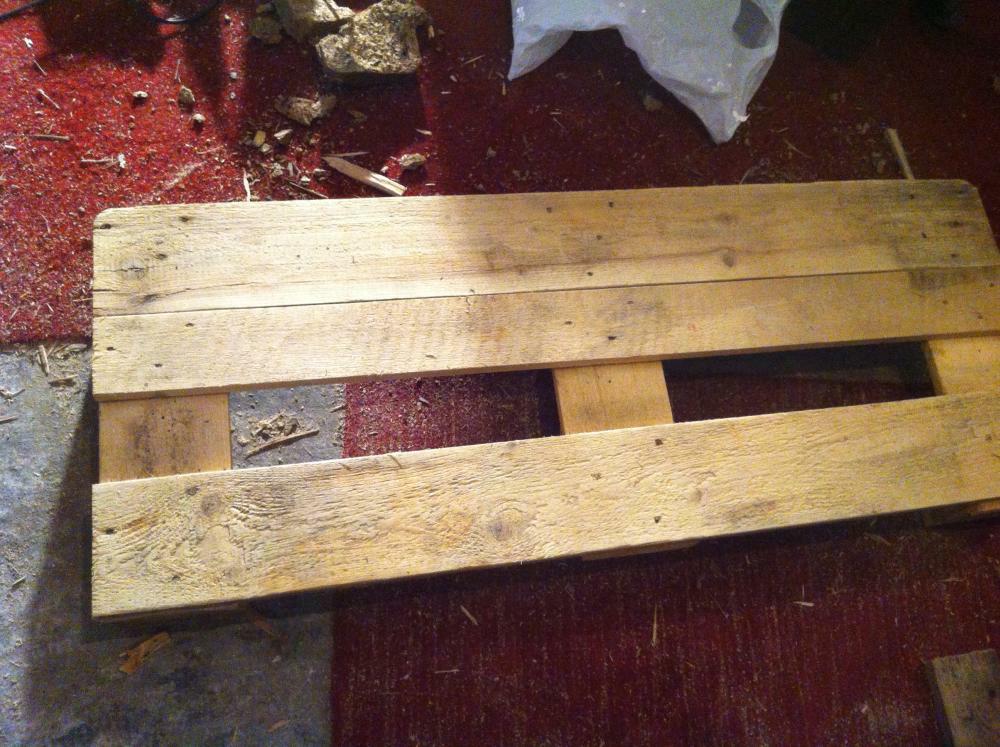
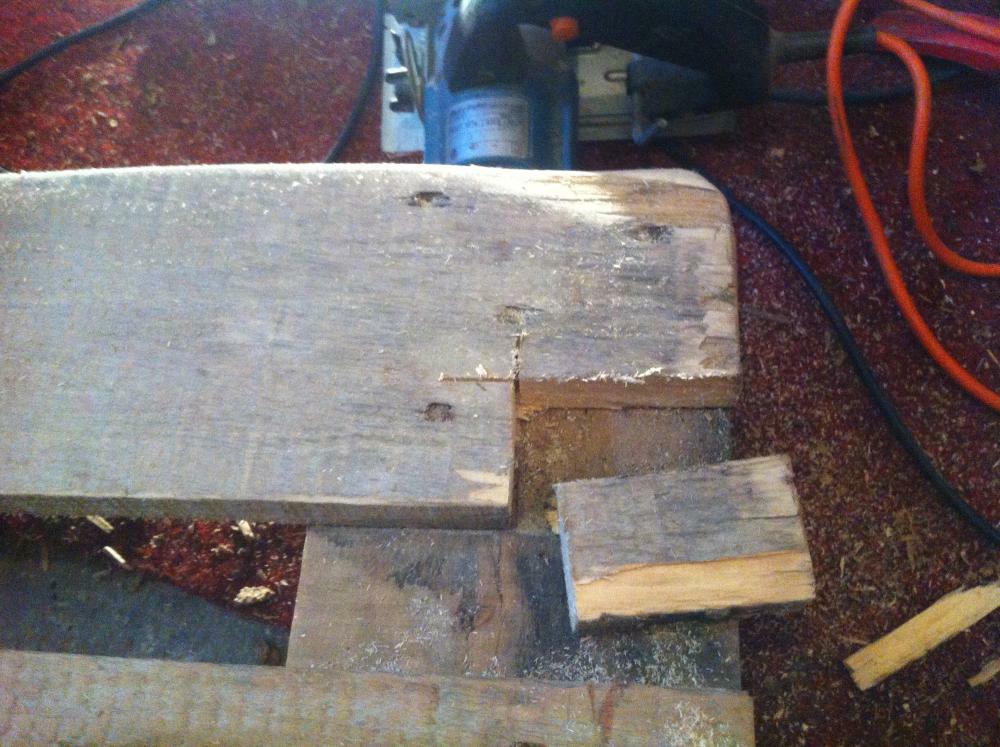
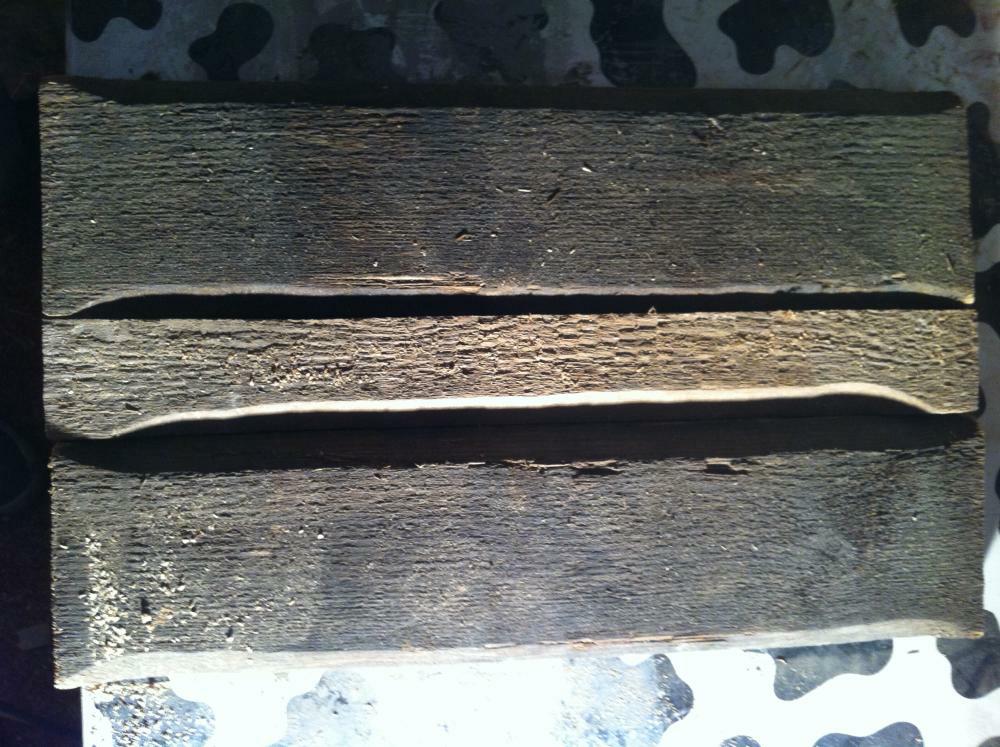
Cut out the offcuts of the footer boards clean and straight, and keep the offcuts – we’ll need it later, especially the pieces from between the spacers. Those specific specimen looked pretty bad, but once again it was quite interesting to see what came out behind the dirt and the rugged surface. As always: Grind everything – the dirt has to be off, the surface should be smooth, and when you’re lucky, you’ll discover some beautiful grains. Last not least, the rougher your surface, the more paint/varnish/whatever it’ll consume later.
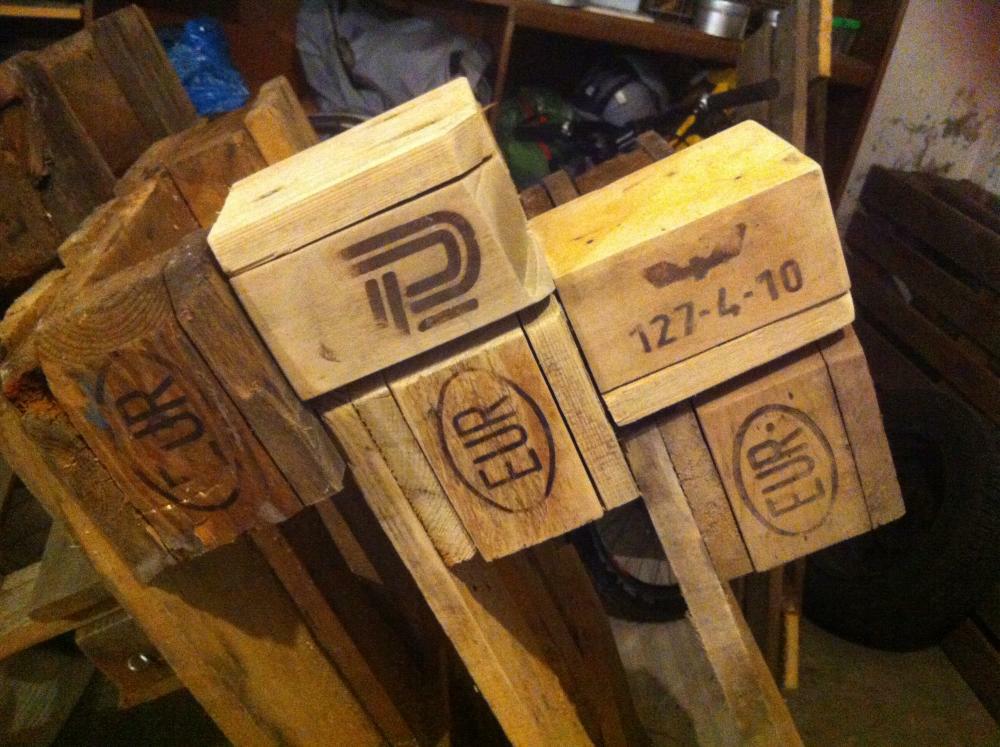
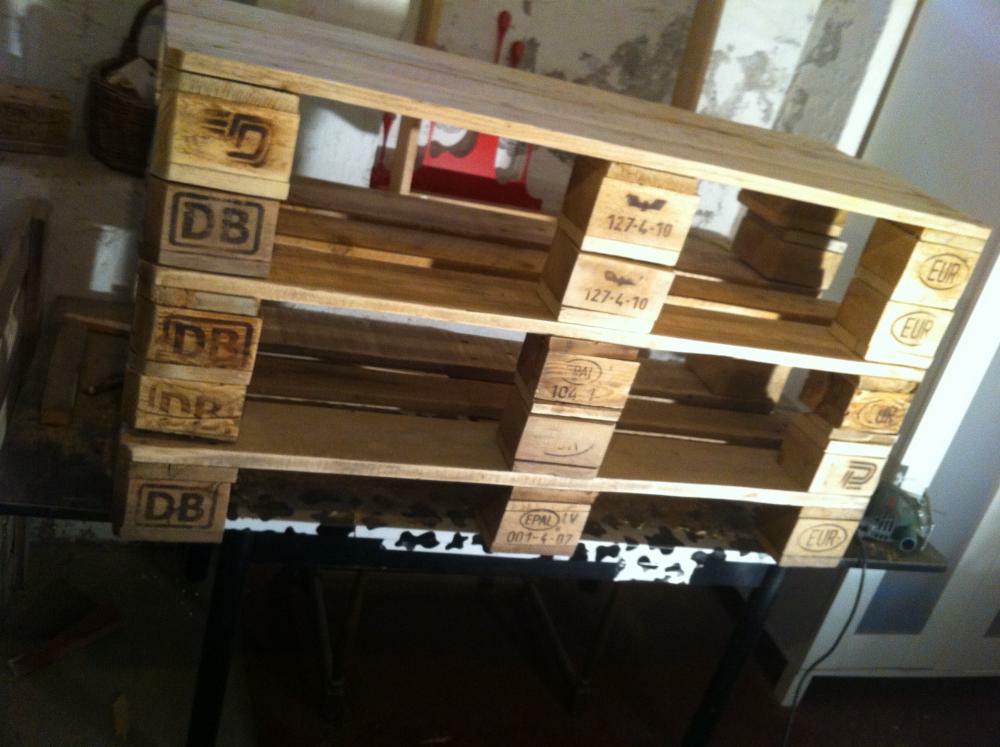
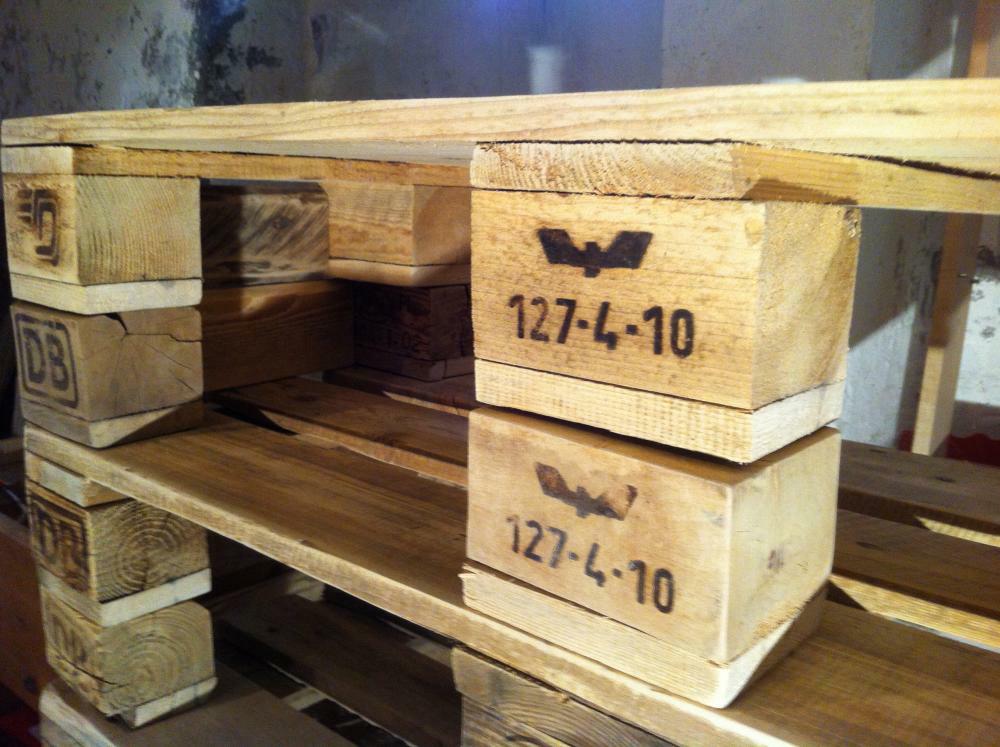
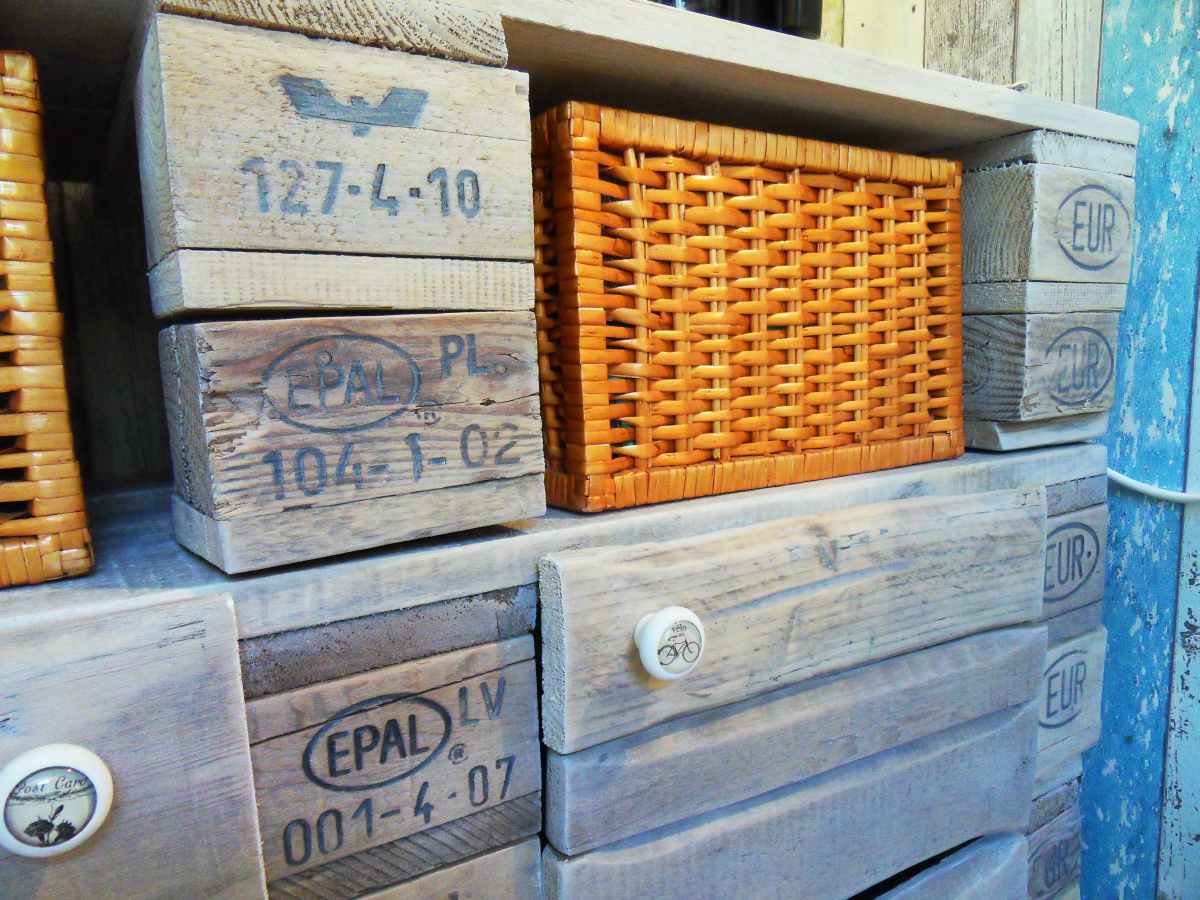
Footnote here: The nicest feature of the euro pallet is definitely the brand sign stuff on the spacer parts. After the first grinding work i was really impressed. There are many (here, we have the railroad companies of germany and france, Deutsche Bahn and SNCF and some business i do not know). Arrange as preferred.

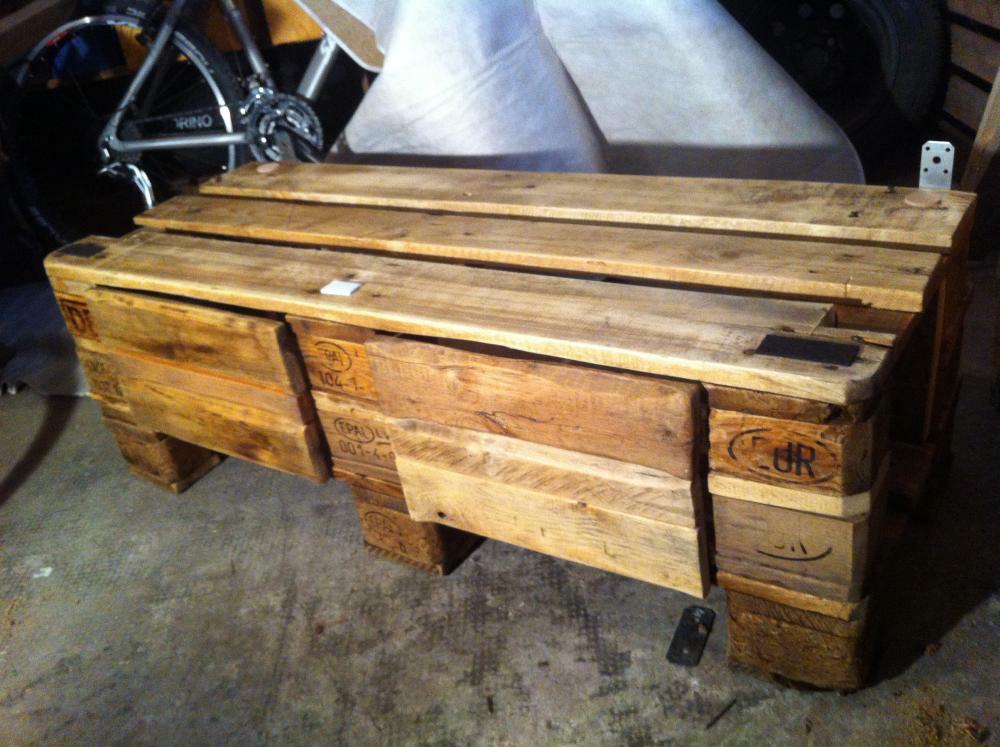
But first, we’ll have to start from the top of the cupboard. The cabinet is supposed to have a work surface. We have to – obviously with the best available pallet – remove one of the top boards, place it end-to-end to one of the remaining boards and install an additional one (you should have two surplus boards from the rest of the top pallet) to have a closed surface. You’ll need to cut this additional board into shape.
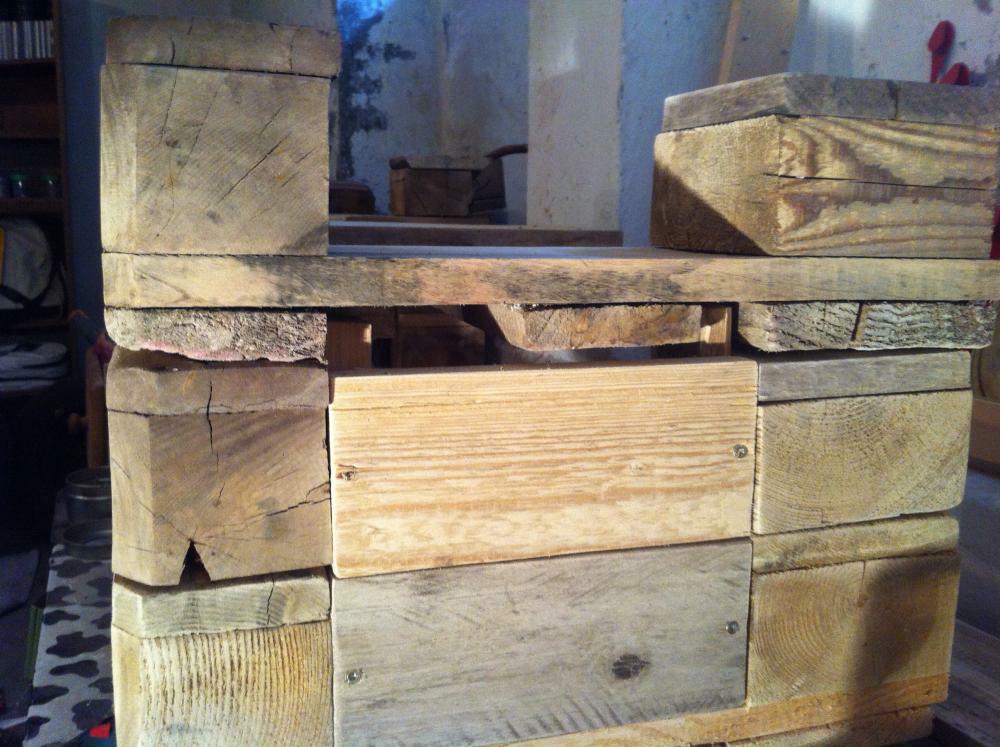
Now things started to become a bit more complicated. I want *two* spacers stacked for one “cupboard floor”, so that the cabinet compartments are sufficiently high. Also I do not not want to screw everything together somehow with fittings. Plus, i noticed after finishing the first sample cabinet compartment that things are getting somehow heavy.
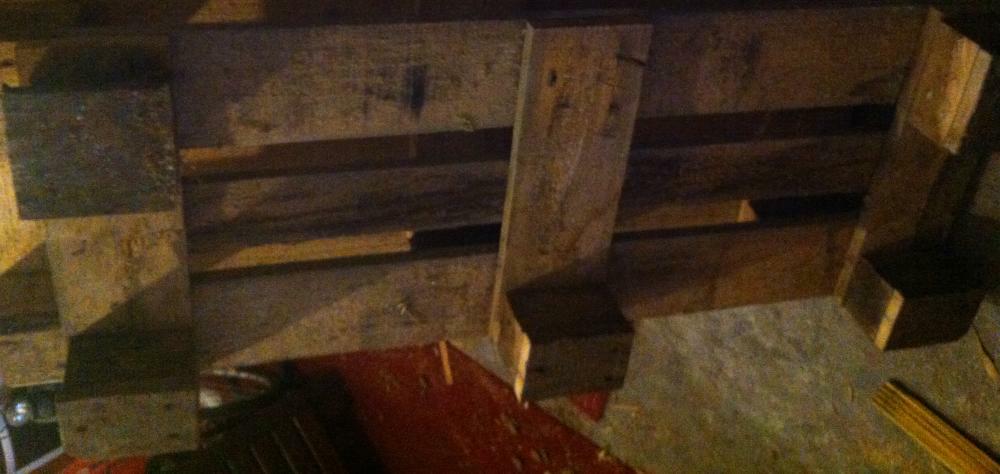
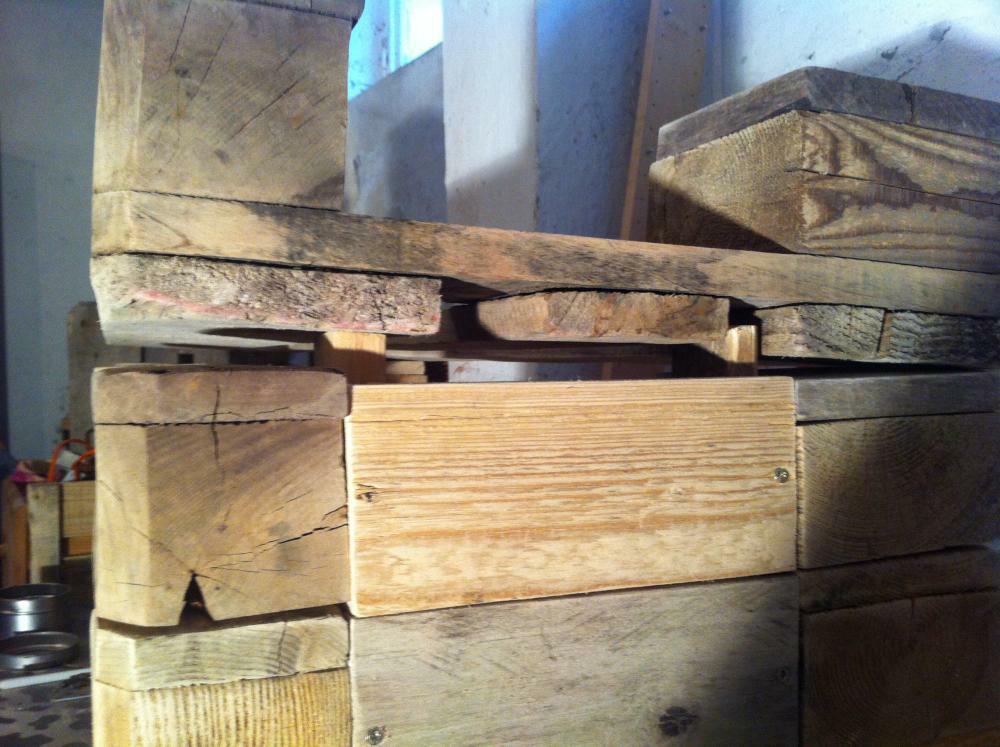
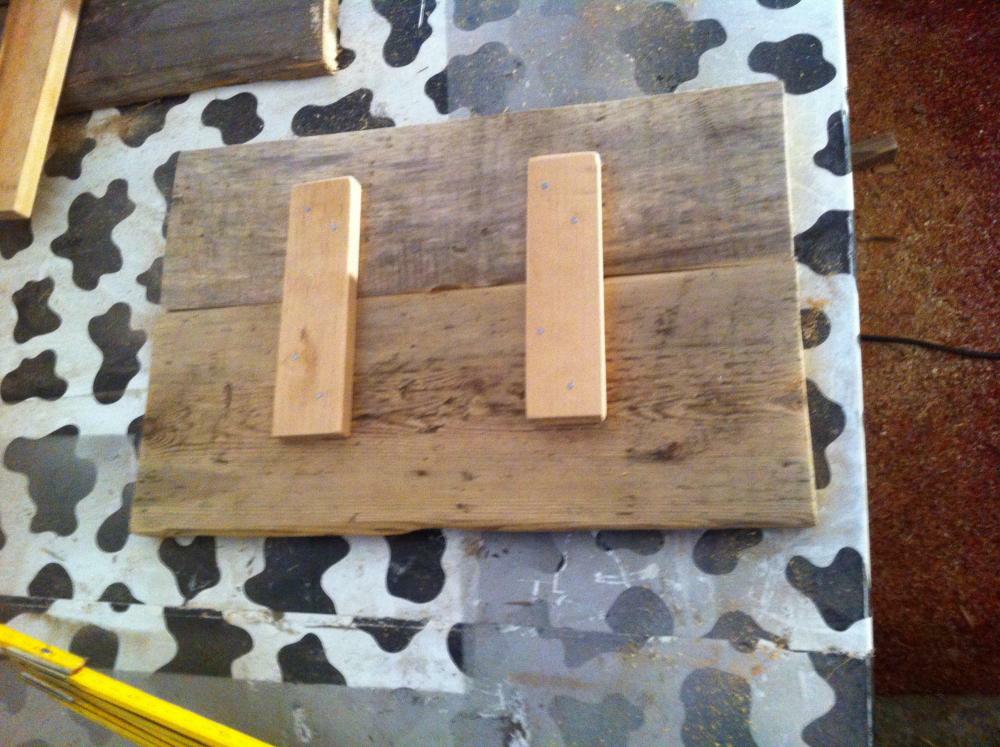
To kill two birds with one stone: a sort of wooden “plug-in/stacking method” for the various compartments. Next: we also need some side panels. Obviously made with wooden boards (we have some of those), which in turn must be fixed somehow. Last ot least: to fix the additional spacers to each other and to the next pallet cabinet element, one would need *very* long screws, what i’d like to avoid. All in one-solution: you take a piece opf cutoff wood, grind it and cut it the long way through.
The logs are screwed against the fixed spacer. Second spacer to the log, side panels to the log, too (place them respectively). Here, I’ll need side panels at one side onmly, for the other side goes to the wall. The “connector log” protrudes about one board heigth.

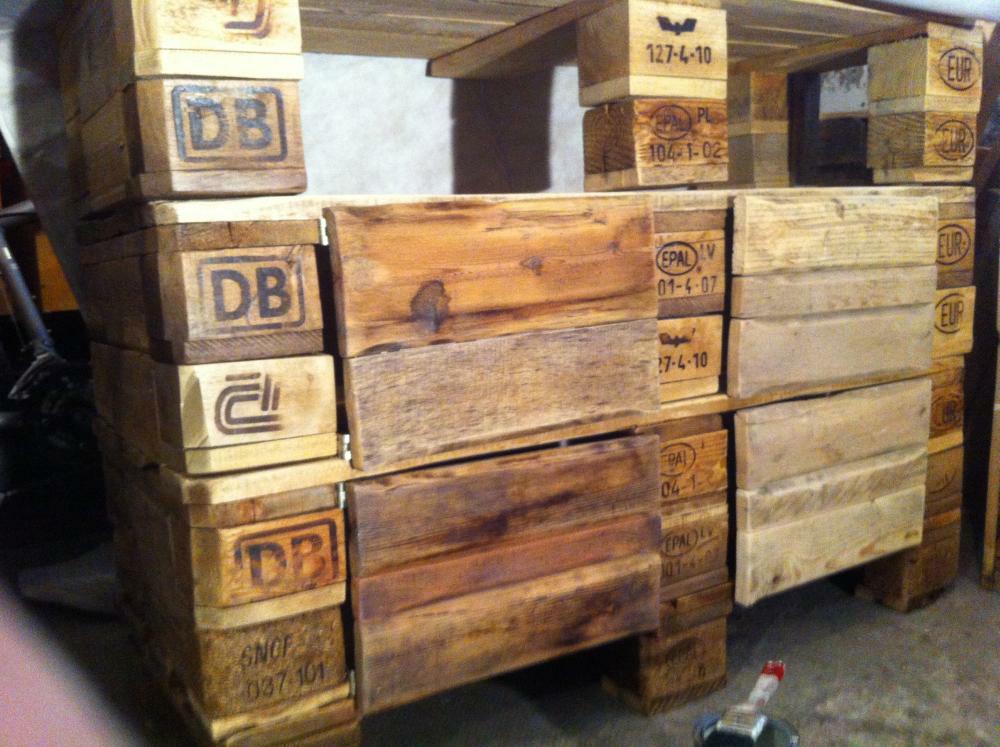
This fits exactly at the rear side of the next pallet element (former “middle part”), because thats at the “standard boards and gaps positions” of the pallets. On the front page it doesnt’t: we’ll have to adjust it. Premiere: Buzzsaw Action! I found this one a few months ago at the flea market, took it “just in case” , and was now quite happy about it, because you can just “sink in” with the saw through the most upper layer of board. Cut out the gap where the “connector log” needs to fit in.
Repeat for all the compartments. On the lowest, the “footer pallet” is screwed simply beyond. The double spacer element in the middle of the front of each cupboard element is fixed with metal fittings (not avoidable here). Since the stability comes later through the stacking and the weight, it just needs to “stay there” ATM.
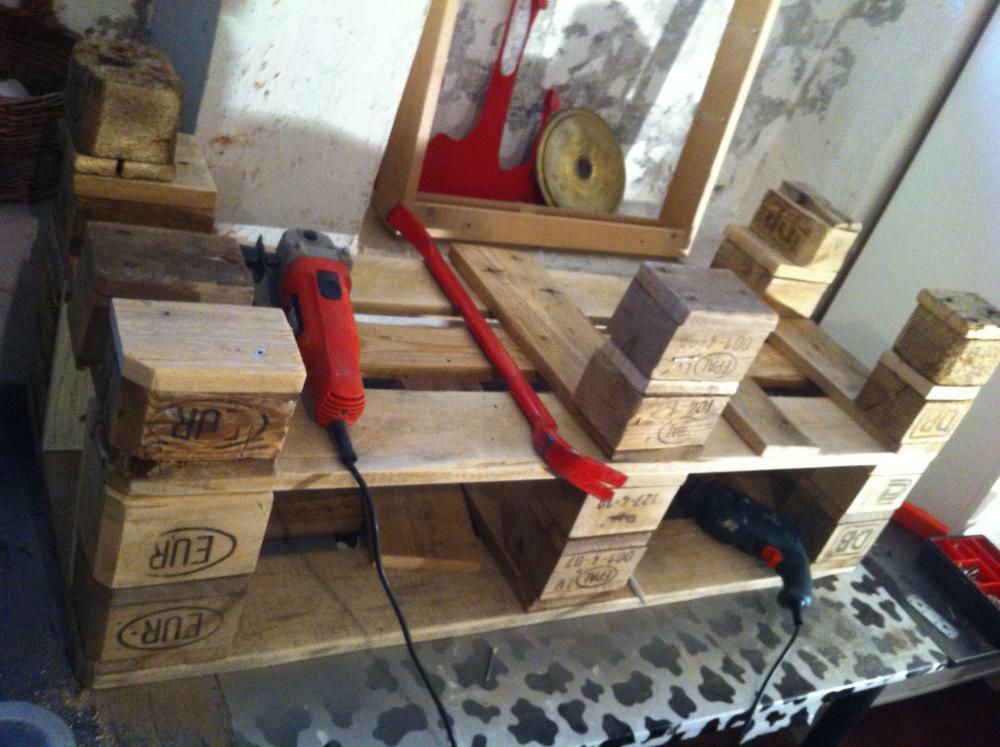
And, small digression: the whole thing becomes – thanks to pallet standards – straight and stable. Nevertheless, you have the usual variances, a few millimeters more or less here and there. If your ambition is to have everything really perfect, straight and fitting exactly, you have a lot more work. Most of the time i trust that it fits by and large and the “flair” of the pallet stuff is (imo), that its not as precise and exact as standard furniture. If one element sits wobbly on another, felt pads between the elements/at the stacking points do help. But still, the starting material is an “inexact science”, if you want to do exactly, it could get tiring.
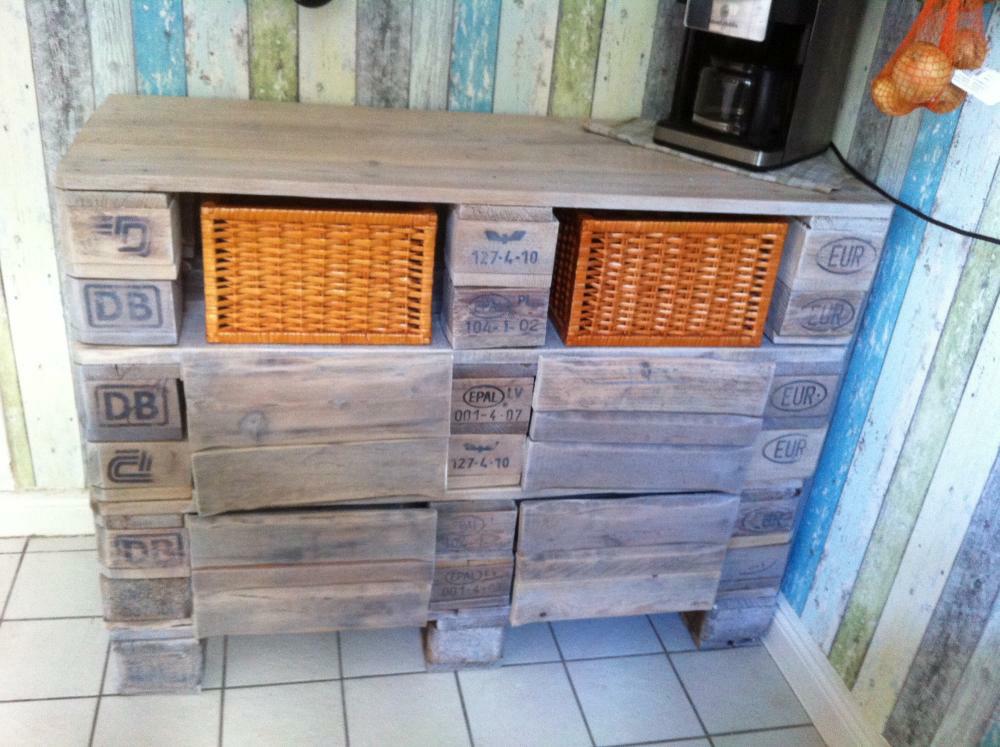
At this point, I started varnishing. With a wax water-based glaze (amazed me that this combination exists). Reason one: it was Sunday and i wanted to continue with some work which doesn’t make too much noise. More technical reason: from this point on, things are assembled, and the more assembled your stuff is, the more difficult it becomes to varnish comfortably.
Varnishing is always a bit of a grab bag. I had nice clean wooden surfaces, which turned out quite rocked after varnishing, others that looked mostly boring and suddenly became beautifully textured, you often don’t really know in advance. As an outlook: later i had some transparent white varnish overall – finished and in place, it looked slightly too dark to us. Matter of taste. Depending on the condition of the pallets, it is generally not a bad idea to varnish twice.
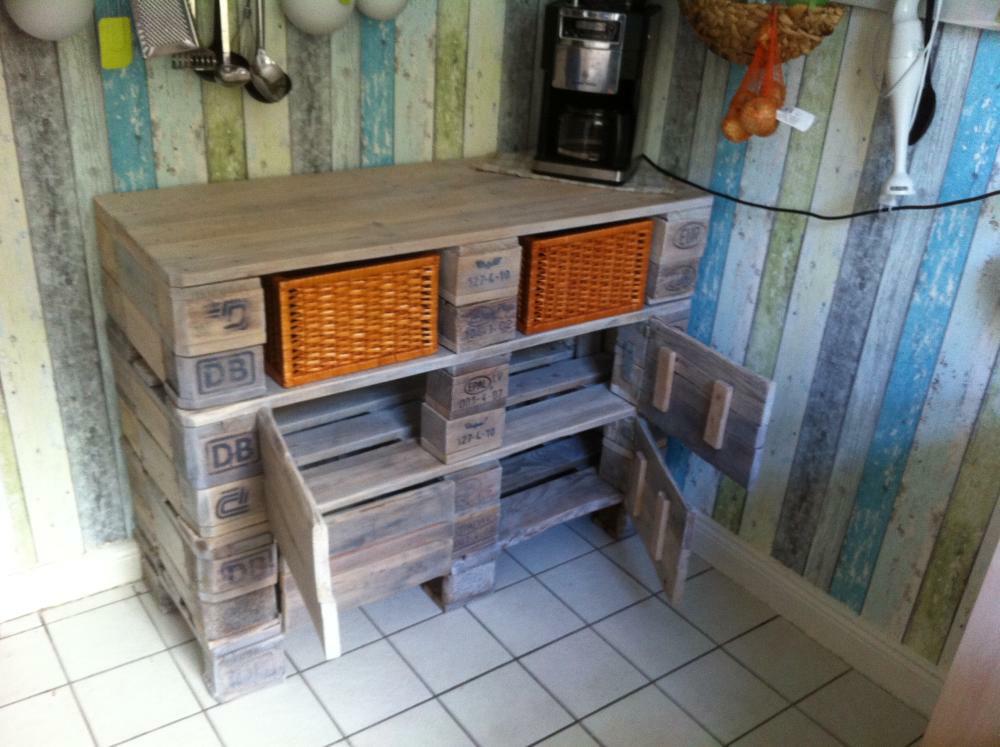
Doors. I was quite uncomfortable about making those, since doors should be somehow precise etc., while pallets aren’t. The finished cupboard doors were of course skew, nevertheless, it feels “consistent” – nothing is really precise here, so it adds to the character. Well, mater of taste, i guess. I also had the ambition to use the cuterly, and since the cut-out pieces of wood from the “footer boards” fit excactly into the door gaps, it was a quite obvious plan. Depending on the width of the boards, you’ll need either two or three or two and a half 🙂 – the length again should fit, nevertheless, you’ll have to adjust every other board a bit.

Hinges: more or less the cheapest stuff from the hardware store – they should do the job. In retrospect, i’m glad: wider hinges would have been more difficult to process, because depending on the positioning, i would have had to attach them to the narrow “board layers” of the pallet frame. Broader hinges would have caused problems here. Neverthelöess, feel free to try a more sophisticated/precise way of doors and door fixations – i’d be curious to see it.There are most certainly more “professional” door solutions here. Besides: yiou can imagine that i had some grinding work here again.
Assemble, varnish the doors, and now for the last details. On the rear side, I attached two fittings per cupboard segment (see the picture), because i thought i should attach the “cupboard stacks” in the end. After it was built up, I didn’t – it simply wasn’t necessary, for everything was tsble in itzself. Nothing wobbles, everything fits, so i kept it “modular”.

Dissected again. I attached felt pads between every element and to the cupboard feet. Here i noticed that the “three compartment” version does nicely, but one or two elements high also look nice. Maybe another project.
Now on to the final assembly. All three parts off to the kitchen. After the final stacking we found them still a bit too dark. Again, matter of taste (and how it fits to the rest of the interior).
Here, i just grabbed the leftover chalk white/transparent varnish i had from a different project and did another paint job. Afterwards, it was totally OK to me.
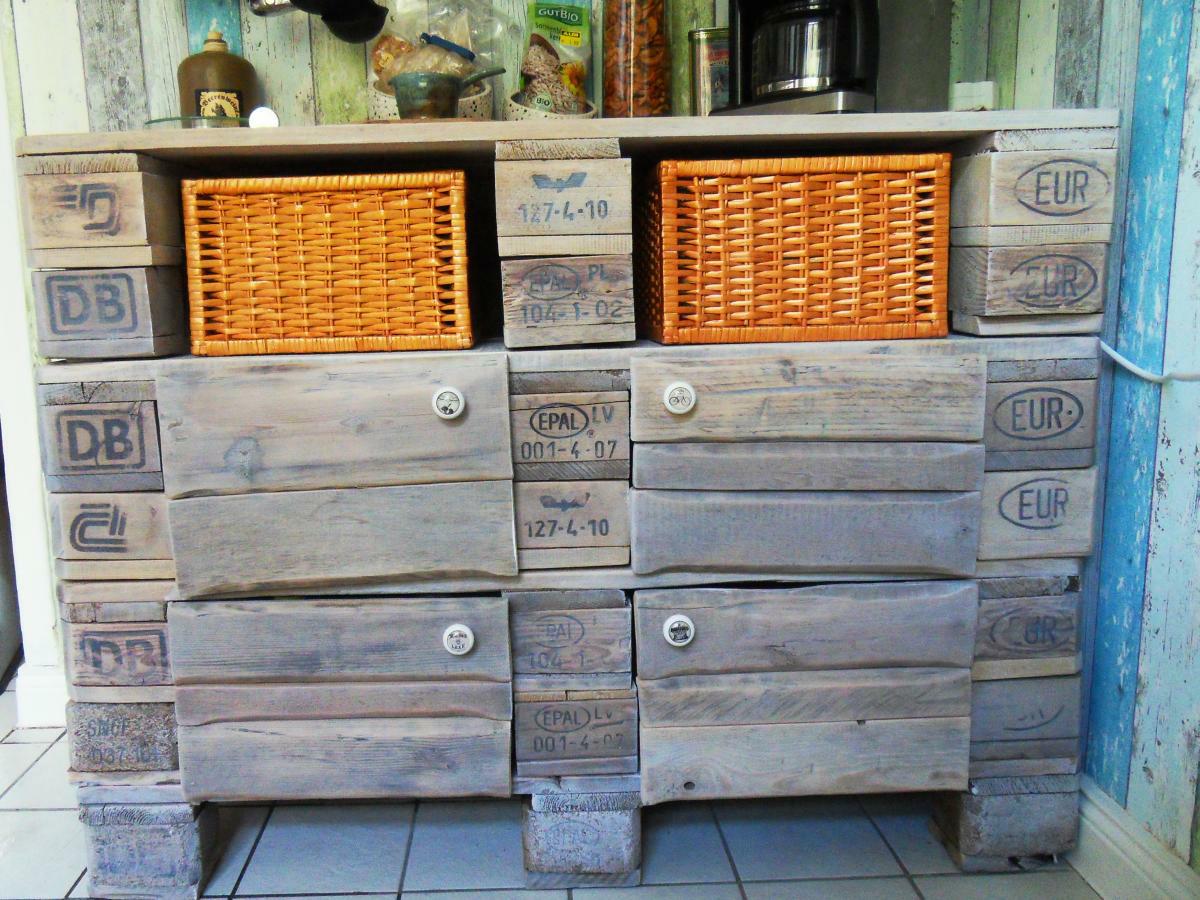
Odds and ends: maybe the doors get magnets to close. Doorknobs were on the way on time of writing.
Time needed: one long weekend, but without too much work. If you have better pallets to begin with, it should be feasible in two days. Costs: can’t really be estimated on that one, about 30 Euro (ca. 50 Dollars) for hinges, varnish and felt pads, but i had already enough/needed tools, nails, screws and stuff.
Addendum: Door knobs arrived!


3 thoughts on “Euro pallet kitchen cabinet – small cupboard, pallet version”