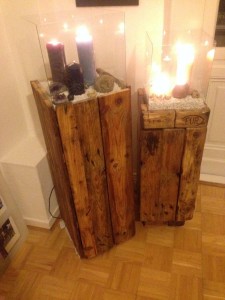
As announced: the first small pallet wind light/cabinet caused some “hm, try different next time”-thoughts, and so I tried different. Just got three pallets from a friend, so why not try an alternate version directly afterwards? This time directly planned a bit smaller and with A4-sized glass panels – the A3-panels for version 1 are now replaced, after i broke them doing the last neccessary tasks. Material needed: besides the glass, exactly one Euro pallet should do it.
We need four spacers for the upper part. Arrange them as seen to form a square in total. Connect from below with correspondingly sawn pallet boards. Distance to the margin of the spacers: obe panel thick – so we can attach the cabinet sidewalls. Reminder: I built the first version “inward from the side walls”, and was very unhappy with the typical inexactitude of the material. The strategy to build outward from a cleanly made square cover seems therefore better, more straight and solid. The price you pay: it is now one of those “pallet projects” where really only the individual elements have “pallet style”, for the raw material, the pallet, gets dissected completely. Virtually no piece of wood here is in the initial state of the pallet to each other. More work, less “pallet style”, but a quite clean look and a solid construction.
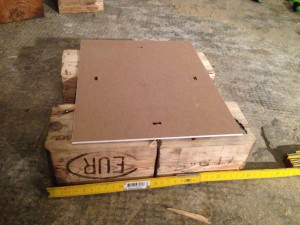
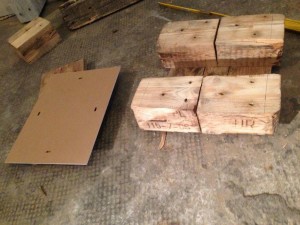
Since we use its glass panel, you can use the back of the cheap A4 photo frame to draw the slots for the glass (and to check directly after sawing for the correct fit – but be careful, the glass is usually slightly thinner). I took it a bit more easy and just completely cutted from one end to the other with the circular saw, three centimeters cutting depth. The cuts have to create an “inner square” of 24,7cm, the short side of an A4 rectangle.
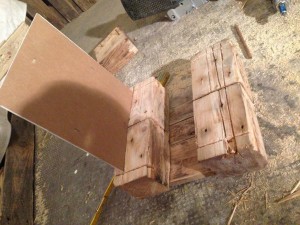
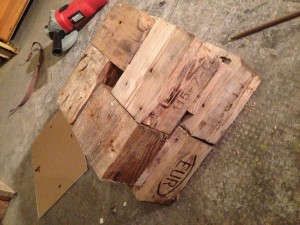
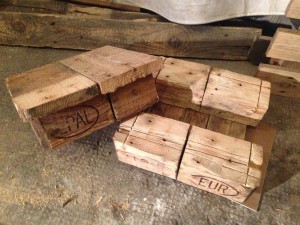
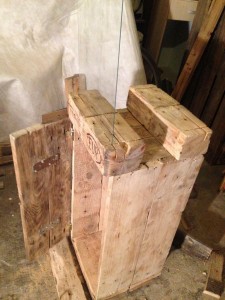
Four out of six narrow spacers consumed, remain two and three “fat” ones from the middle row. The latter had to be adjusted a bit, since they would protrude otherwise. The result is arranged here together with the top part only for the aesthetics of the photo :). The panels are simply pallet planks cutted to 30cm each, forming the needed square. Beautiful brandings to the front 🙂 And as always – sanding when the maximum state of dissection is reached. Here, i mostly practised a continuous “lever – saw – sand”-triathlon for each part dissected and fixed to the resultung cabinet.
After all “exact science”, the following got improvised a bit. Sidewalls are 60 cm – for the simple reason that a standard Euro pallet board has 120 and cutted in halves, i get exactly two per board and enough for the whole thing. So prepare your sidewall boards. Sometimes you’re lucky and have a fairly accurate 15cm-board width, then you have one board, one sidewall. Most of the time, you’ll have widths of 12 or 13 cm, then you need three and cut them to the size to fit.
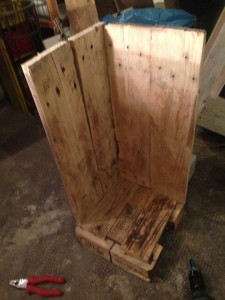
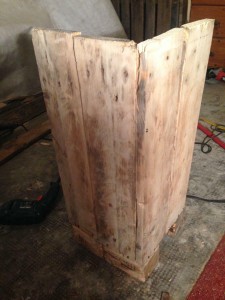
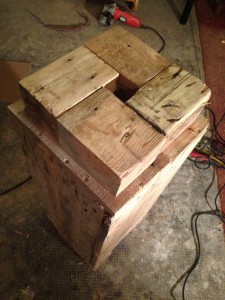
I simply screwed the side walls on the upside-down top part. I placed a pallet bank edgewise on it for exact-upwards/rectangular placement of the side walls. When two sidewalls are fixed, you can fix the lid on it and also fix the third wall. Cabinet doors follow later.
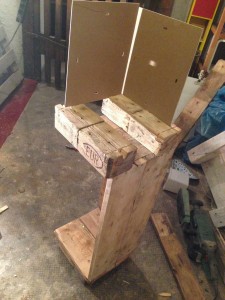
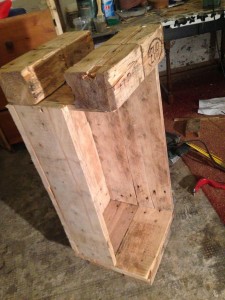
Looks straight. In any case, better than the improvised work of the first attempt. Now, the third sidewall after which i ran out of the easy-to-build-with-boards with 15cm width. For the front (well, front doors) i need three boards.
I actually liked the 1/3-2/3-ratio of the doors of the first attempt. So, same here. Look for matching boards, cut to size, sand, screw two of them with fittings or wood. Attach hinges, fix doors to the cabinet walls.
Now, we start with the last details. Again, i want crushed marble in the candle frame, so we have to close the gaps between the upper spacers/glass sockets. Just saw out matching wood pieces and assemble.
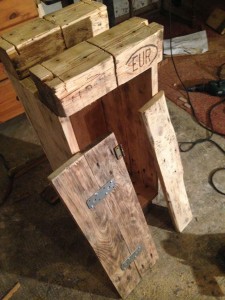
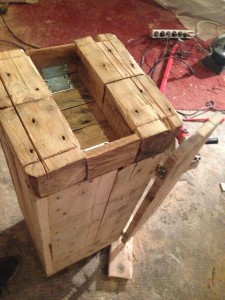
Here I used two metal angles of unknown origin, anything will do here, snice it gets covered later. Something for the learning curve: working *small* pieces of wood with the belt sander should be done carefully, otherwise you can get quite stupid injuries (like i did here). Could have been worse, something between bruise and scrape, not severe, but it hurts and is primarily stupid and avoidable.
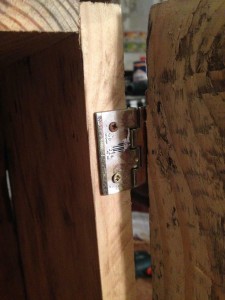
Addendum to the doors: I’ve got the hinges fixed in a manner probably not intended. The spare place for the screwball was on the other side, butr i wanted the angles to protrude as seen in the result here. Don’t ask, I liked it that way and understand perfectly well when someone likes it different. Go as you like 🙂
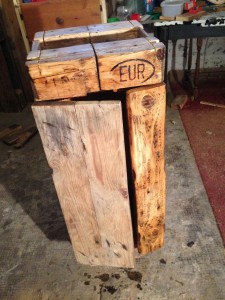
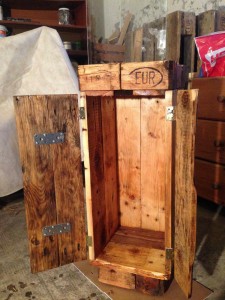
Alike the first attempt: linseed oil finish. Have everything cleaned from dust/sanding bweforehand and be surprised by the wood colours coming out while varnishing.
The rest: alike the first attempt, only easier. Plug the glass panes into the sawed slots. I hadn’t even to consider whether/how to duct the cleavages, since everything fits close and tight enough so the marble split does not slip through.
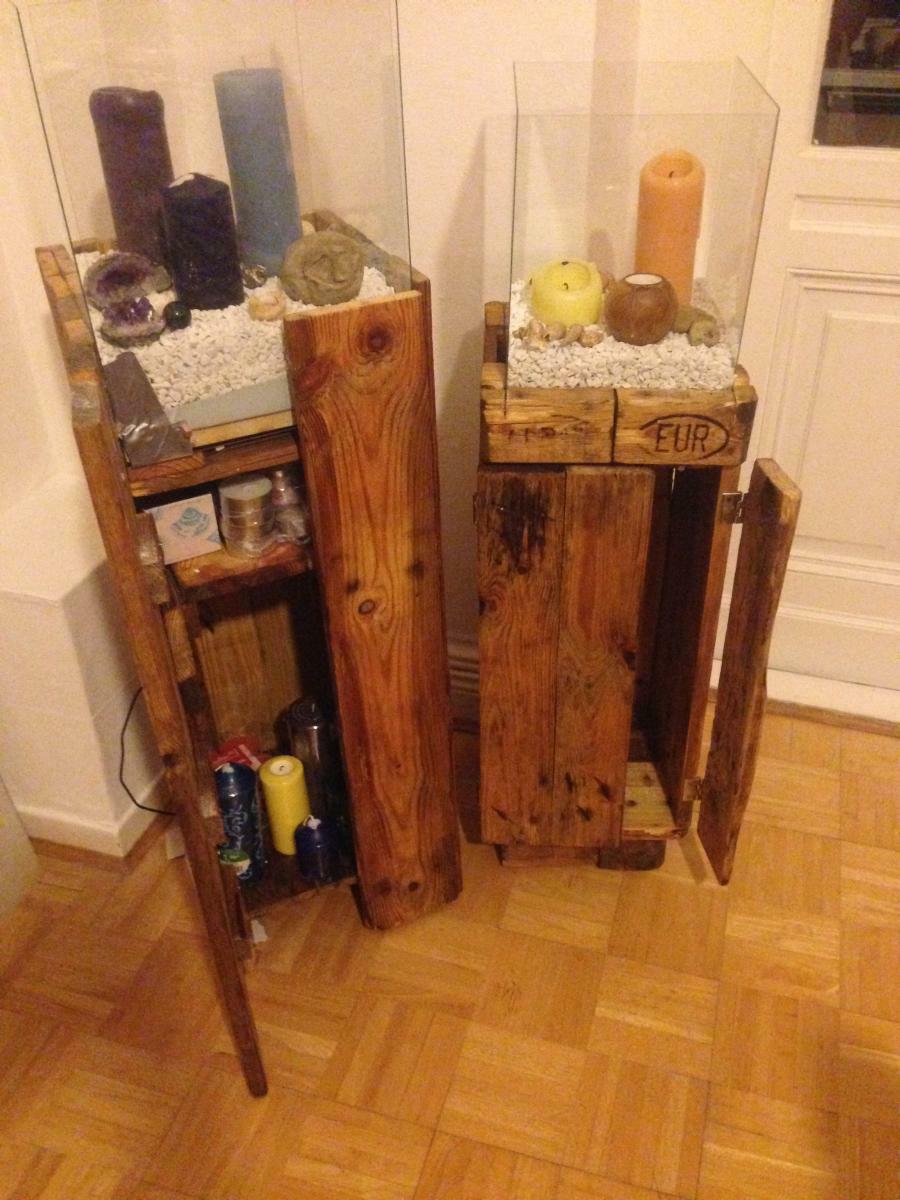
Details: Felt pads underneath (as usual), some improvising with magnets to close doors “firmly”. Of course, you can add shelves/floors as needed. I’m really pleased. Its a bit smaller than the first attempt, but i actually like it better. Final decoration was not made by me, my girlfriend has surely the better taste here 🙂
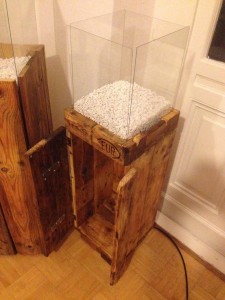
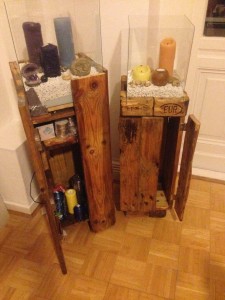

Pallet lanterns, decorated and illuminated
Final Note: As they are shown here, the cabinets are definitely not at all childproof. They don’t fall over easily, but the glass panels are really unsafe, thin and easy to break. If there are children around, this stuff should be avoided, replaced by plastic or a different, not likely to break-material. Picture frame glass panels are definitely not an option then.


2 thoughts on “Side cabinet, Wind Light made of Pallets: second attempt”