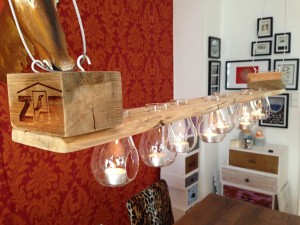
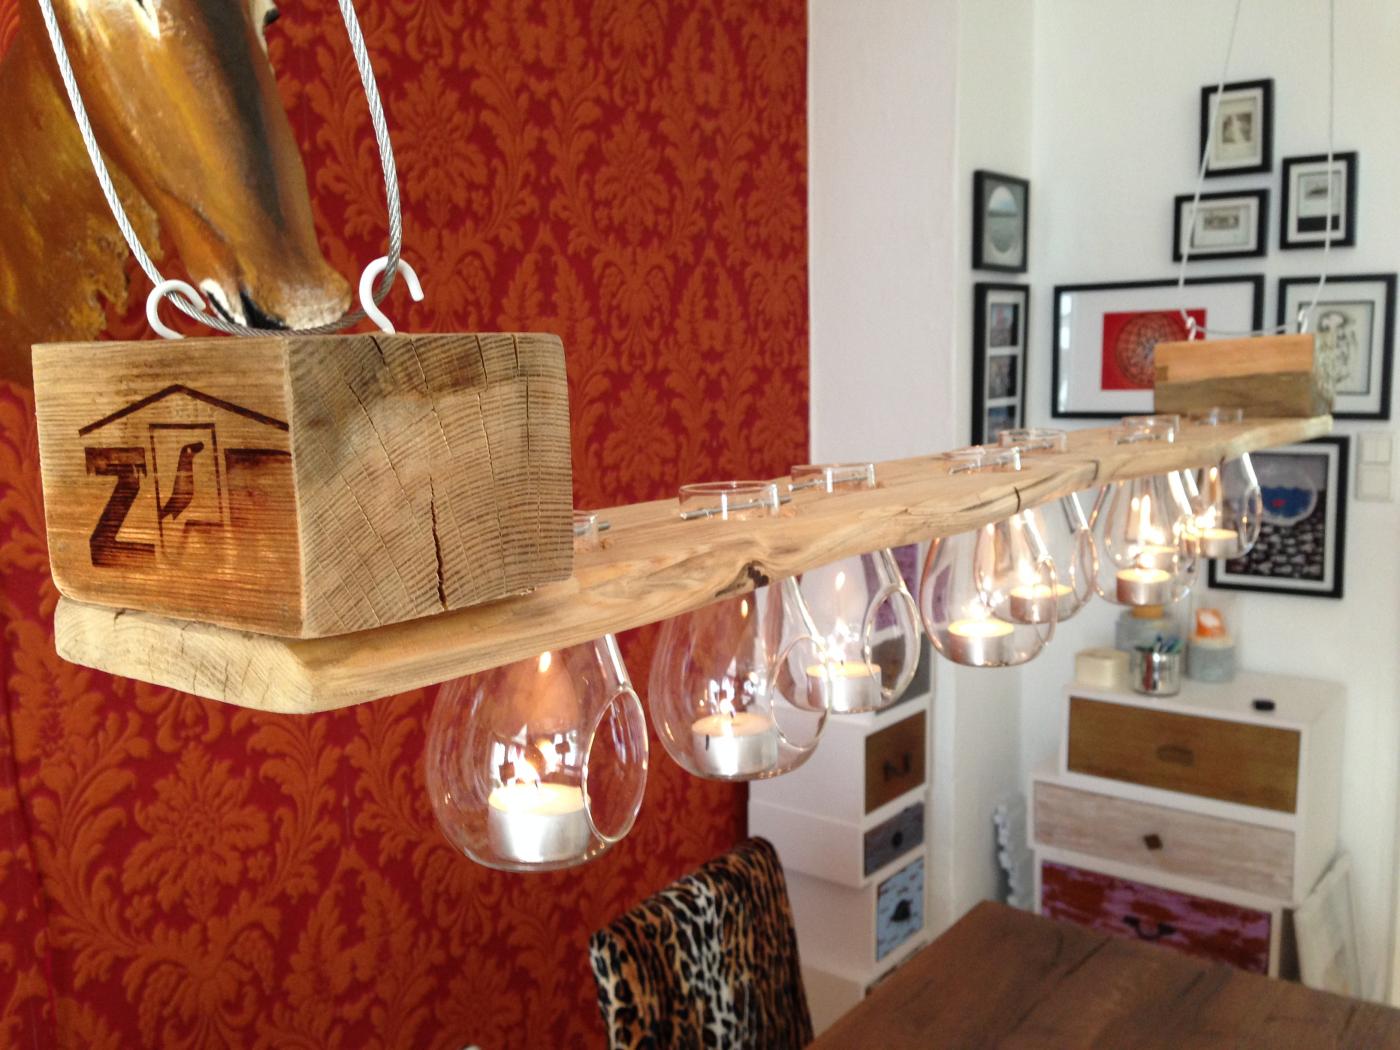
My dearest bought some cool looking tealight hanging glasses and had the idea to build a kind of hanging table chandelier. On the last euro pallet we had a pretty birdlike brandmark, and since the “pallet candelabra” was to hang over the dining table, some more precise and clean work and especially finer sanding was needed, I did not bother the quite rugged look of the raw material, though, what was a good thing: newer wood tends to splinter, and i have the feeling that the older pallets often have the cooler textures.
A new “varnish” test also: liquid beeswax. Should come out brighter than linseed oil, it did, and smells great. But I get ahead of the actual work.
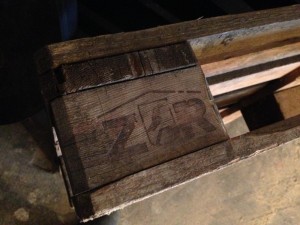
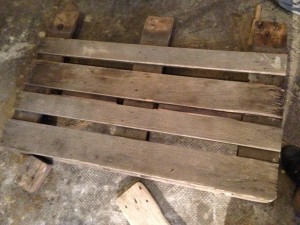
When you take one of the broad boards, you can place the spacers transversely with the branding sign outward. I wondered about spacers lengthwise and using a narrow board, but it seemed to me somehow unbalanced. Lever out the broad panel of your choice, pry off two fine spacers, sand everything (and be cautious not to grind the branding signs off). The board doesn’t need to be entirely “straight”, I even sawed off some edges with ugly, splintered or otherwise unwanted looks. Main point: have it sanded fair and smooth. I liked the result.
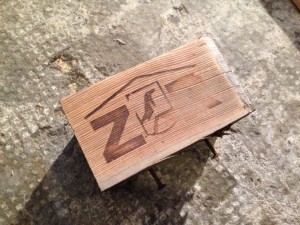
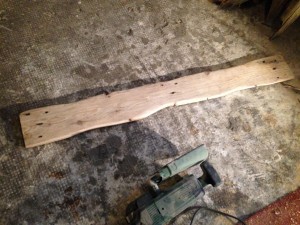
Some easy sanding, compared with larger projects. Nevertheless, here for the first time i worked with coarser and finer sanding paper, down to about 120 grain (180 would have been even better and is recommended for “fairer” studff like this). With a wax finish which tends to emphasize scratches and a somehow exposed position of the finished work, I wanted smooth wood and no scratches, joints whatever
Then: spacers crosswise to the board ends.
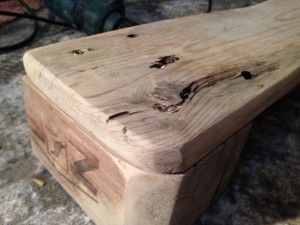
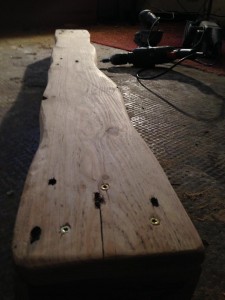
Cleaned result- I used a simple paint brush to cleanm the wood and get the remaining dust out of joints. Now mark the holes for the suspensions. I had penciled the “top” of the board, in retrospect, I noticed, marking on the borrom would have been smarter, but both ways have advantages and disadvantages.
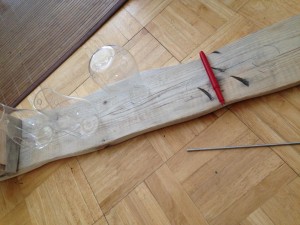
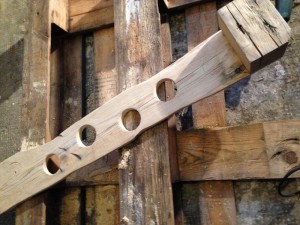
Here my electric drill joined the choir invisible. He was a brave thing and drilled and screwed under sometimes really heavy conditions and difficult circumstances, and it was a new experience to me to learn how thick the smoke can get out of such a small machine when it finally bites the dust. A Brief moment of silence.
I only worked with a cup drill (recommended), which seems to have tilted, i think this was the reason for the final machine breakdown. Afterwards, i used a 55 mm knothole drill(?) (center bit?), but that creates a “big hole” instead of a round cutting.
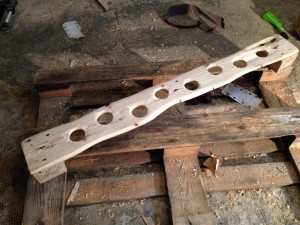
The problem while drilling “top-down” – when you drill through, the wood splinters. You also have less space underneath (well, depending on where you drill, i simply pu a pallet below the workpiece)
I liked the “splintering” though, since it drove me to some additional sanding and, as a result, nice curved edges and structures.
If everything is drilled and sanded clean, on to the beewax varnish. In the case of this finish: have your wood exactly as you want it: you have no chance in additional grinding/sanding with a waxed wood surface. I sanded some linseed treated wood, its no fun, but its possible. Same with wax: you just wax your sand paper and there goes the grinding effect.
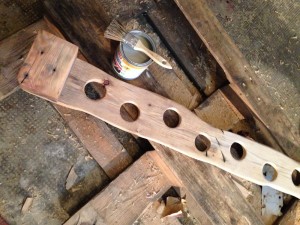
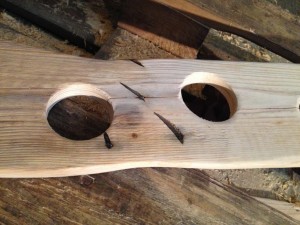
Definitely brighter wood compared to the linseed oil varnish. I love it. In case you compare projects here directly: take into account that i sanded here finer than the “linseed projects” and the wood sorts differ quitze heavily from time to time.
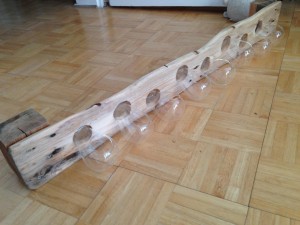
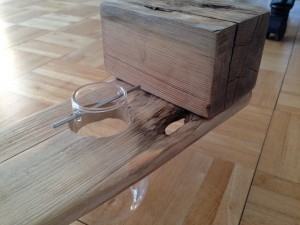
I’m sorry, i don’t know where the glasses are available online. We found them in Wuppertal in a small shop, let me know if someone finds an online source.
And now up in the air. Two hooks drilled into each of the spacers (so you can adjust the result easier than with one suspension point only), use as suspension what you like. We had chosen steel wire.
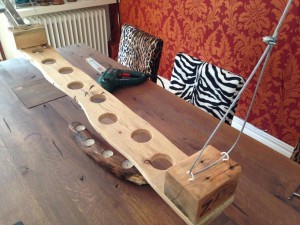
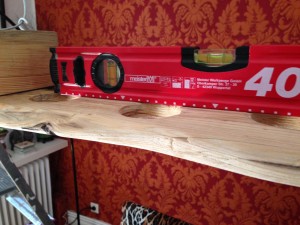
Level the candelaber in all directions. The steel wire suspension I fixed with screw clamps, you can easily adjust the length right and left to achieve straight hanging.
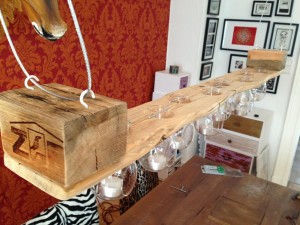
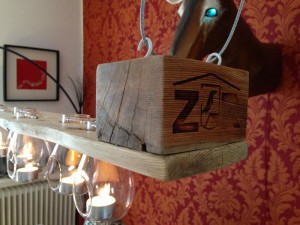
Yep. Thats it. So what about the material consumption and effort? A pallet (hehe), more precise: about a quarter of it. The tealight holder glasses, beeswax glaze, steel wire and four screw clamps, screw hooks, a few sheets of sandpaper and a new electric drill. As said before, cup drill recommended, center bits are overkill – they just were around since i had some other tealight project. Time: one afternoon, definitely not more, but take your time for really clean sanding.
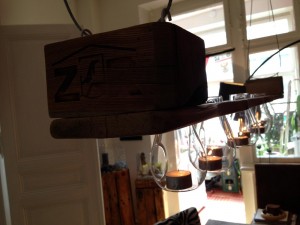
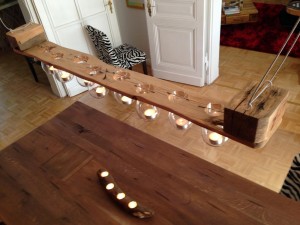


Bravo!!!!
Magnifique