This pallet king size bed isn’t a “pure” pallet bed: pallets are the material of choise for the frame surrounding the mattress, while the base structure is created with simple wooden beams and the boards of a slatted frame mounted on these.
You’ll need (Basics)
- • about 10 m wooden beams (6×8 cm are fully ok, thinner should do, too
- • 2 pallets (euro standard or disposeable
- • fittings, angle fittings, screws, paint, spare slatted frame, neon lighntning as you feel inclined
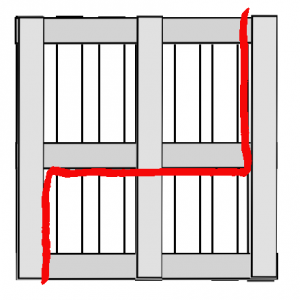
Pallets are both cut into asymmetrical L-pieces (see Scheme). At two of the four sections “loose” board ends have to bve stabilized with a plank or a shorter beam.
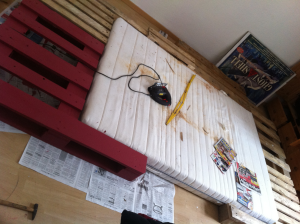
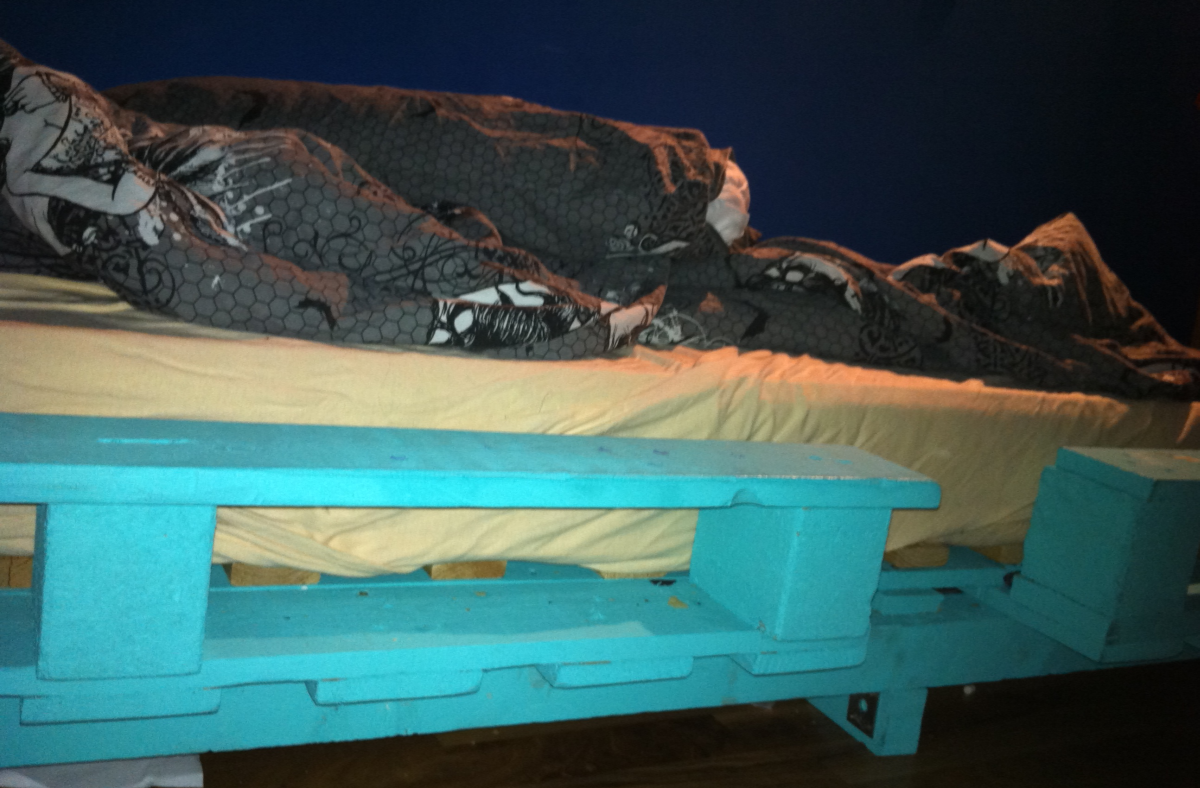
Using an old mattress (picture above) for conception, you see the general principle.
After preparing the dissected pallet parts, you’ll have the choice between two methods of construction:
- • If you build the bed like its arranged in the picture, totally enclosing the mattress, the base structure needs to protrude in all directions in order to place the pallet parts ontop.
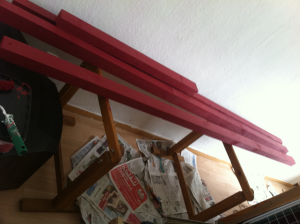
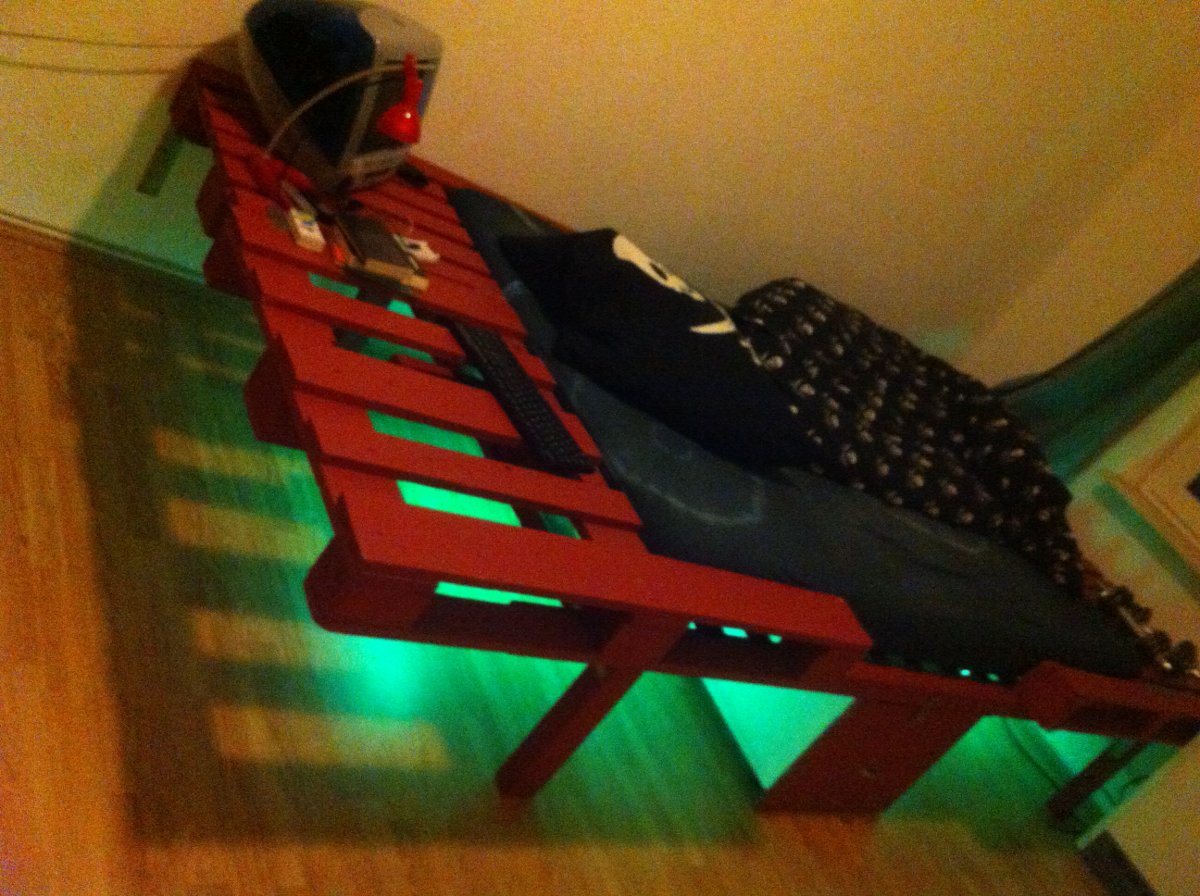
- • If you build is the bed as i did (see finished bed), the mattress does not enclose the pallets. Matter of taste. Here, too, the base structure has to protrude enough that the pallets can be “hanged in” – i.e. fixed between top and bottom pallet level.The actual base framework consists of three two-meter beams (plus some inches over to hang pallet parts over or to fix them upon.
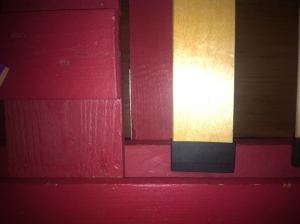
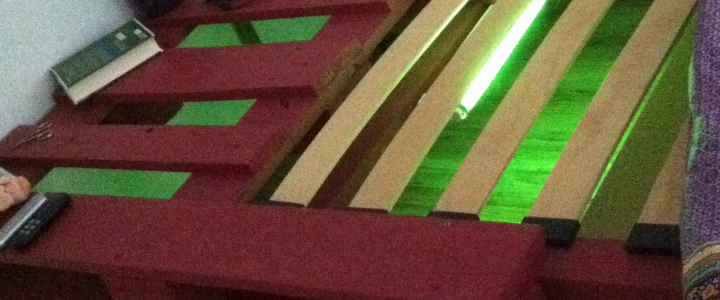
The outer beams at width of the slatted base, the third in the center. Three crossbars below. Screw everything with angle brackets.If you have a roll grille: just roll it on and fix it. Alternatively take the battens and fixing lugs of an old (the previous?) duckboard, dril holes for the fixing lugs, put them in and assemble the rods.
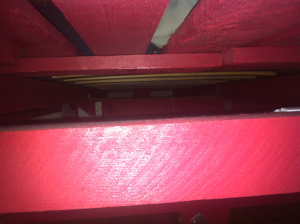
If you want to mount the bed on bedposts: do it now. Once the pallets are assembled, stuff gets heavy and cumbersome. Work on site from now on, btw (see below, tips and experiences).
Depending on the final design: mount pallets “on top” or hang them to the frame. Solid fixation, and have the corners of the pallets equipped with their own posts.
Well, that’s it. Some suggestions and experiences:
- • Do the final assembly at the future site. This stuff *gets* bulky.
- Use two pallets of the same kind and size instead of the mixture i used, disposable pallets preferred. It looks better, size and heigth differences do not matter, and while euro pallets are rock solid and somehow cooler, disposable pallets are easier to work, less heavy and sufficiently stable. Handier, in my opinion. The boards are placed on the Euro pallet usually with larger intervals/gaps, what means less useable surface, higher likelyness for stuff to fall through under the bed.
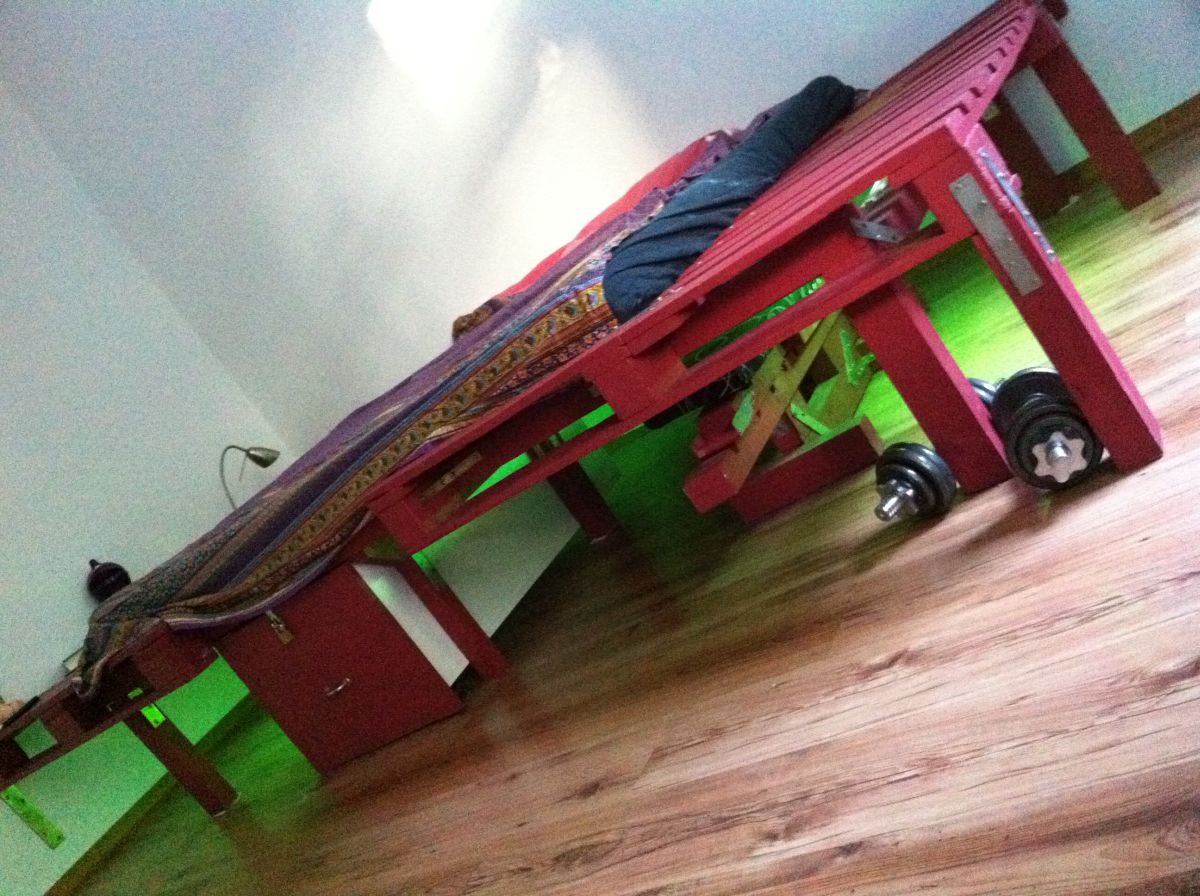
- • Subsequent changes / enhancements are no problem at all. As seen here, for example – the drawer was built and added half a year after the bed was assembled.
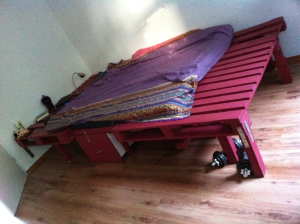
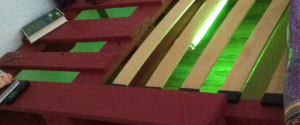
- • Speaking of enhancements/extensions: the occasionally visible bench here under the pallet bed was built rather out of curiosity – can a useable bench be constructed purely with some wood constructions? (and, well, can *i* do it? Its useable, well, not more than that. I don’t introduce it further, its really more dogs dinner than anything else.
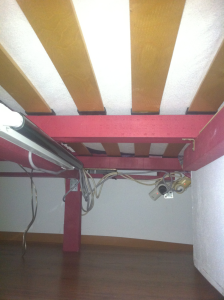
- • Beds creak, pallets are warped. This is almost always the case, there is no such thing as a pallet precisely built on the millimeter, neither is furniture made of pallets. Generally: have everything well fixed and try to get as little tension on the wooden structure as possible. What I never did actually, but looks like a good idea to me: no pallets/bars/beams directly connected to each other any more, but all linkeages with a thin layer of carpeting/cloth between. Wood on wood under tension tends to squeak, these “dampers” maybe do the trick.
- • Felt or carpet cut under the bedposts/whatever the bed connects to the floor. Self-explainatory, you do not want to scratch the floor, even carpet floor is prevented better from danger this way.
- • Walls keep things grounded. If in doubt, just one or two edge fittings firmly fixed to the wall with anchor bolts create solid ground.
- • Storage space. I like the palette look, i like to have those small niches to put stuff in, the gaps to pull stuff throughj, you can have your smartphone chargers below and just the adapter cables on top, you can pull some ethernet cable through and assemble a small under-the-bed-PC to watch movies from your NAS, whatever you feel like. On the other hand: stuff falls through. It does, really. Also dust and dirt, so have your pallet bed (and other furniture) built in a way that you can reach the floor below with broom and/or vacuum cleaner.
- • Nevertheless, imagination is the limit. Occasionally, i feel like i should cover the surfaces with artificial turf, what should look good and comfy, and keeps things from falling through the gaps. Other cool stuff like neon lighting like its done here, LED neon flex light tubes, or colored plexiglass illuminated from below, halogen spotlights can be installed in really neat ways (but have an eye on the heat generation with these, though).
4 thoughts on “Crafting a king size pallet bed”