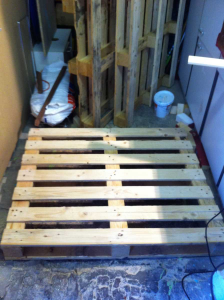
My first approach to pallet desks is recommended only partially. I’m happy with the end result, but this neends not to be the case with everyone. From the aesthetical point of view, everything is perfectly fine, as it is for the practical advantages of pallet furniture in general. On the other hand theres the known phenomena that you always have to work with a little tolerance regarding precision with pallet stuff.
To construct a bed works perfectly well this way, but a desk ist sometimes different. Beds, sofas etc. have a kind of natural “tolerance buffer” – even half a centimeter more or less often just has little effect. Here even a single millimeter makes the difference between a plain surface or… well, no plain surface. I don’t really catre and i’m fine with the result, but i assume that there are others who have good reasons to see it otherwise.
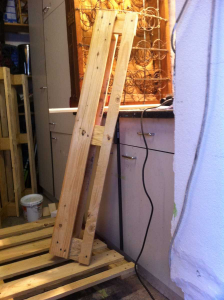
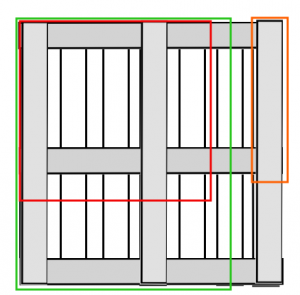
Pallet desk scheme. Green: side pieces. Red: corner piece. Orange: legs
The second problem: I cannot work properly with plexiglass. Or well, i reach the limits of my capabilies by fixing plain plexiglass surfaces on a desk, but i fail at previously dreamed of features like integrated power sockets or other integrated features. Well, there’s an integrated ethernet switch, but thats quite improvised, just because i don’t get the plexiglass cutted properly. More details follow. Lets start the project.
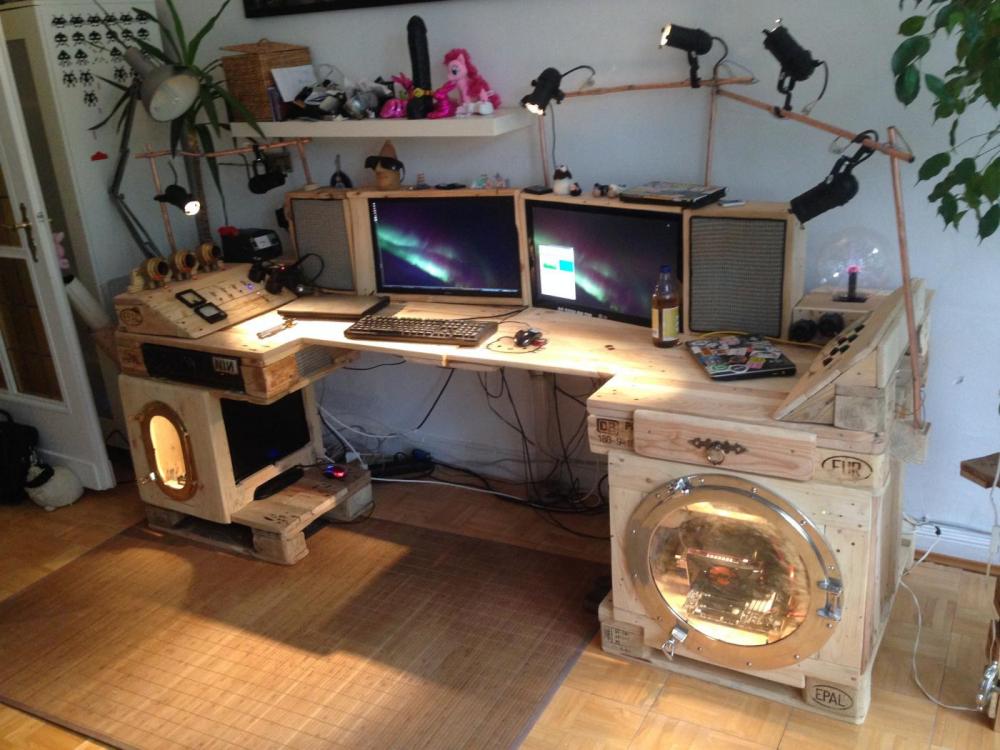
A desk. Replaces two old tables that stood angled in the corner. Raw materials: three pallets, two old shelves, plus three square meters of Plexiglas (2mm x 50cm x 100cm, x6). Screws, fittings, white paint.
Pallets are (as usual) disposable wooden pallets of the 100x120cm size type. This is obviously too large – you can’t reach over the whole desk. I cutted them through the second panel down to 80x120cm. Advantages: you get one of the pallet frame parts which can be processed into a leg. Moreover, under the desk is more “foot space” and the front part is as thin as possible.
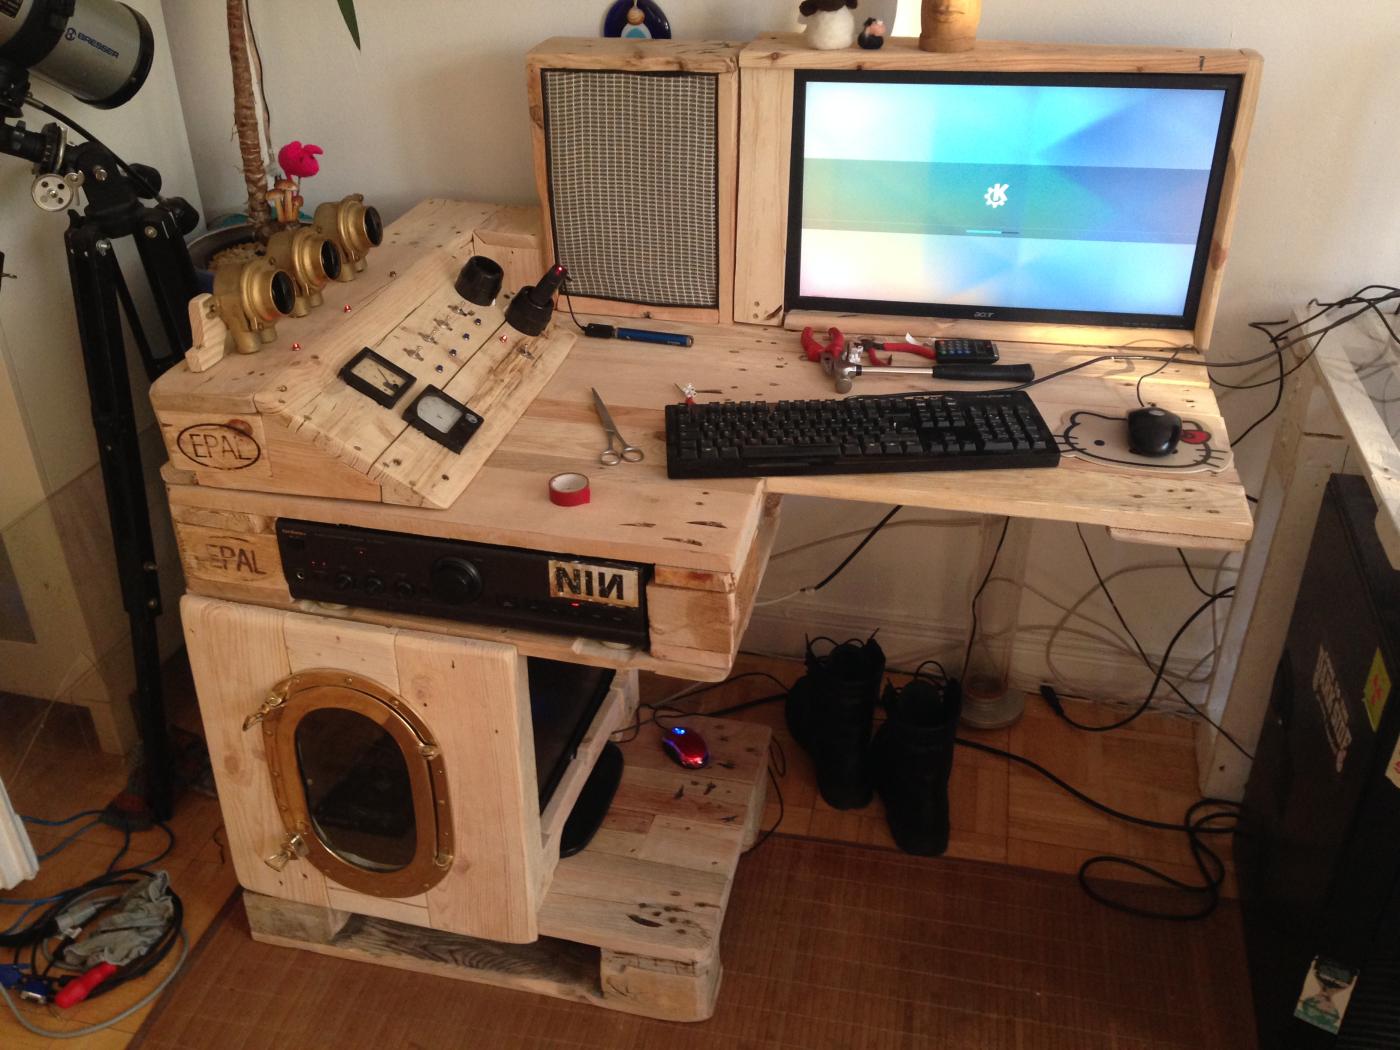
One of the “integrated devices” plans was the installation of my stereo amplifier under the desk. For this I had to cut out a piece of the middle bar, because the amplifier is just some centimeters too high and too long to fit in. ´
In the following, we see little “assembly” – most of the processes are quite straightforward. The legs were heavily improvised, mostly because i ran out of alternative materials and had to get along with the pallet parts (i don’t really recommend those, though they’re somehow the “consequent” material), the sideboard legs were cutted to fit into the pallet structure, and the previous preparation – grinding and painting pallets – i described already elsewhere in some detail.
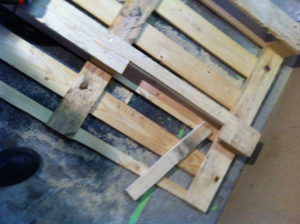
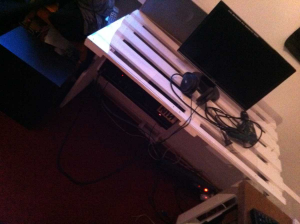
The corner pallet is shortened on both sides – the space here was limited to 60×80 cm. Overall, i have 1,20+60 cm in one and 1,20+80 cm length in the other direction,. Enough workspace for me. Again: thats up to your taste and if you have more space, just leave the second pallet on its length or cut off less than i did.
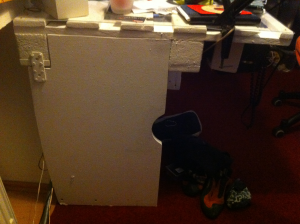
The special “feature” of the corner piece: that one does not stand straight on its own, for it has only one leg behind. one of the side parts doesn’t really stand straight either, everything needs to be assembled together for a solid stand – which then is really stable, though. The idea behind: i wanted as few as possible legs/base structures for maximum space under the desk itself.
The side structures are shelves sawn to fit uinto the pallet structure. Both side boards were combined with additional feet made out of the pallet side element, fixed to the desk table and sideways to the side board structure. One central “pillar” which was needed for stability.
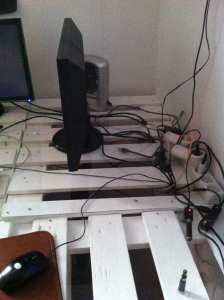
And now to the really annoying part of the whole project: Plexiglass table surface. How does one saw/cut acrylic glass/plexiglass?
Goal: it should “look like pallets”, but with a plain surface. So i needed a pallet cover which was hard, transparent and robust. Plexiglas was the least expensive choise, so i ended uüp with plexiglass boards for about 60 Euros (about $85) and have still some spare material, so you can get away even cheaper. Now, as i read in the web (and what stands there, of course must be true): it should be processeable like hard wood, there are even special saw blades for acrylic glass. The only things one should take notice of:
- – use a metal or a special acrylic glass jig saw blade,
- – have the plexiglas clamped at both sides of the cutting edge between wood,
- – leave any protective adhesive films *on* the plexiglass while processing
- – start cutting with an already running jigsaw – first touch to the plexiglass only with a running saw. Do *never* put the unmoving saw blade on the plexiglass edge and start sawing – that’ll result in splintered edges for sure.
- – no gliding, moving, wobbling, vibrating of the plexiglass, saw slowly and with high saw blade speed, no trembling. But
- – cool the material, if necessary or have breaks, because plexiglass could melt while being sawed.
.
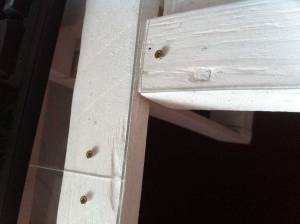
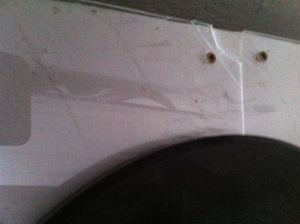
What you also need: a luckier or better skilled hand than mine. I just did not manage to do it right. Maybe i’d need better clamping, a stronger and heavier, therefore less vibrating jigsaw (or maybe a buzzsaw?) Whatever it is, i don’t have it. Whatever i did, the material splintered. For this reason, addendum: Use protective goggles at work, no matter how good and skilled you are.
After some frustration and some splintered edges, i just took the cutter, scratched alongside a straight ruler three-five times over the cut-edge, and broke the pieces apart. What worked surprisingly well, no splintering, no broken parts, whatever. You can’t produce round holes or smaller insert points for electrical outlets, integrated electronics, whatever. At this point, the side project “inmtegrated power outlet” died. I got the router mounted under the desk with the RJ45-Jacks right behind the edge of the last plexiglass board, but thats just a weak reminescence of the cool integrated peripherial plans i used to have. Well, i’ll get over it.
Fixation: pinch a hole with a 2mm drill and fix it to the pallet with 2.5 mmm-screws. If it has to be perfectly plan, drill also a larger depression for the screws head. I admit, i was too lazy for that after all the frustration i had cutting/sawing the plexiglass. If plexiglass/pallet edges don’t fit perfectly: you can still grind off edges with some finer gritted sandpaper – i used sandpaper with 80 or 120 grit and grinded off those protruding half millimeters of plexiglass, nothing broken, nothing splintered, that was quite easily done.
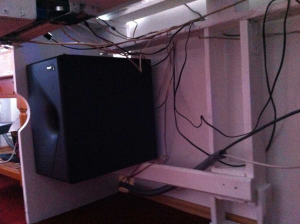
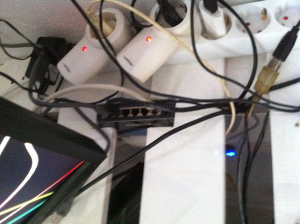
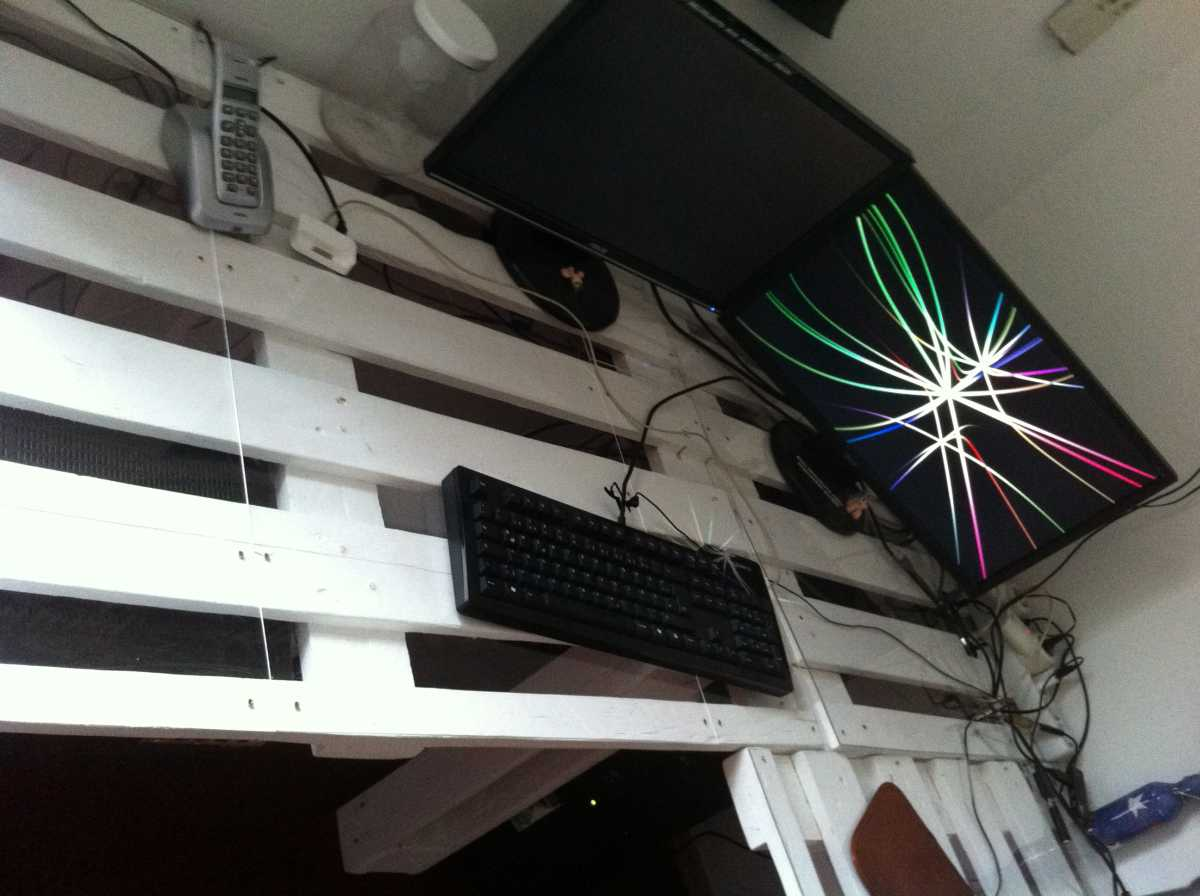
What do i like regarding the pallet desk? You can attach other elements quite easily. Have your power cords attached to the desk downside? just do it. Fix the otherwise quickly dusted/dirty power outlets to one of the back table legs? Do as you like. Position your subwoofer somewhere off-ground, so you have no vuibrating floor and you’ll have ewasy cleaning of the floor under/behind it. Having an amplifier attached under the desk with the front panel just under your workplace, you get this cool Jean-Luc Picard-Feeling by simply switching on the rear speaker pair and turning up the volume slightly. Router: cleanly put away, but perfectly accessible if something has do be connected to ethernet. Cable salad: still there, but somehow tidied up and not as dusty and chaotic as it usually gets.
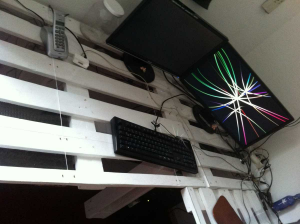
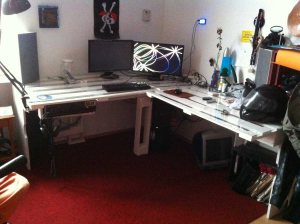
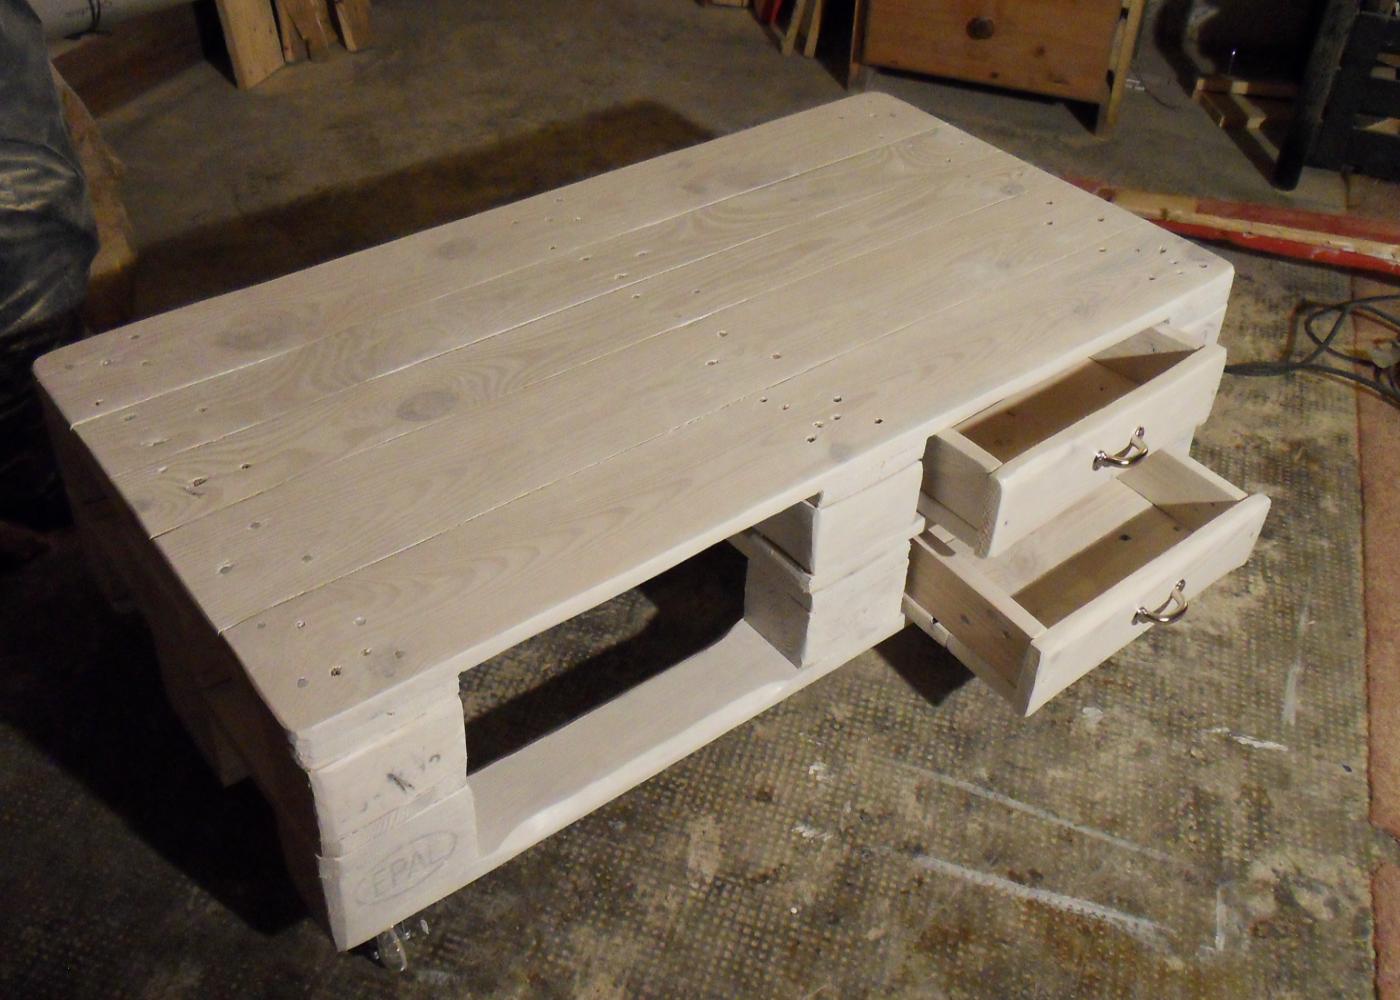
As described (and visible in the detail shots): I didn’t got the individual surfaces plain. It is possible, but you’ll have to work really precisely then. Things are easier with smaller desks (seen later) and a wooden cover (wich is more flexible to work with than plexiglass). Here, its a) a lack of skills on the one hand, a quite difficult task on the other. At last, thats the problem you’ll always have with pallets, not being precisely constructed down to the millimeter. I’m happy with them as i am with the desk, definitely, and if you think you’re preferences are similar, well, give it a try.
2 thoughts on “Pallet table: DIY desk made from pallets”