I thought i wouldn’t get another chance to test the useability of palklets for building tables, but i was wrong: my wife wished for a pallet dwesk, too, only smaller as the first pallet desk and, well, triangular. Pallet material is currently available and after having defined the form and size, i could begin with the actual work. Even better: i had a reason to buy the long wished-for crowbar. A crowbar is something quite wonderful. Last preface: I’m not finished yet, but in this entry, we reach the finished pallet tabletop design.
A triangular desk, well, with a rather rectangular base material like a pallet, it’s not entirely obvious how to do the trick, but then again, its an easy exercise. The table will not be huge at all, so a single 1×1,20m disposable pallet is enough for the tabletop. Here we go.
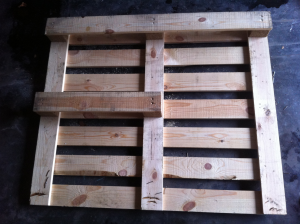
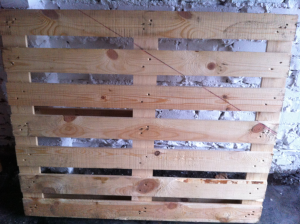
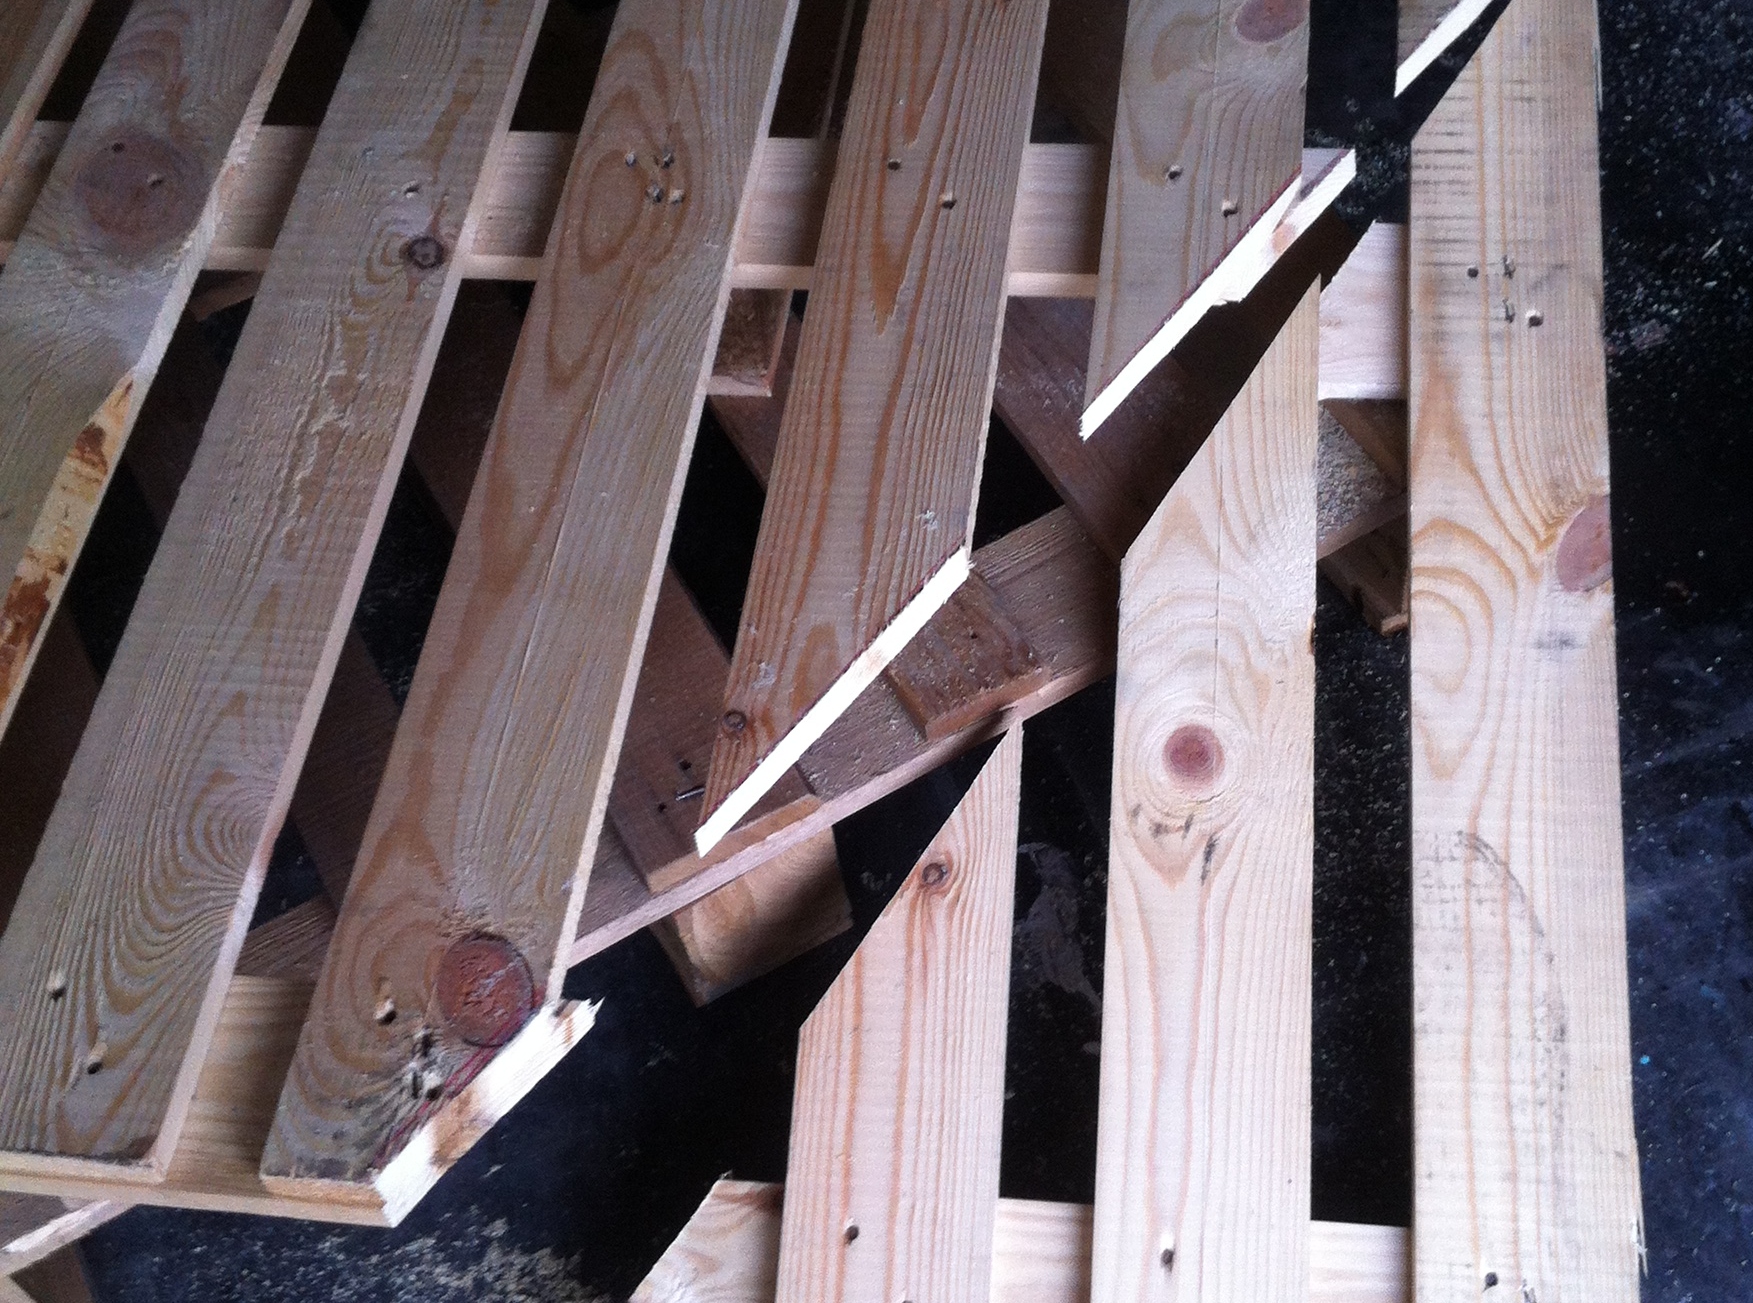
One pallet foot section goes completely, from the middle bar half a part is removed only (Crowbar action! Yeah!) The spacer in the middle stays where it is, of course. The remaining protruding nails I had just cutted off with the cut-off saw, you can also remove them completely, i didn’t because of remaining holes and possible splintering.
Off with the corner!, now, but it’s directly attached again on the shortened side. The angle is always right, as long as you cut off right to the middle of the pallet side where the separated corner is fixed again. Say, you can certainly make the table more “dull” or more “sharp”, depending on the angle you choose to cut off.
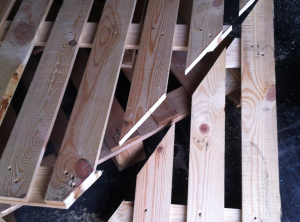
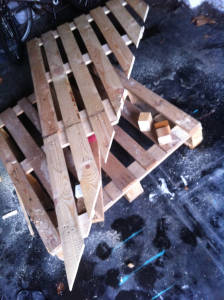
Successful dissection is successful. Hold the edge to the shortened side to check how it fits. Then we should stabilize the loose board ends with some underlying pallet cuttings. There will be a wood cover over the pallet, but nevertheless, this way its more strable. For this I just used some spare pallet board parts cut to fit underneath and screwed on.
The last steps for now: fixing the “table top backbone”, the single beam stabilizing everything on the long backside of the table. Sorry, that one isn’t clearly visible here, i forgot to tahe photos in between tasks.
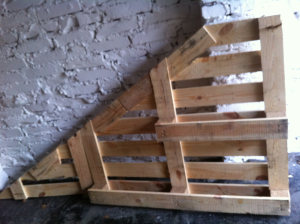
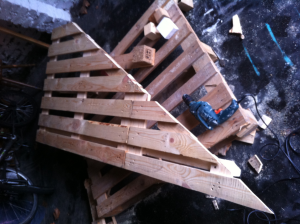
After that, the usual pallet grinding and cleaning procedure follows. Recommended in “maximum disassebled state”, here, i was slightly inconsequent and as a result, everything was a bit more complicated as it could have been.
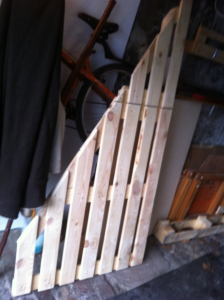
Rough plan for the following tasks: building the table legs with vertically arranged shelves, sawed in a fitting shape to the base structures of the desk. The top structure should be attached to the base/leg structures as minimal as possible – top and bottom structures should both be stable for themselves, and transportation is much easyer when the elements can be dissected quickly. Next: cutting out an exactly fitting tabletop wood piece of thin plywood. Chipboard table surface natural/clear varnish, all other parts: painted green. We will cee, I’ll report the progress.
Materials used, summary. One 6x6x200 cm timber beam to stabilize the base structure. This can be done with solid fixations too, but while such a beam is about EUR 4 ($5,40), i chose the beam. Some old cupboard shelves, alternatively Ikea Ivar shelves for the legs. Some pallet leftovers for stabilizing. I had to buy fittings and spent about EUR 20 (about $26) on them, but i still have now enough of them for one or two more projects. Color for about EUR 10 ($13). The only slightly expensive part was the the 1×1,20m, six-millimeter poplar plywood with nearly EUR 30 (about $%40), but i wanted some pretty piece of wooden surface, for its getting a clear varnish, and no one wants to look at simple chipboard. Nevertheless, quite cheaper than the plexiglass cover of the first pallet desk project. To be continued.
4 thoughts on “Triangular Pallet Desk Pt.1”