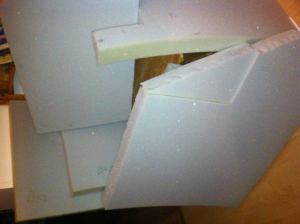
Third and final stage. (previous tasks: pallet sofa: first constructions, pallet sofa: diy session two). In session two I already mentioned that the foam mattresses arrived recently. Two mattresses, eight centimeter thick foam, 200×120 cm, that should be enough (it was). I had to do a bit of patchwork and plan the cutting quite good. I had very few offcut afterwards, thats fine. OTOH, most foam parts “in one piece” is of course easyer to work with, but then you have more offcuts, need more foam mattresses, everything gets more expensive etc.
I cutted everything with the fully extended, simple cutter tool. Doesn’t need to be totally precise, everything gets covered with fabric.
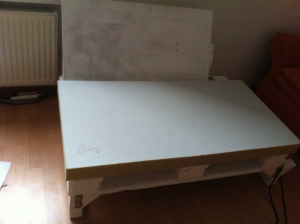
First i moved the first section into our livingroom, where the sofa should be. It looks a bit smudgy here because i just swiped it wet, but everything goes back to white later again. Still, if not: those areass will all be holstered and invisible. I just did not want any dirt and dust there before applying the upholstering.
Btw., i used simple white wall paint here (water based). It closes the pores of the wood and makes a nice look, still “wooden”, but clean and smooth. I guess you can also work with varnish, but actually, i don’t really like it, i don’t trust the dissolvers in varnish, and last not least, pallet wood has always at least a little tension and some “mobility” – varnish could get cracks quite easy. Nevertheless: if you use varnish, you should/will use it more parsimonious – its more expensive, it needs longer to dry and it smells stronger.
Upholstering and putting on the cushion fabric. I had some bed sheets (grandmothers heirlooms) at hand which I used and cutted to fit, otherwise, you’ll need some fabric. 10 sqare meters should be enough for a sofa of this size here, don’t think you’re done with less.
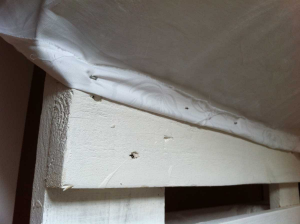
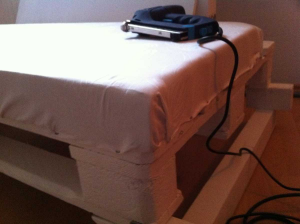
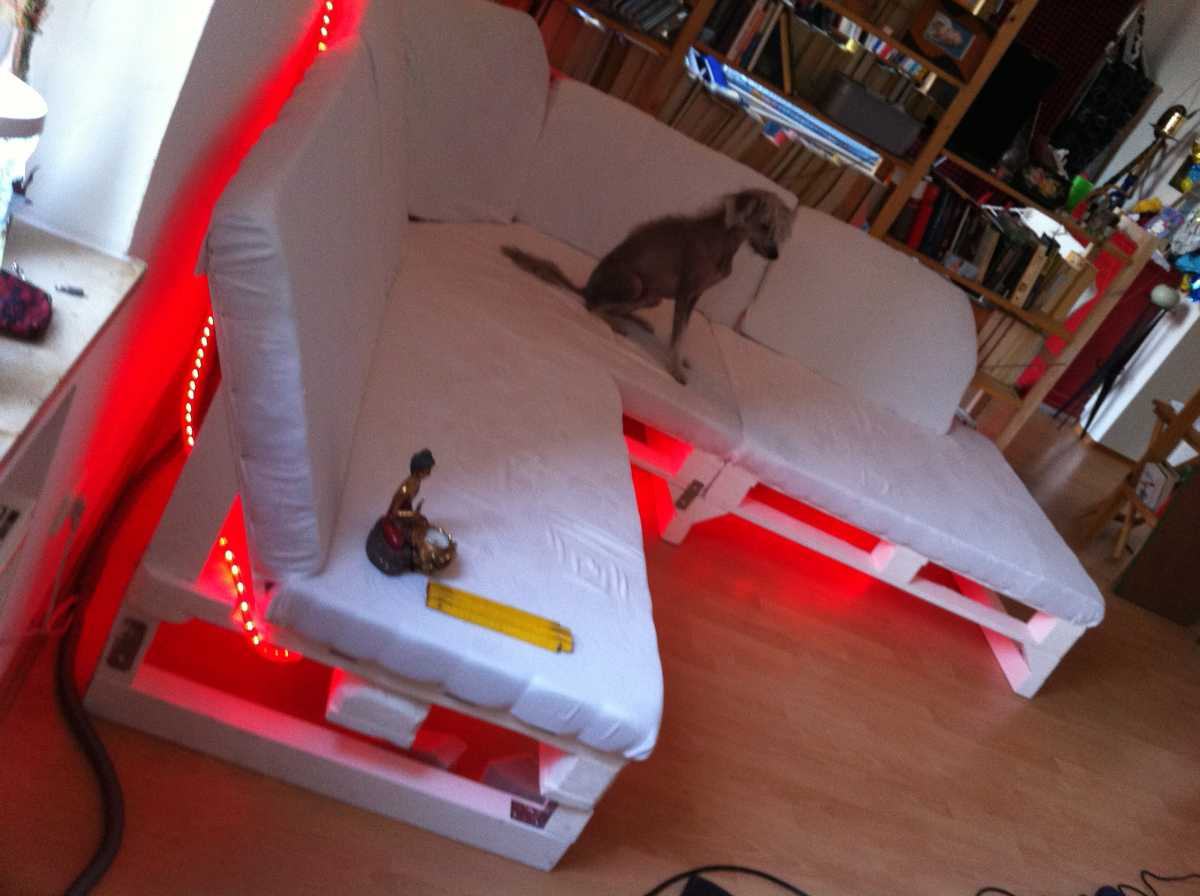
First step: lay on the fabric double-layered for ca. 2-4 cm along the first edge where it gets fixed. Double layered to prevent tearing ou. Use your staple gun to staple the fabric firmly and with little tension (but *with* little tension, or it gets bulky or starts to buckle quickly). Do this “from behind” and partly under the holstering, so that the staples are covered with the fabric afterwards. As seen on the pictures: the foam is placed on the pallet surface and the fabric gets folded over the staples and the foam. Do so at the other edges oft the fabric/pallet. Thats slightly cumbersome sometimes and you have few ways to improve afterwards, so stay patienjt and work slowly and precise. I did not use any adhesive, btw. – nothing slips and nothing feels loose, still. I dislike adhesives in this place for the same reason i dislike varnish – smelly and usually superfluous.
First pallet element is upholstered: i cutted the foam alwewasy for about 1-2 cm wider thatn the actual surface it gets placed upon. Result: no cracks between the cushions, even when the pallet elements don’t align preciseliy. Now, the corner part was placed alongside the first pallet element. Again: none of the three elements are nailed/screwed or otherwise attached to each other, they’re simply pushed alongside each other. With the leg elements below you see how smooth the elements are combined and slip into each other quite seamlessly.
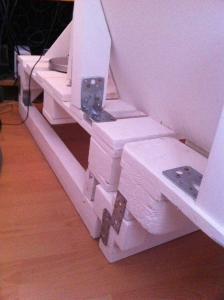
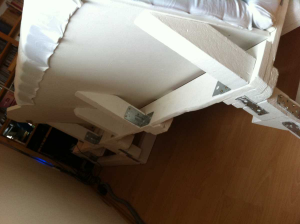
Repeat the same procedures for the seat and backrest panels of the pallet sofa elements two (corner) and three. As already told: all seating/backrest surfaces are upholstered with fitting (+2cm in every direction) foam cut.
All pallet elements are upholstered and covered with fabric seperately. So you have padded every single element for itself, while the assembled sofa gets stability through the composition and mutual stabilisation.
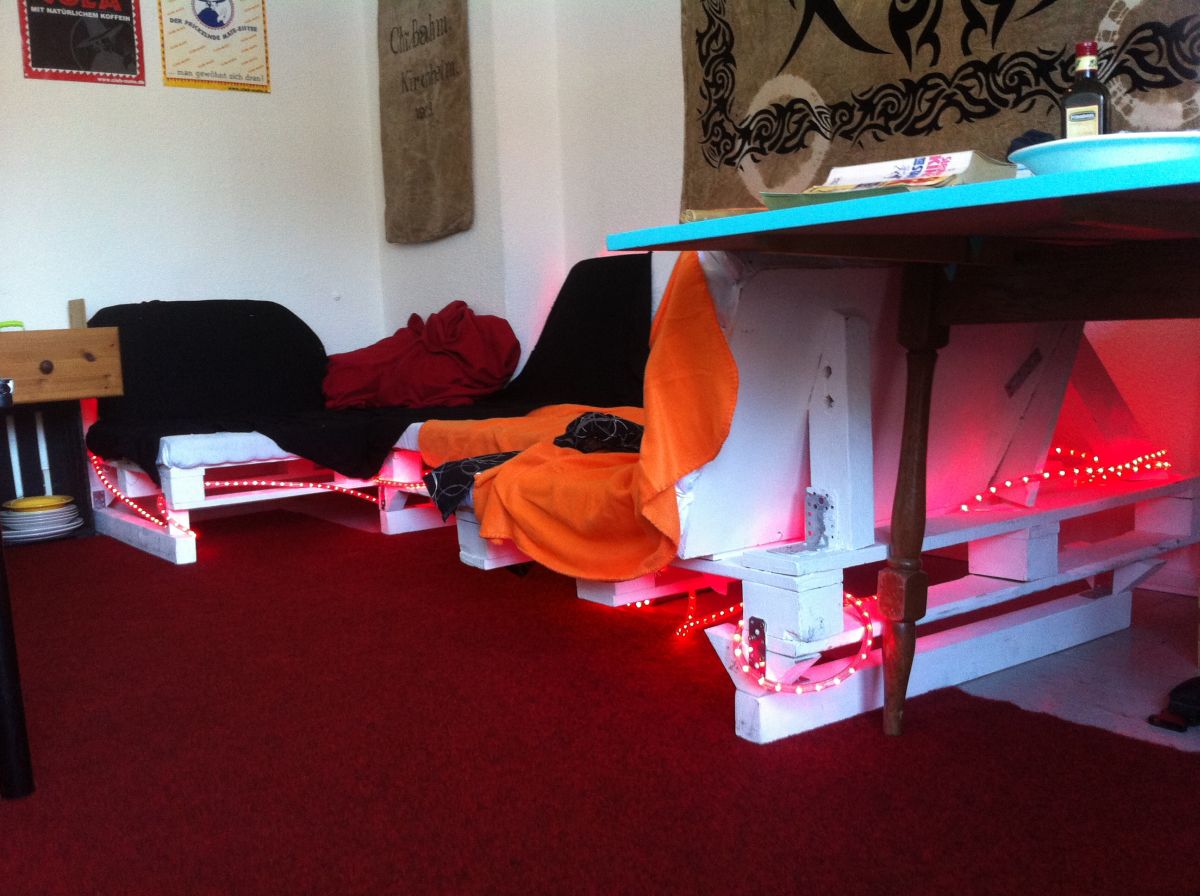
Finally, have some fun with LED tubes or the bottom structure illumination of your choice 🙂
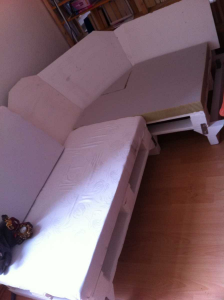
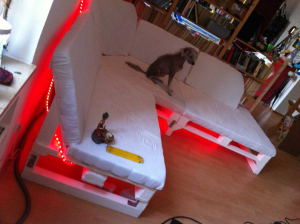
I couldn’t resist this LED tube. I love illuminated base structures (see also the green neon tubes below the king size pallet bed), light from beneath the furniture looks often just great and here, its exactly what I wanted. As usual, I recommend to attach those “styling addons” in a way which still allows to clean up the floor under the sofa easily via vacuum cleaner/broom etc.
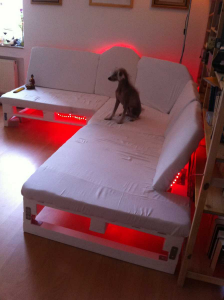
Finally, the hard facts: Time, money, how much do you need? Time of course depends on your skills. I needed something around 20-25 hours and i guess it can be done quicker, of course 🙂 For its quite difficult to have everything painted and dried and it takes its time to assemble the raw pallet/wooden structures first, the net time needed will be said 20-25h, but you will need do distribute them over some weekends.
Money: even more difficult. I paid about EUR 60(~$75) for the foam mattresses, what was the most expensive single cost factor. Another EUR 80 (~$100) at the hardware store for six meters wooden beams, fittings, screws, but also the staple gun. If you already have one, fine (and cheaper).
OTOH, i had all the boards i needed for backrests and the fabric for the upholstering as well as the colour. It totals under EUR200 (~$250) all costs included, i’d estimate.
Beth, this is absolutely amazing! I am sharing this with everyone I know and I just made “Complete a pallet project” #1 on my summer DIY project list. Thank you for the inspiration!! – Michelle