Second stage: Since the first pallet sofa DIY session, a package arrived with a two 2x2m 8cm foam plascic boards. At the hardware store i bought six meter timber beams (6x8cm thick), and an electric staple gun. Today, the wooden framework was completed – sofa parts with backrests are completed, so is the base structure. First, the remaining backrest assemblys.
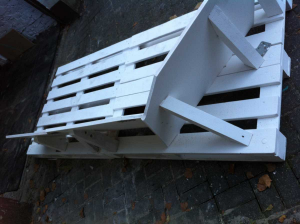
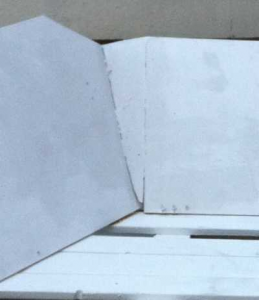
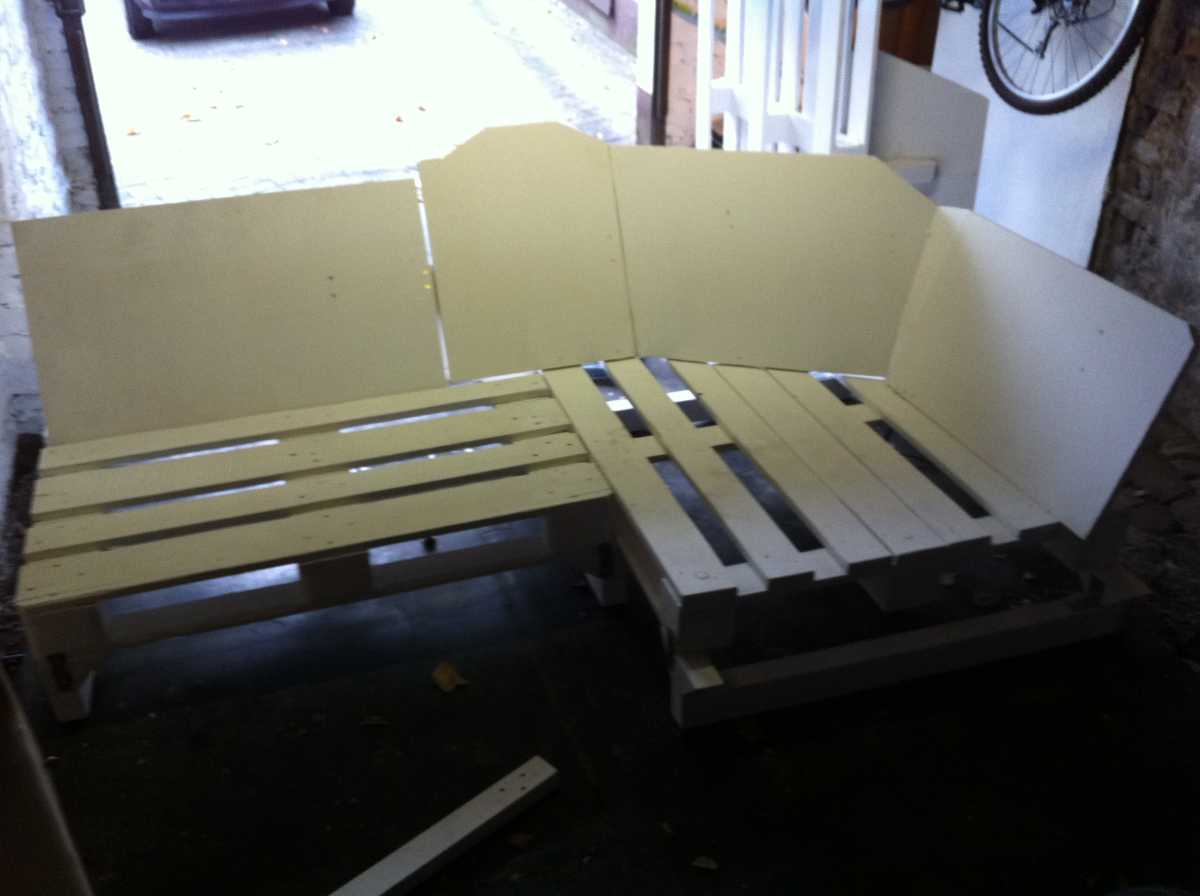
The longer part of the L-Shape has now also got its backrests. Steeper than those on the first piece, so you have the choice of sitting more upright on the one sofa area and more comfy-laid back on the other and in the sofa corner. The backrest of the sofa corner area was a bit difficult, I inserted a wedge-shaped transition piece at one conjunction of backseat boards which was a bit hard to get fixed, but the last board went relatively easy then.
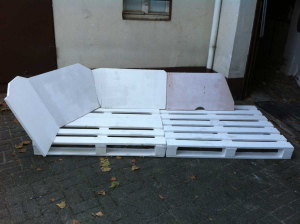
The back parts – quite obviously – are old furniture parts and pressboard lying around. Partly they were veneered and therefore didn’t take the paint as good as pressboards (despite that they were sandpapered first). Doesn’t really matter, while the front is covered with foam later and the back is rarely seen, nevertheless, i had them painted over later again and ended up with an opaque white finish.
Because all this is far too shallow to have a comfortable sitting height even for a sofa, we’ll put the whole thing on a sixteen centimeter base structure. Eight centimeter thick bars alongside every side of each pallet sofa element, on top of these attachment pieces, which connect the “foot bars” with the pallet bottomside. With these, we have the sofa surface in a comfortable sitting height and again, we reach easily underneath the sofa with a vacuum cleaner or a broom.
The sofa stands were sawed first – two times one meter beams, two times 80 cm for the smaller pallet and and once ninety-four centimeters because at one pallet corner, the stand beams reach to each other. The spacers atop the sofa stand beams are eight centimeters wide on one side, twenty to twentyfour according to the pallet atop. Grind everything and have it painted and assembled after the paint has dried.
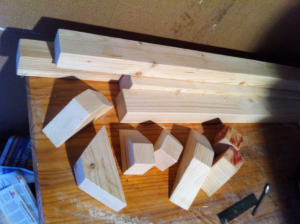
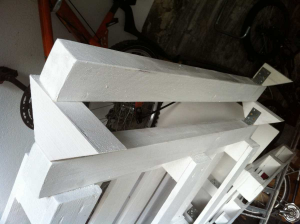
Here two of the sofa leg parts are assembled completely. Ontop of these, the pallets can now be mounted. Fix everything via screws and fittings, but do still not connect the three sofa segments, for transportation reasons. Just complete the three individual pallet sofa segments themselves.
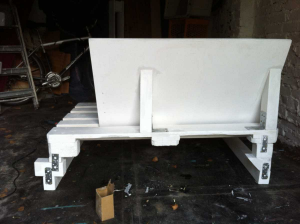
This “uglier” part of the emerging sofa will improve, but still, its the least “nice” view and won’t be visible later, but turnmed to the wall. The other back areas aren’t too visible later either, but this one was chosen for the least visible position because of the partially broken substructure with unpleasant fixing.
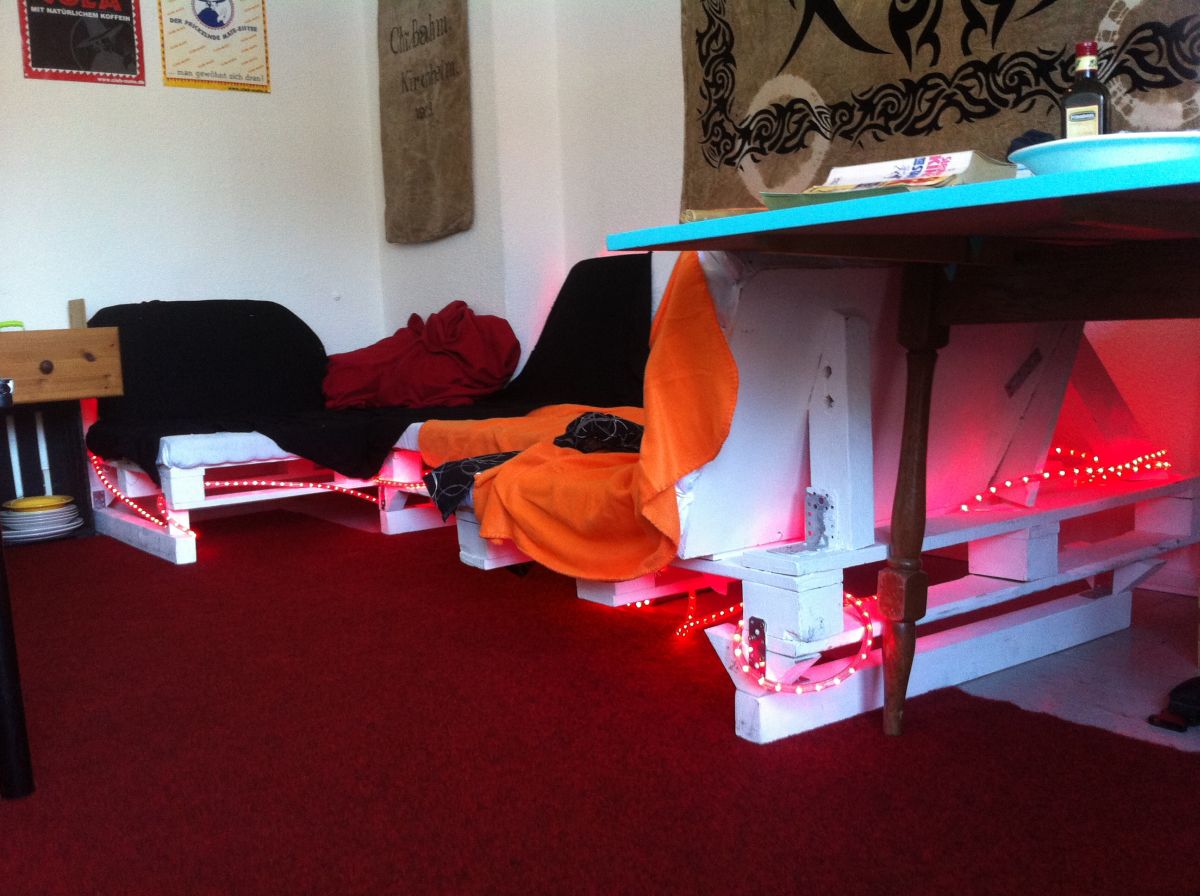
Put those sofa leg parts under each pallet. On the last picture you can see how the “connecter points” for pallet sofa element #3 are already attached to the sofa corner part. Even after completion, the single pallet elements still can be pulled apart as they are always attached only to one pallet. All pallet elements are individually upholstered, so they can still be separated, transported and so on even after final assembly.
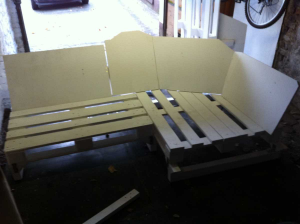
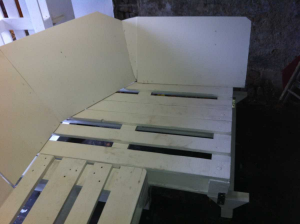
Next stage is upholstering/padding. At this point not completed, but i recommended to do the upholstering “onsite”, so you dioon’t have the dust and dirt from the previous workplace sheets and the padding. Also: provide and attach felt pads to the sofa feet before carrying them into your living room, again to avoid scratches on the floor.
3 thoughts on “Pallet sofa, part 2: Sofa Corner and core assembly”