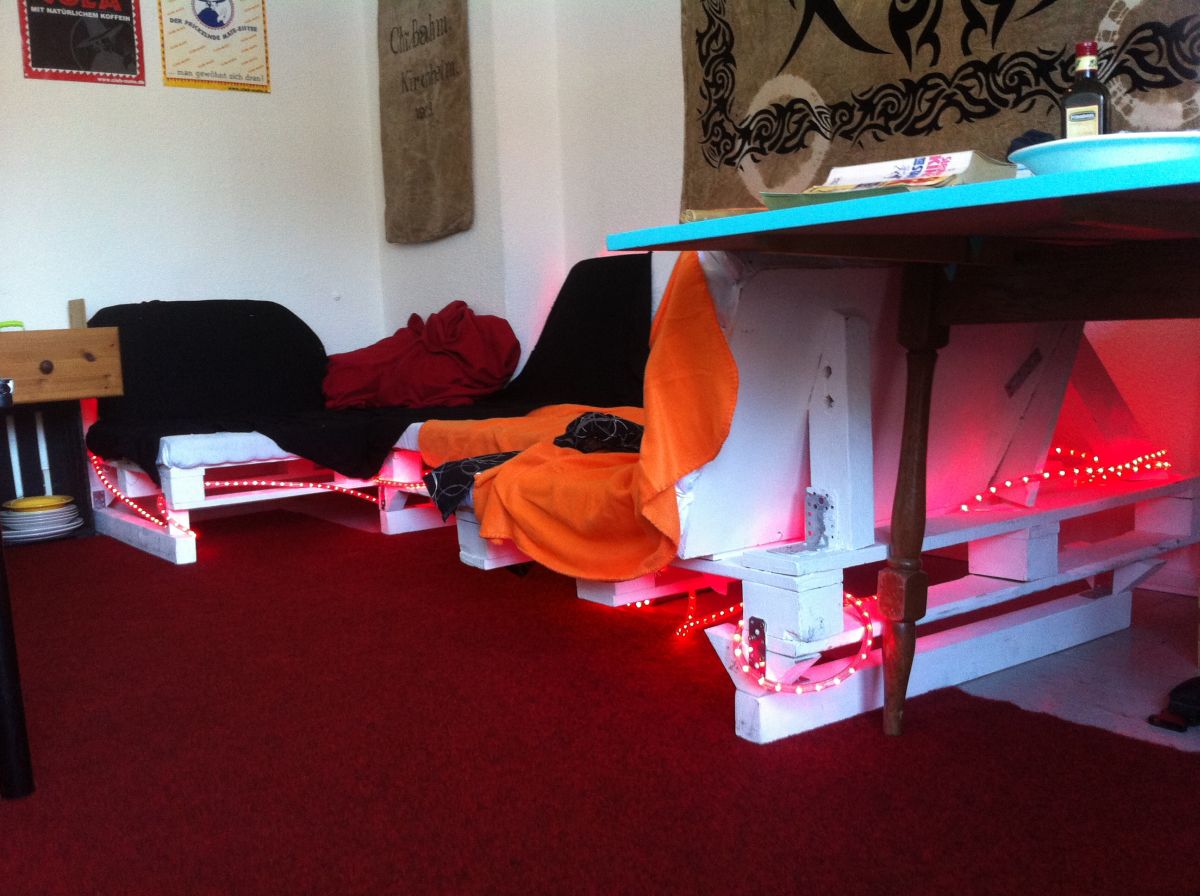
What follows was partly experimental: i wrote this text while the sofa wasn’t finisted as the first of three blogposts documenting the progress on a pallet sofa. Spoiler: the blog icon to the left shows the finisted thing. It worked, and its great, yay! Nevertheless: i’ll leave in the “i don’t know yet” stuff in this blogpost, for i really didn’t, and it shows quite good how a project can evolve while worked on.
The plan is to build a sofa made of pallets. Useable sofa space: 3 pallets arranged to an L-shape. The backrest is made of discarded material – bed headboards etc. – i had lying around, of course any strong enough chip board/press board will do, i just like to recycle stuff which would otherwise be thrown away. The backrests are the most exciting part of the whole story, because my goal was to have two or three different angles (more oblique to lean back, rather upright for reading, a quite slant corner to relax), a feature most sofas lack for no particular reason. Of course it should look cool, be comfortable and cushy, guests should be able to sleep for a night on it without having an aching back and so on. Therefore, coverage with good mattress foam is mandatory. At this point i was unsure if i shoult rahter grab some cheap mattresses from the outlet (cheap stuff available) or to get “raw” foam plastic material (seemed more expensive, what it wasn’t in the end). But of course i had to start with the basic framework. This said, its quite obvious that the projectz will get slightly miore complicated as e.g. the pallet sofa examples at scraphacker, which are beautiful (and a good inspiration!), but imo less handy regarding cleaning below, positioning them without walls for a backrest substitute etc.
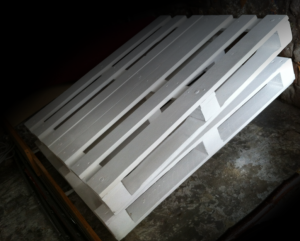
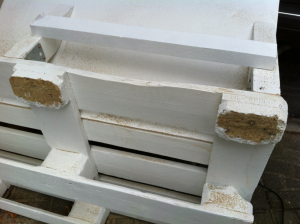
Material needed: Three pallets plus wooden boards for the backrests, probably a base structure out of two superimposed woioden beams for comfortable seat height. Some more short beams for the fixation of the backrests, paint, and finally red LED tube underneath. As always, before the furniture construction, grind and clean your pallets. In this specific case (see picture), i had to cut off a part of a broken spacer i had no substitute for with a grinding cutter – no chance with the saw, just too much nails in there. Nevertheless, if possible, sawing is recommended. This particular broken spacer was leveled and fixed with some peace of wood.
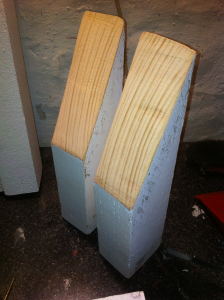
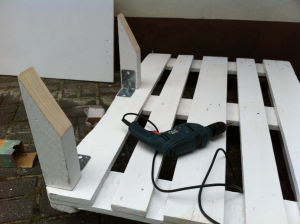
Choose the angle the first backrest should be slanted. Saw the backrest support post diagonally accordingly. Cut it to the length to have the highest fixation position on the backrest possible – the higher, the more stable it will be.
The lower end of the backrest can be placed in one of the gaps between the boards on the pallet surface, when possible – that provides extra support. Otherwise, it can actually be fixed arbitrarily on the selected position on the pallet surface with screws – thats due at those backrests going diagonally or at right angles to the pallet surface boards.
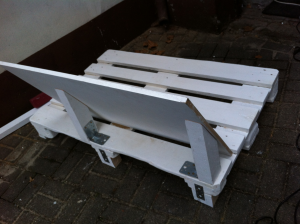
The corner. I definitely wanted a two-angled corner, so at least one backrest element had to go somehow diagonally/with two obtuse angles to the L-formed base. This angle and the resulting forms and surface angles of the backing puillar posts can be calculated, drawn precisely, and constructed accordingly. You can also build it by rule of thumb, thats what i did. First, i placed the first backrest (straight). Then i held the slant backrest onto the first one to mark the cutting edge shape and angle.Saw off the edge saw off obliquely. To ease subsequent reworking, cut off protruding edges on the other end of the backrest, if necessary. Difficult to describe, i guess in the pictures its better visible.
The support post here was heavily improvised, for i had an already slanted part of a beam as a leftover from the first backrest pillar. I just held it in place, drew the necessary base cut, sawed off what did not fit and putted it in place. Again, thats possible with more precision, nevertheless, it works this way, too (and the result does not squeak!).
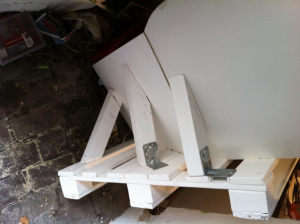
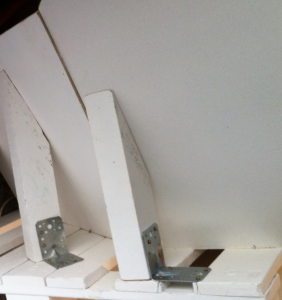
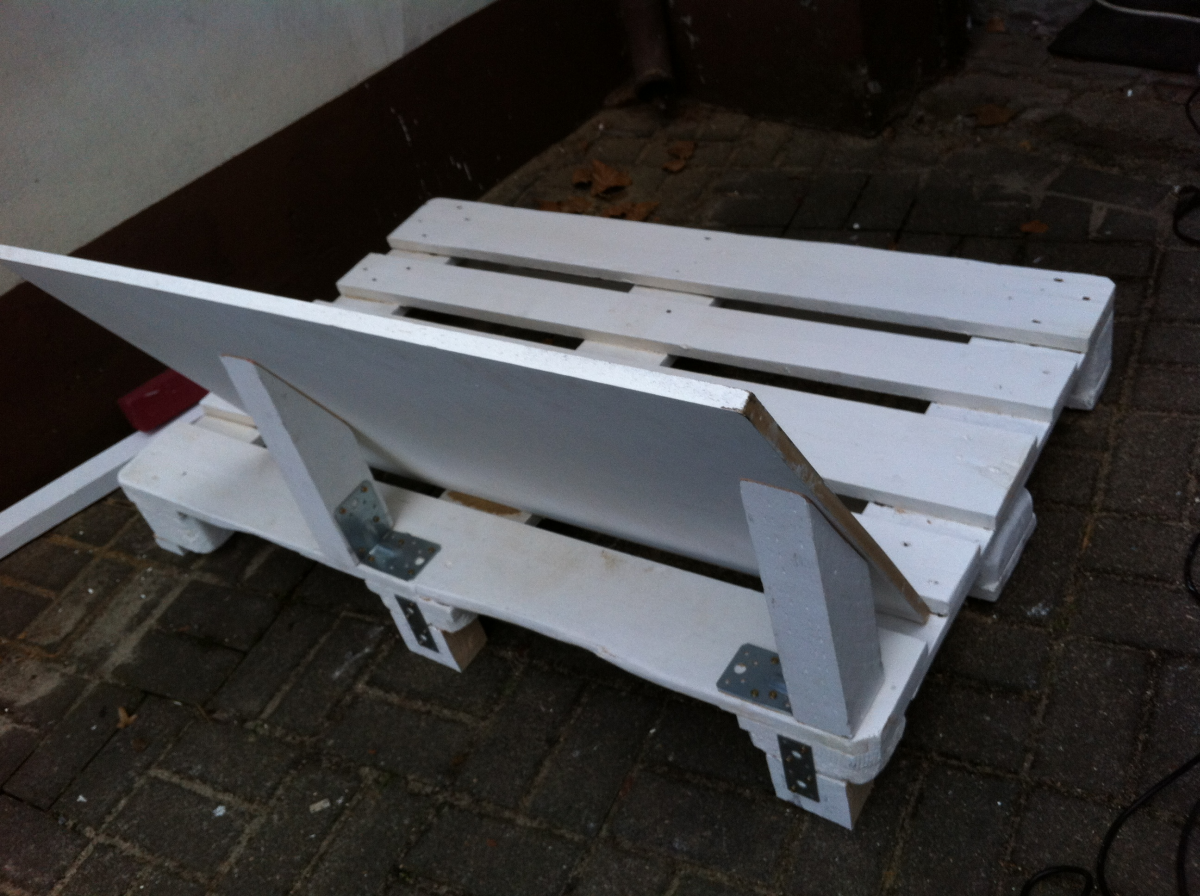
Fix all attachment points of the support posts to the backrest with screws *through* the backrest, the attachment points of the support posts to the bottom structure with angled fittings.
Thats the current state of the project on the time of writing. To be continued, and here again: build the stuff “modular”, don’t attach the three single pallet elements to each other yet. Especially when using the genuine (heavy) euro pallets, everything does not get bulky only quickly, but also quite heavy. Apart from that, once assembled, two pallets with attached backrests won’t fit through most doors any more.
4 thoughts on “Pallet sofa: Building a couch, advanced pallet furniture”